Bitumio > Left Navigation Bar > CRM > Contacts > Select Contact1. Follow the workflow mentioned above to land on the company details screen.
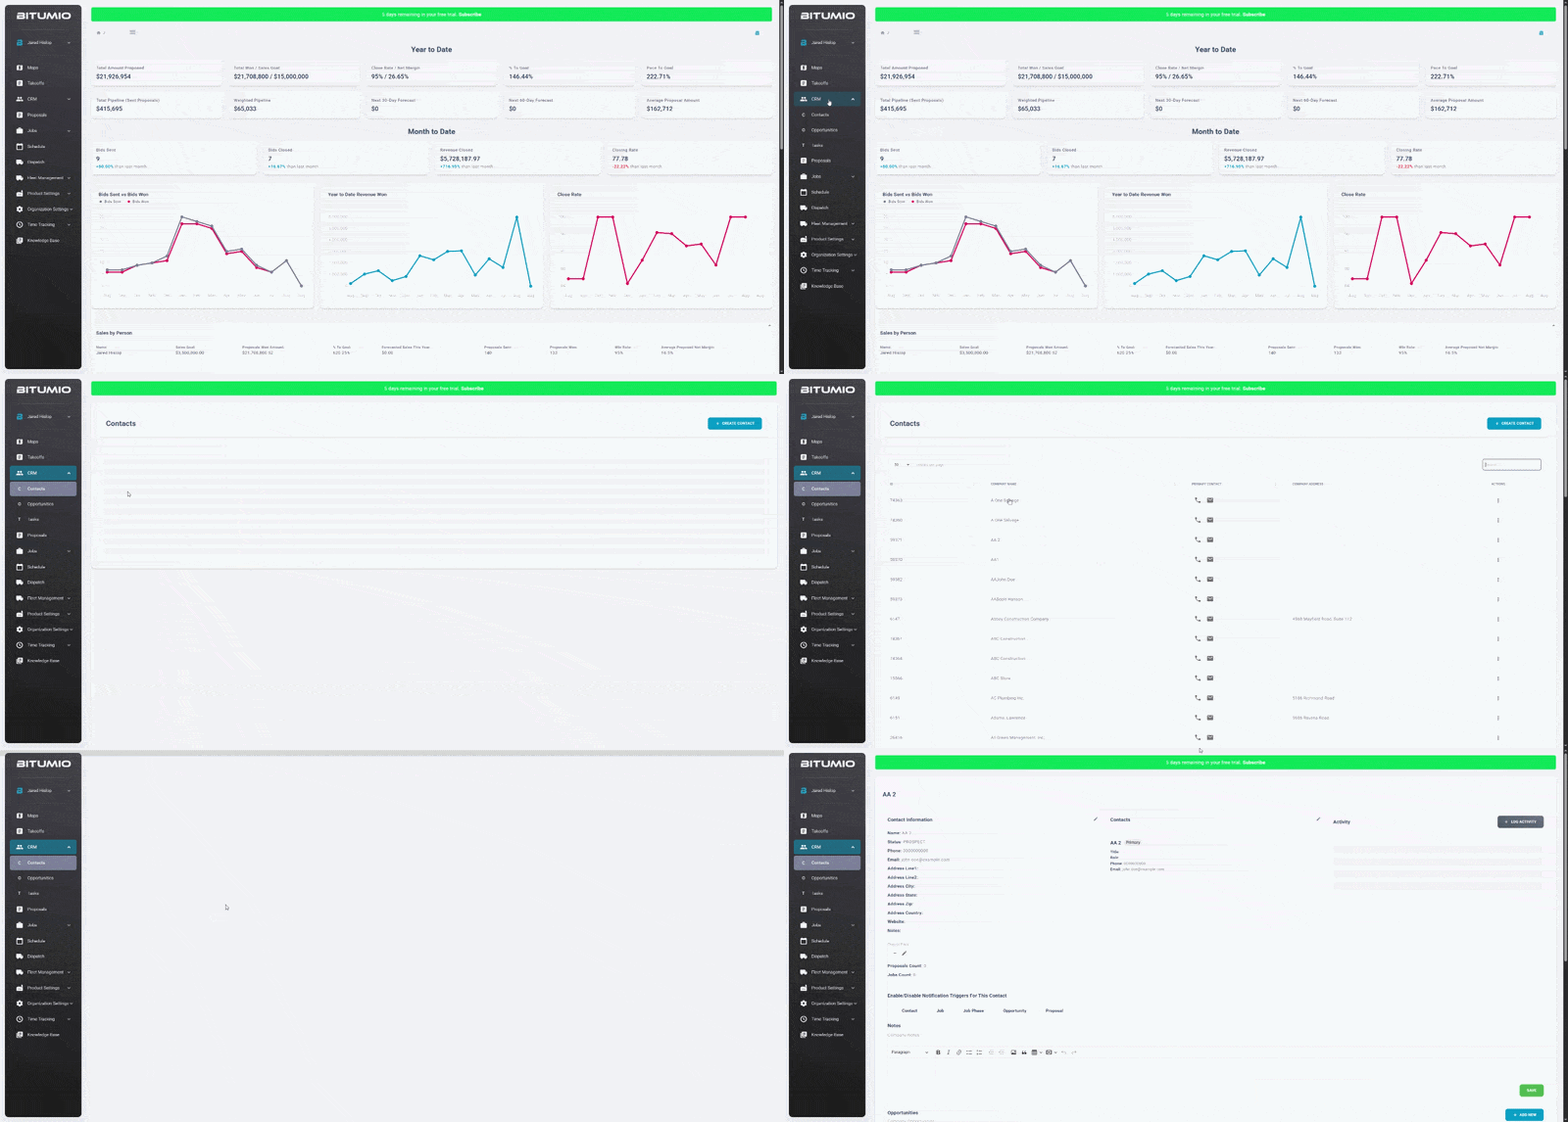
2. Scroll down to the Proposals grid. To create a new proposal, click the  button. This takes you to the Create Proposal screen.

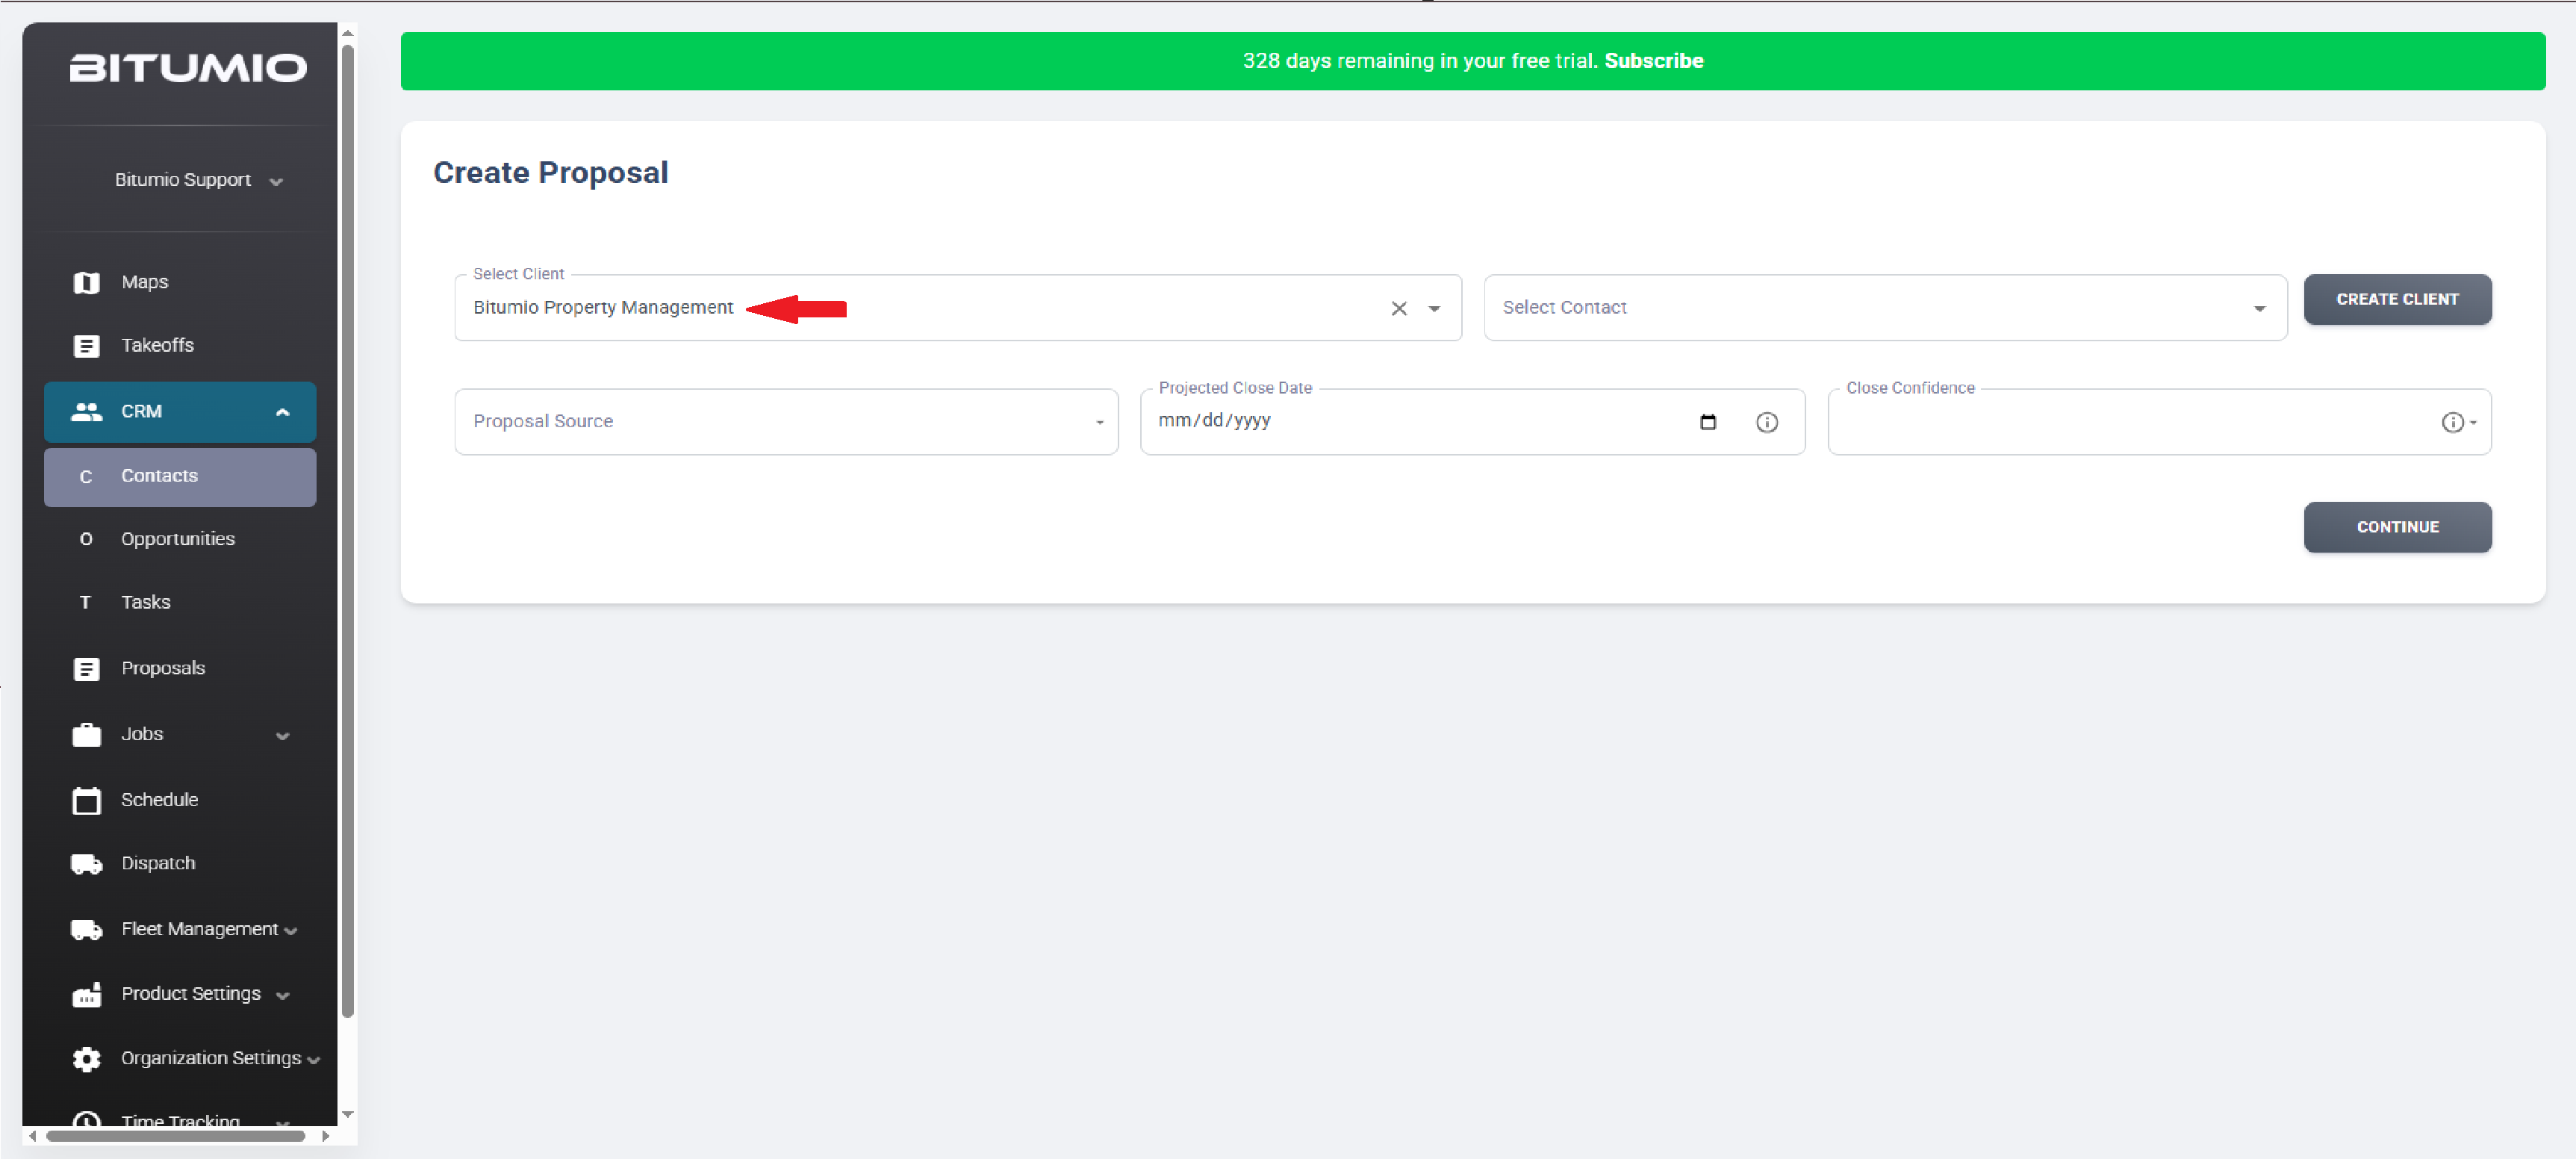
3. Here, use the Select Client dropdown to choose the client you want to create the proposal for.
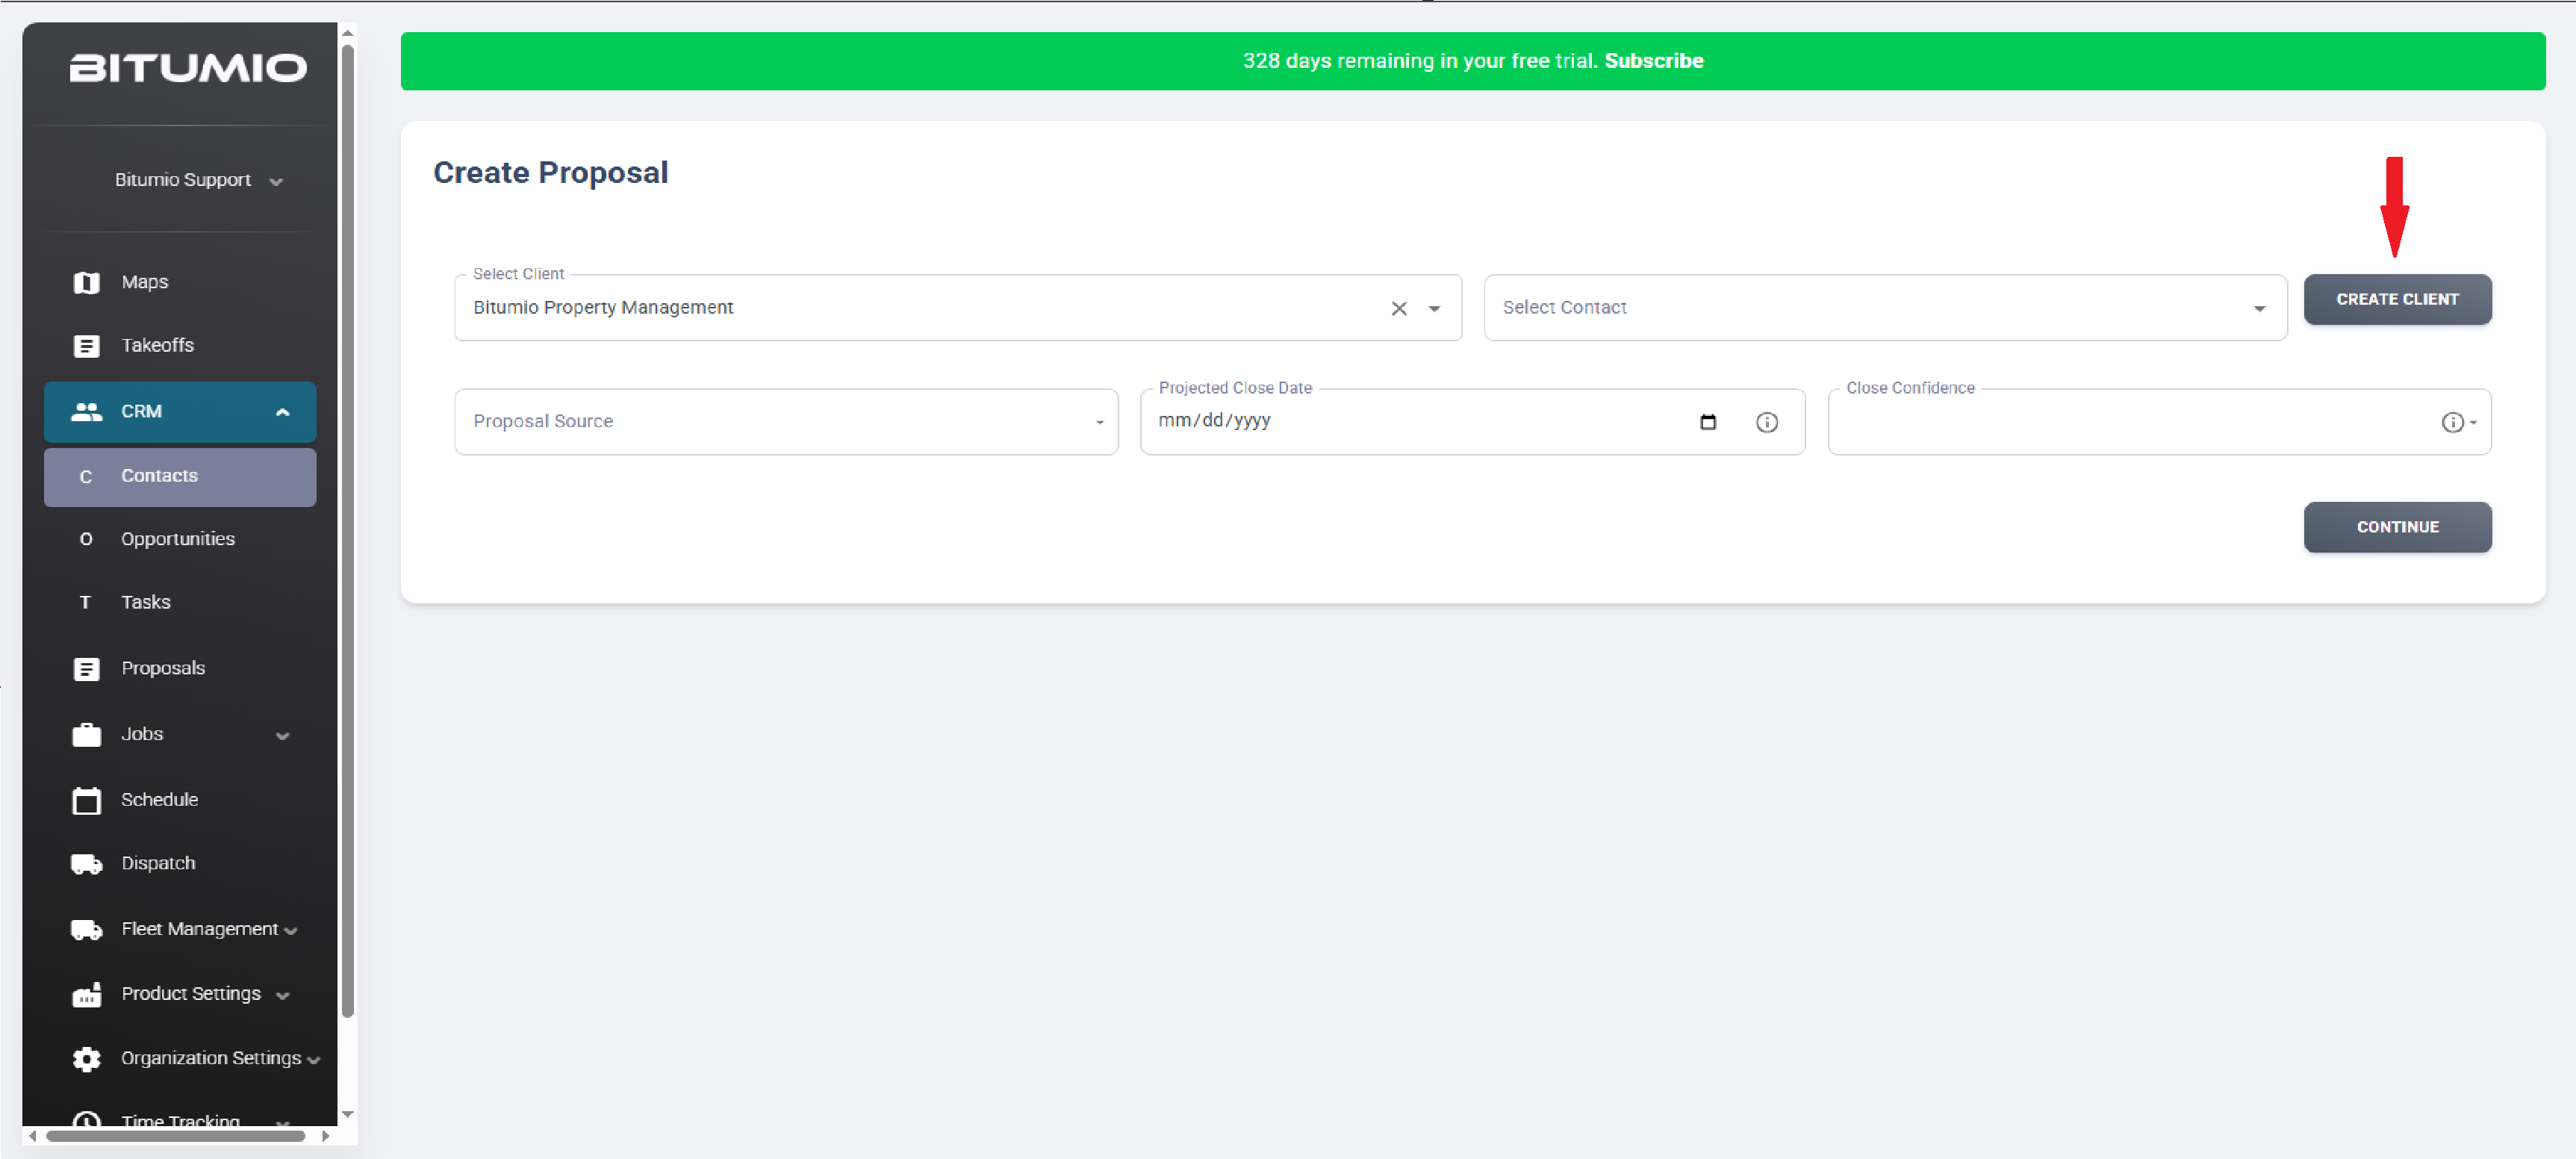
4. In case you want to add a new client, click the  button.
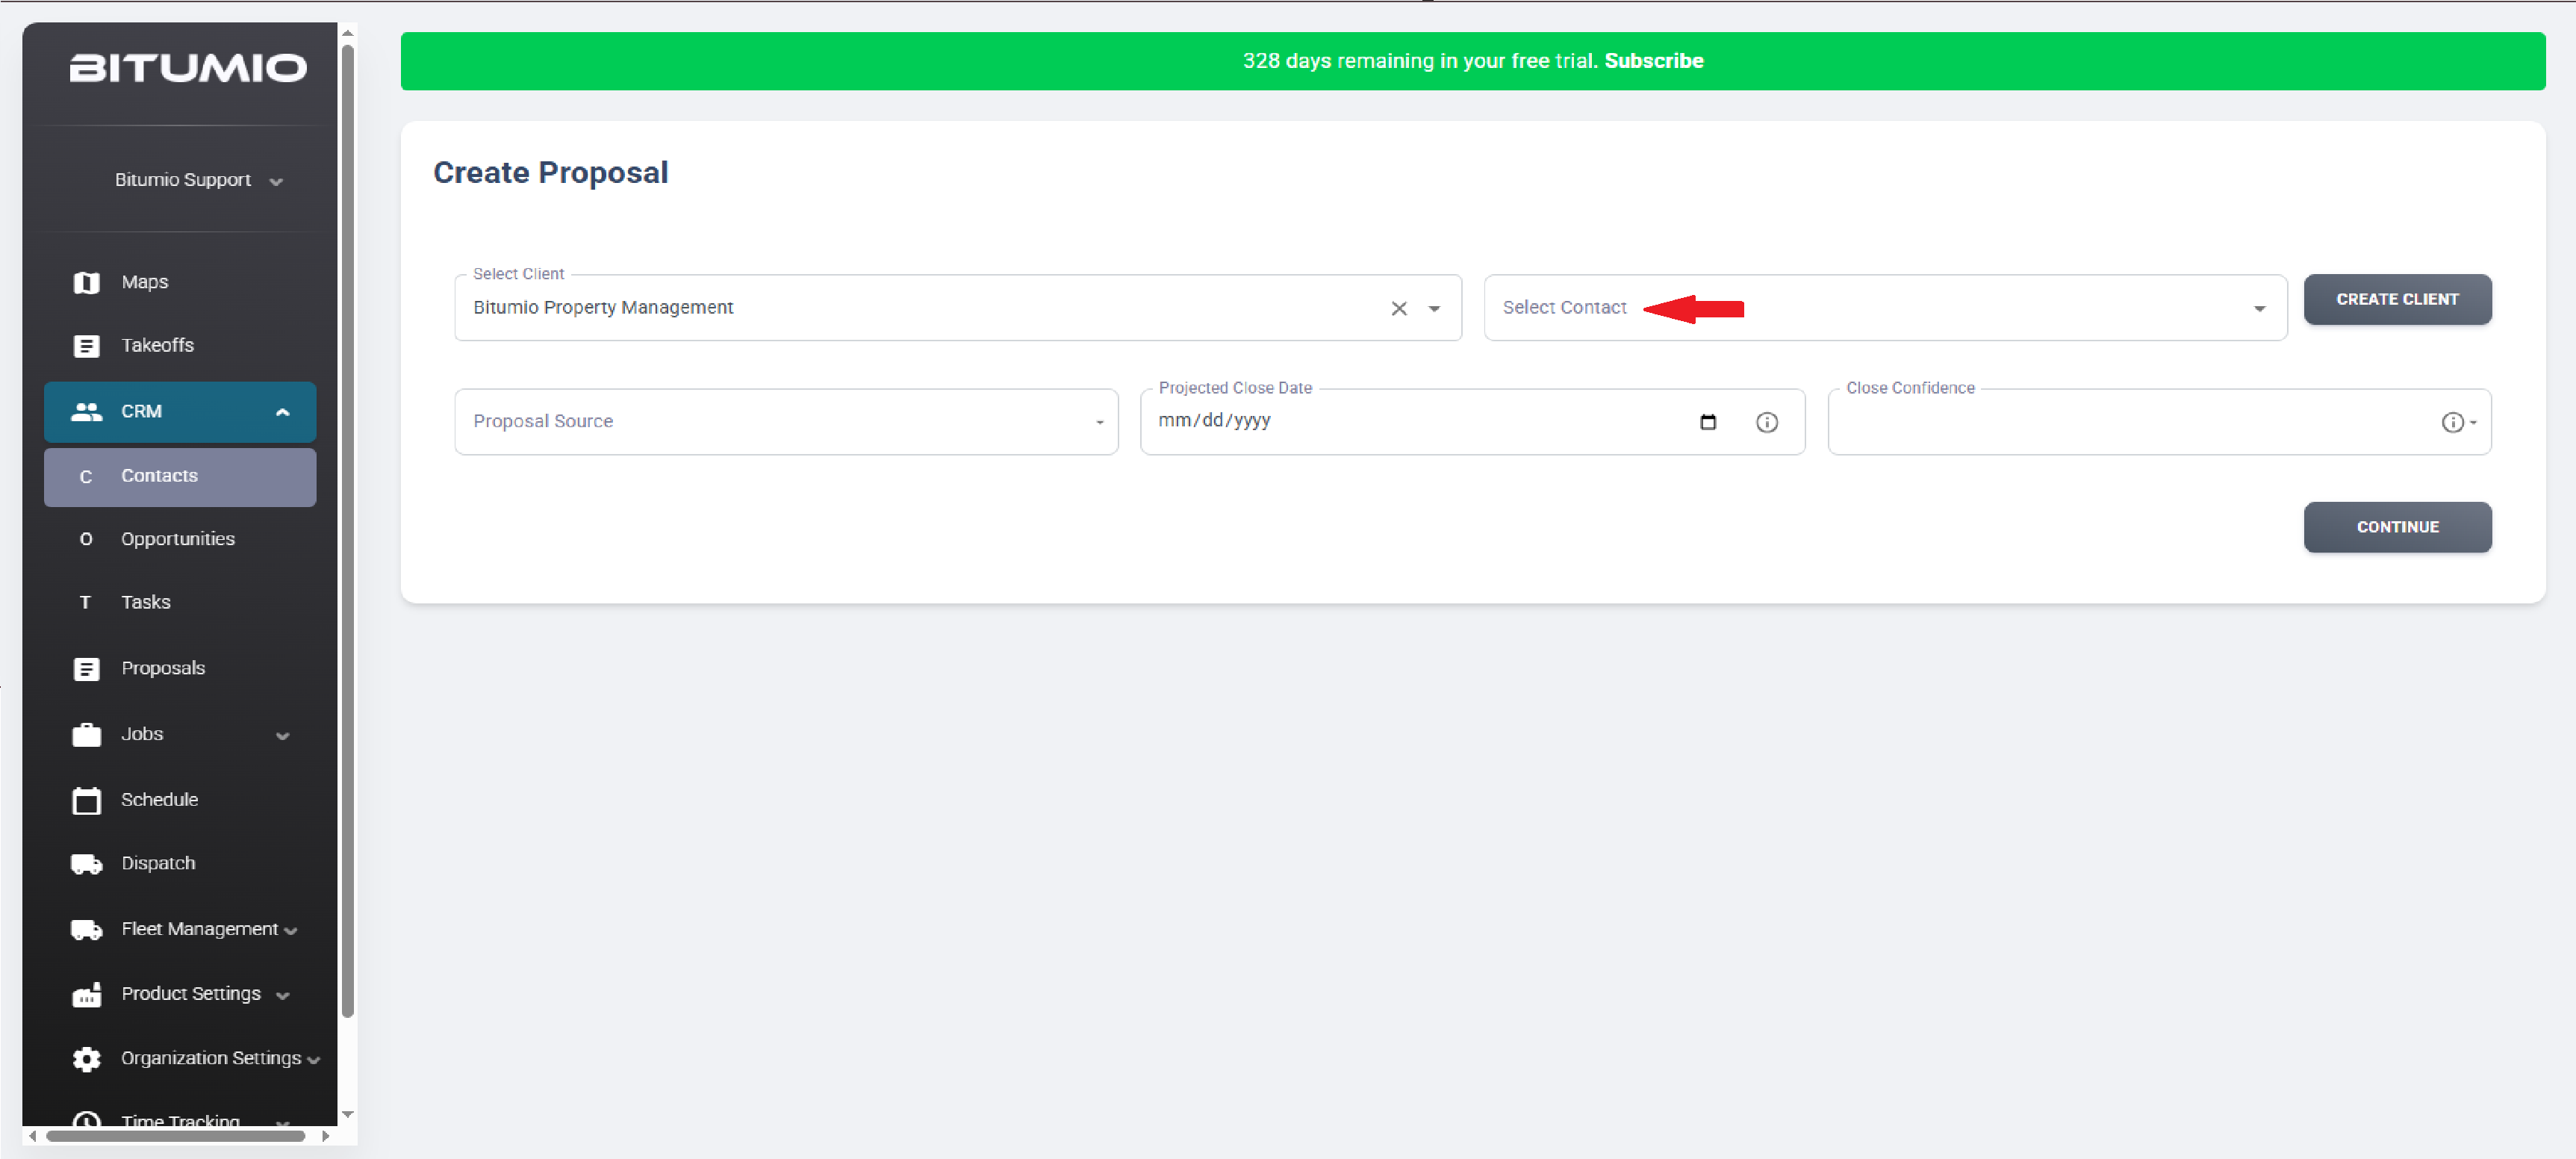
5. Select the client contact using the Select Contact dropdown.
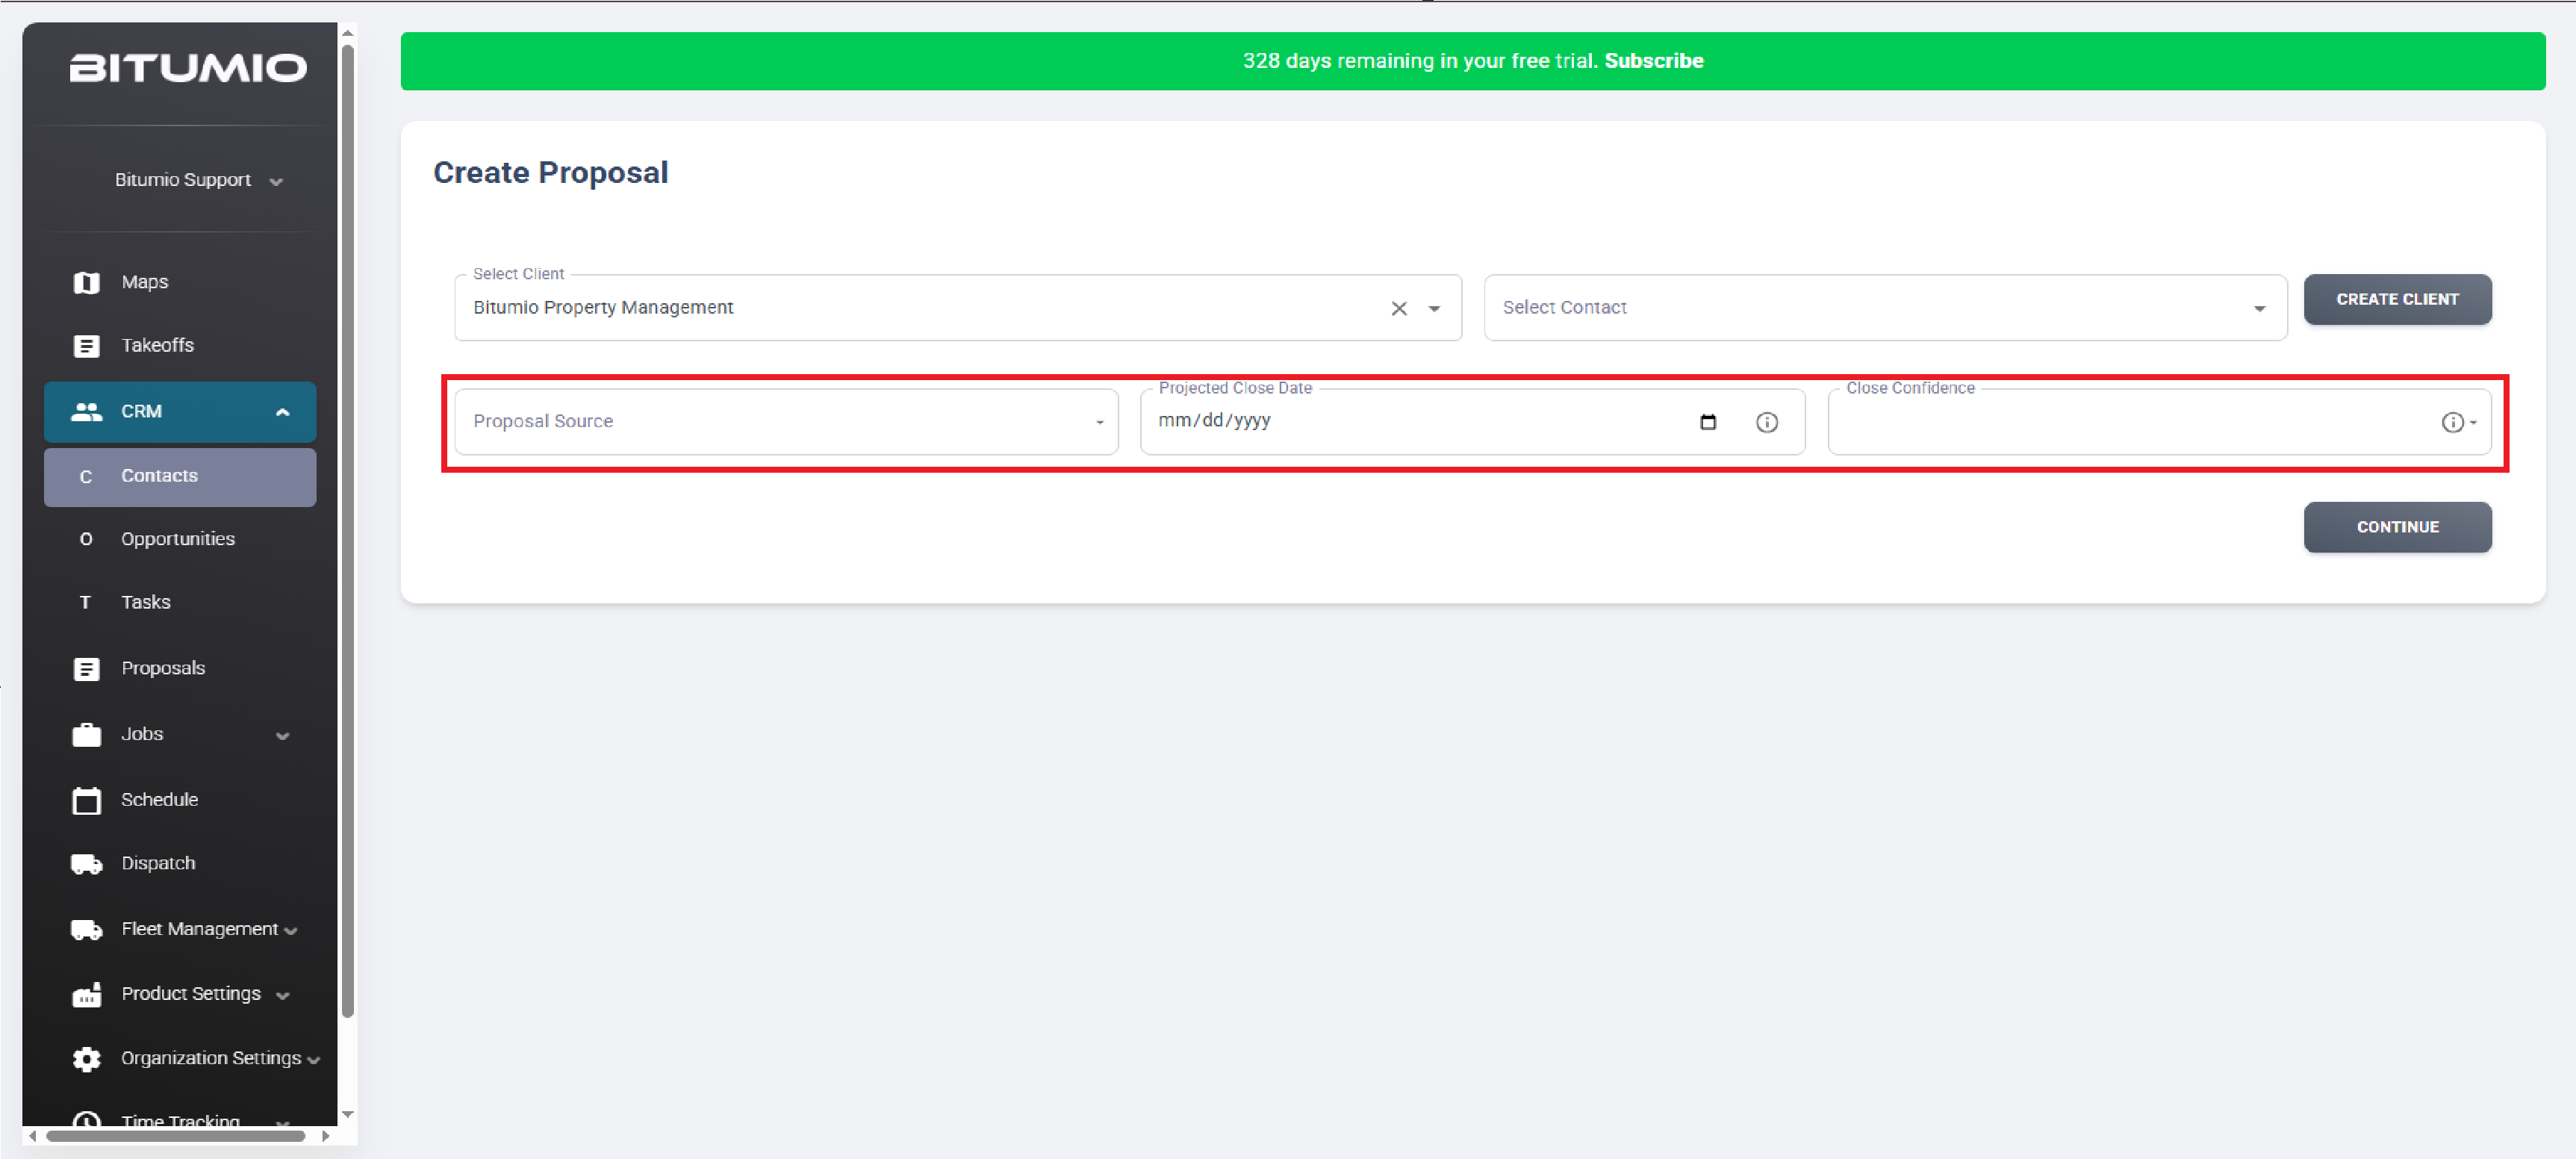
6. The highlighted section below we have included optional fields for increased marketing tracking.
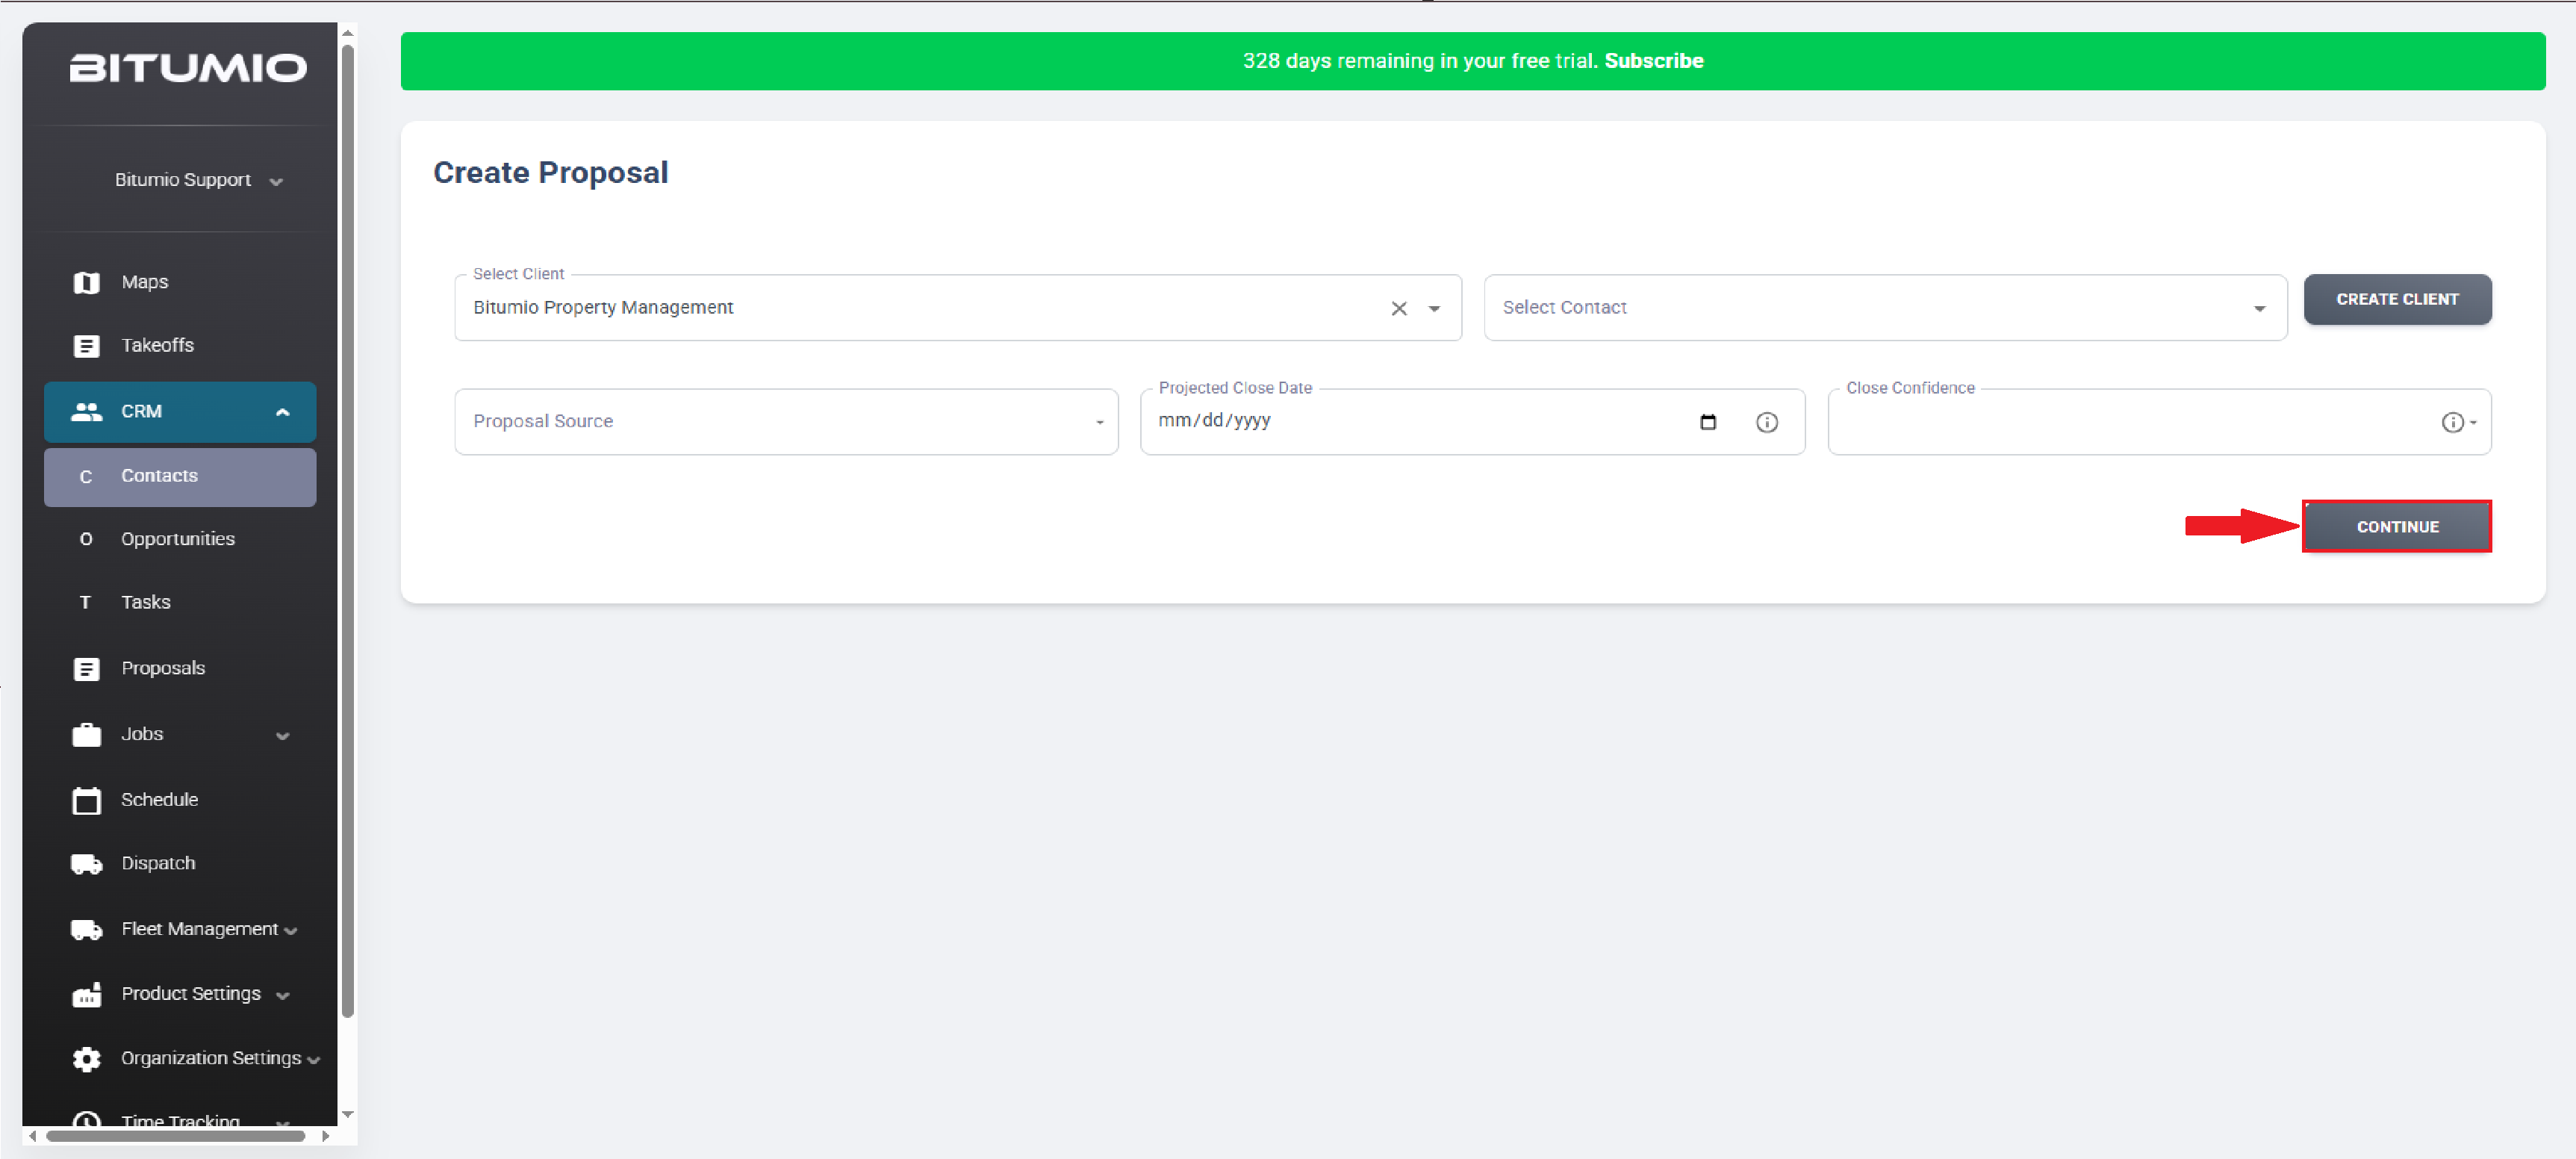
7. Once the required selections are made, click the  button.
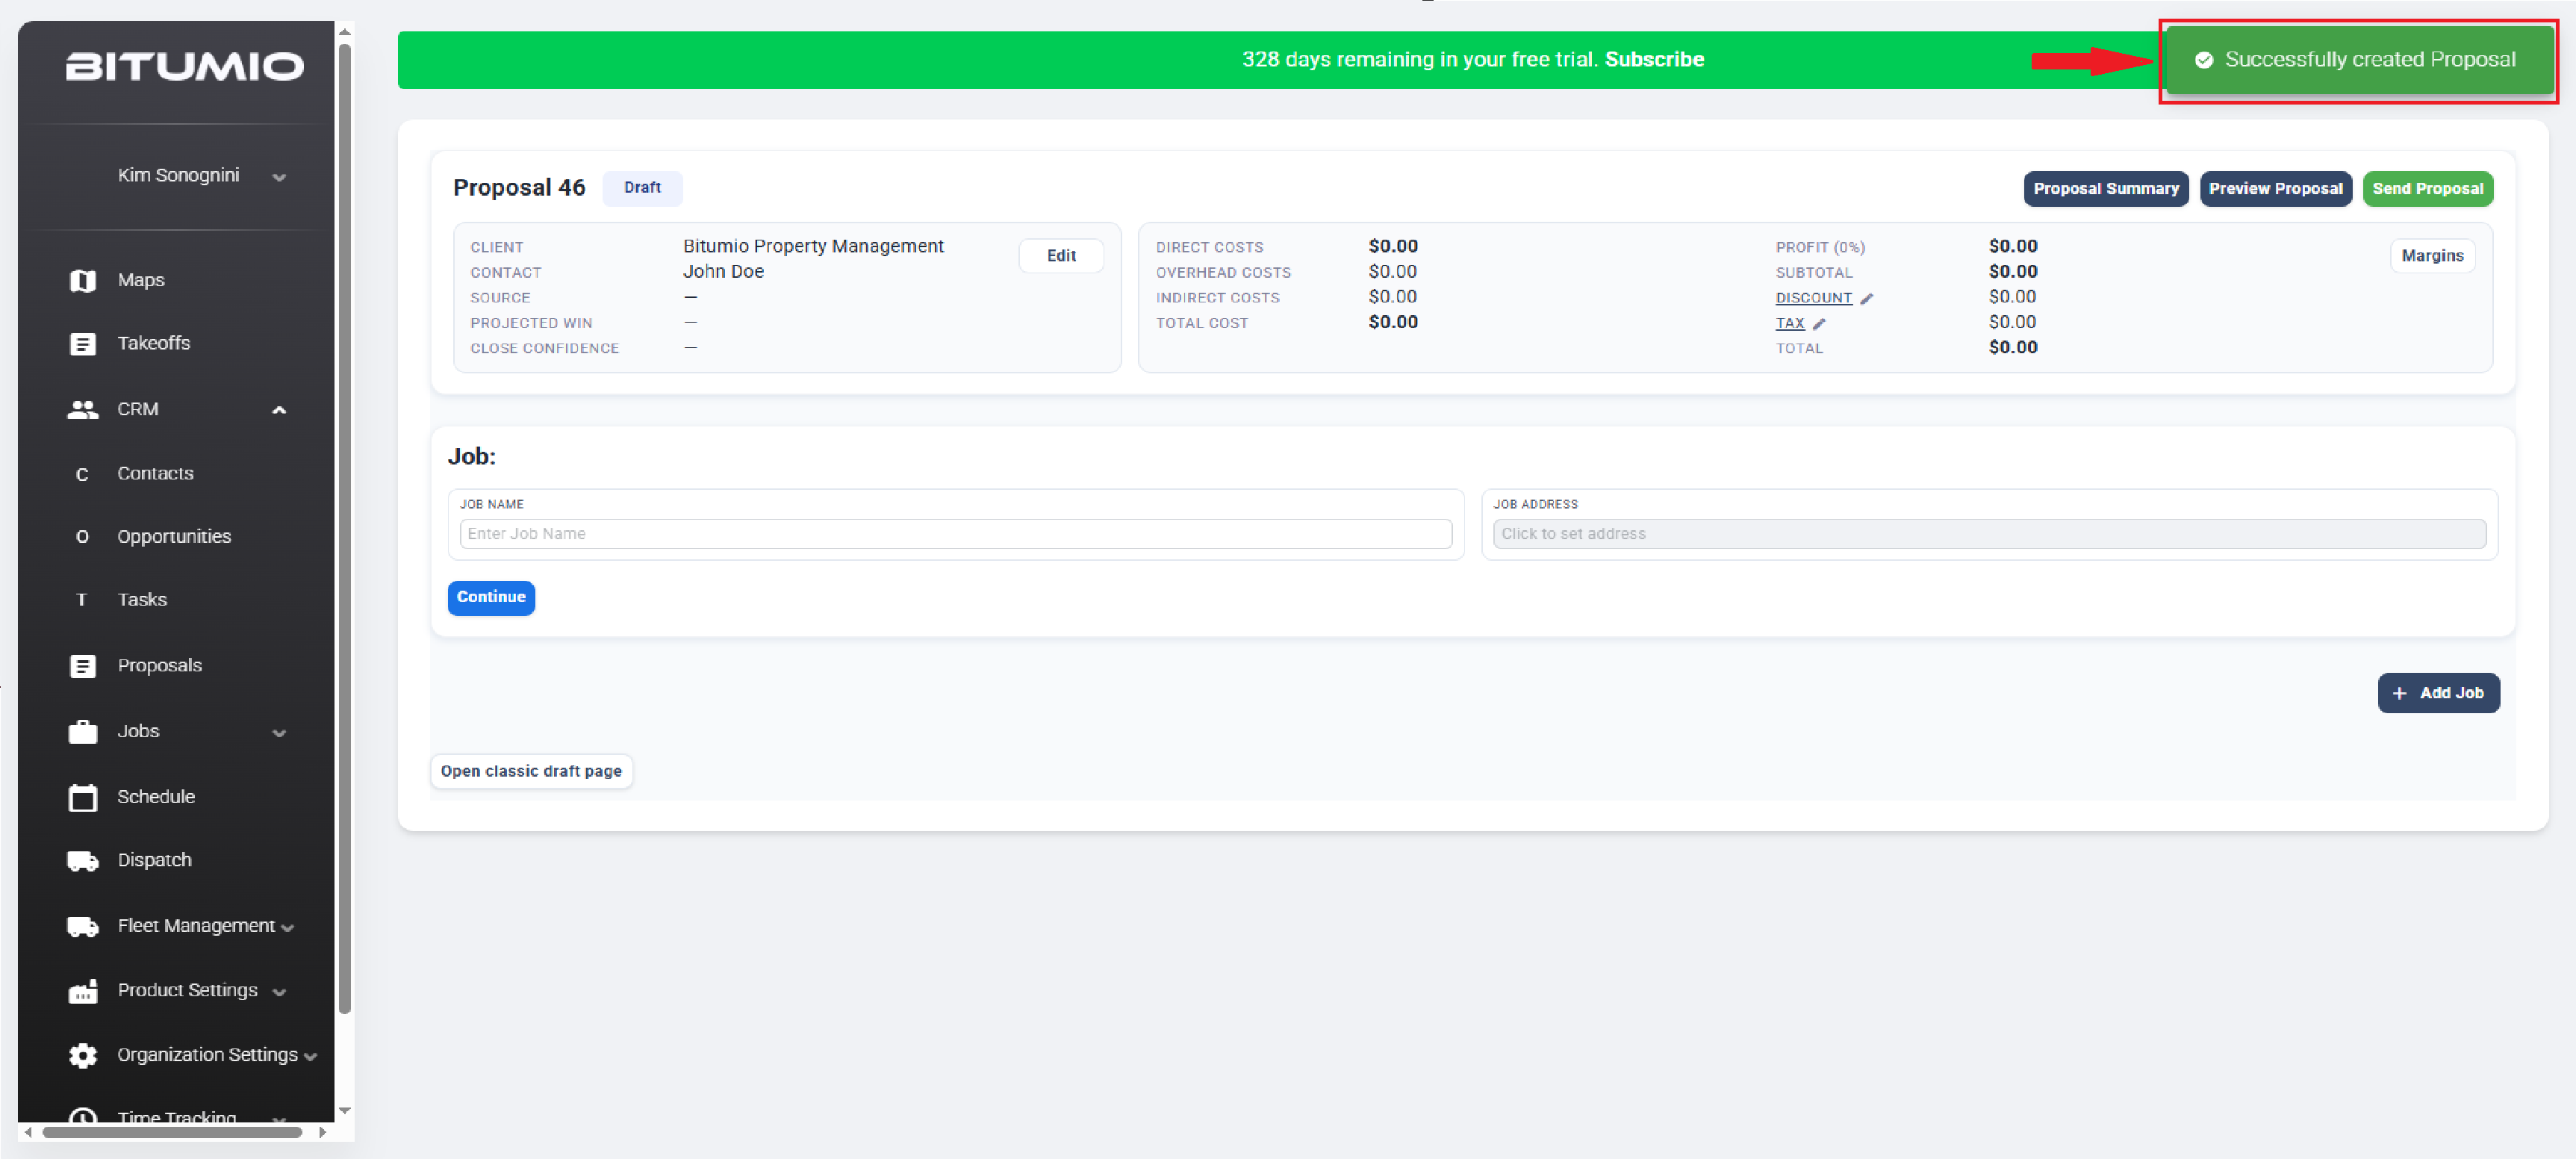
8. This creates the proposal and takes you to the Proposal Draft screen. In addition, a success message is displayed at the top-right corner of the screen.
9. Enter the stage name in the Enter Job Name field.
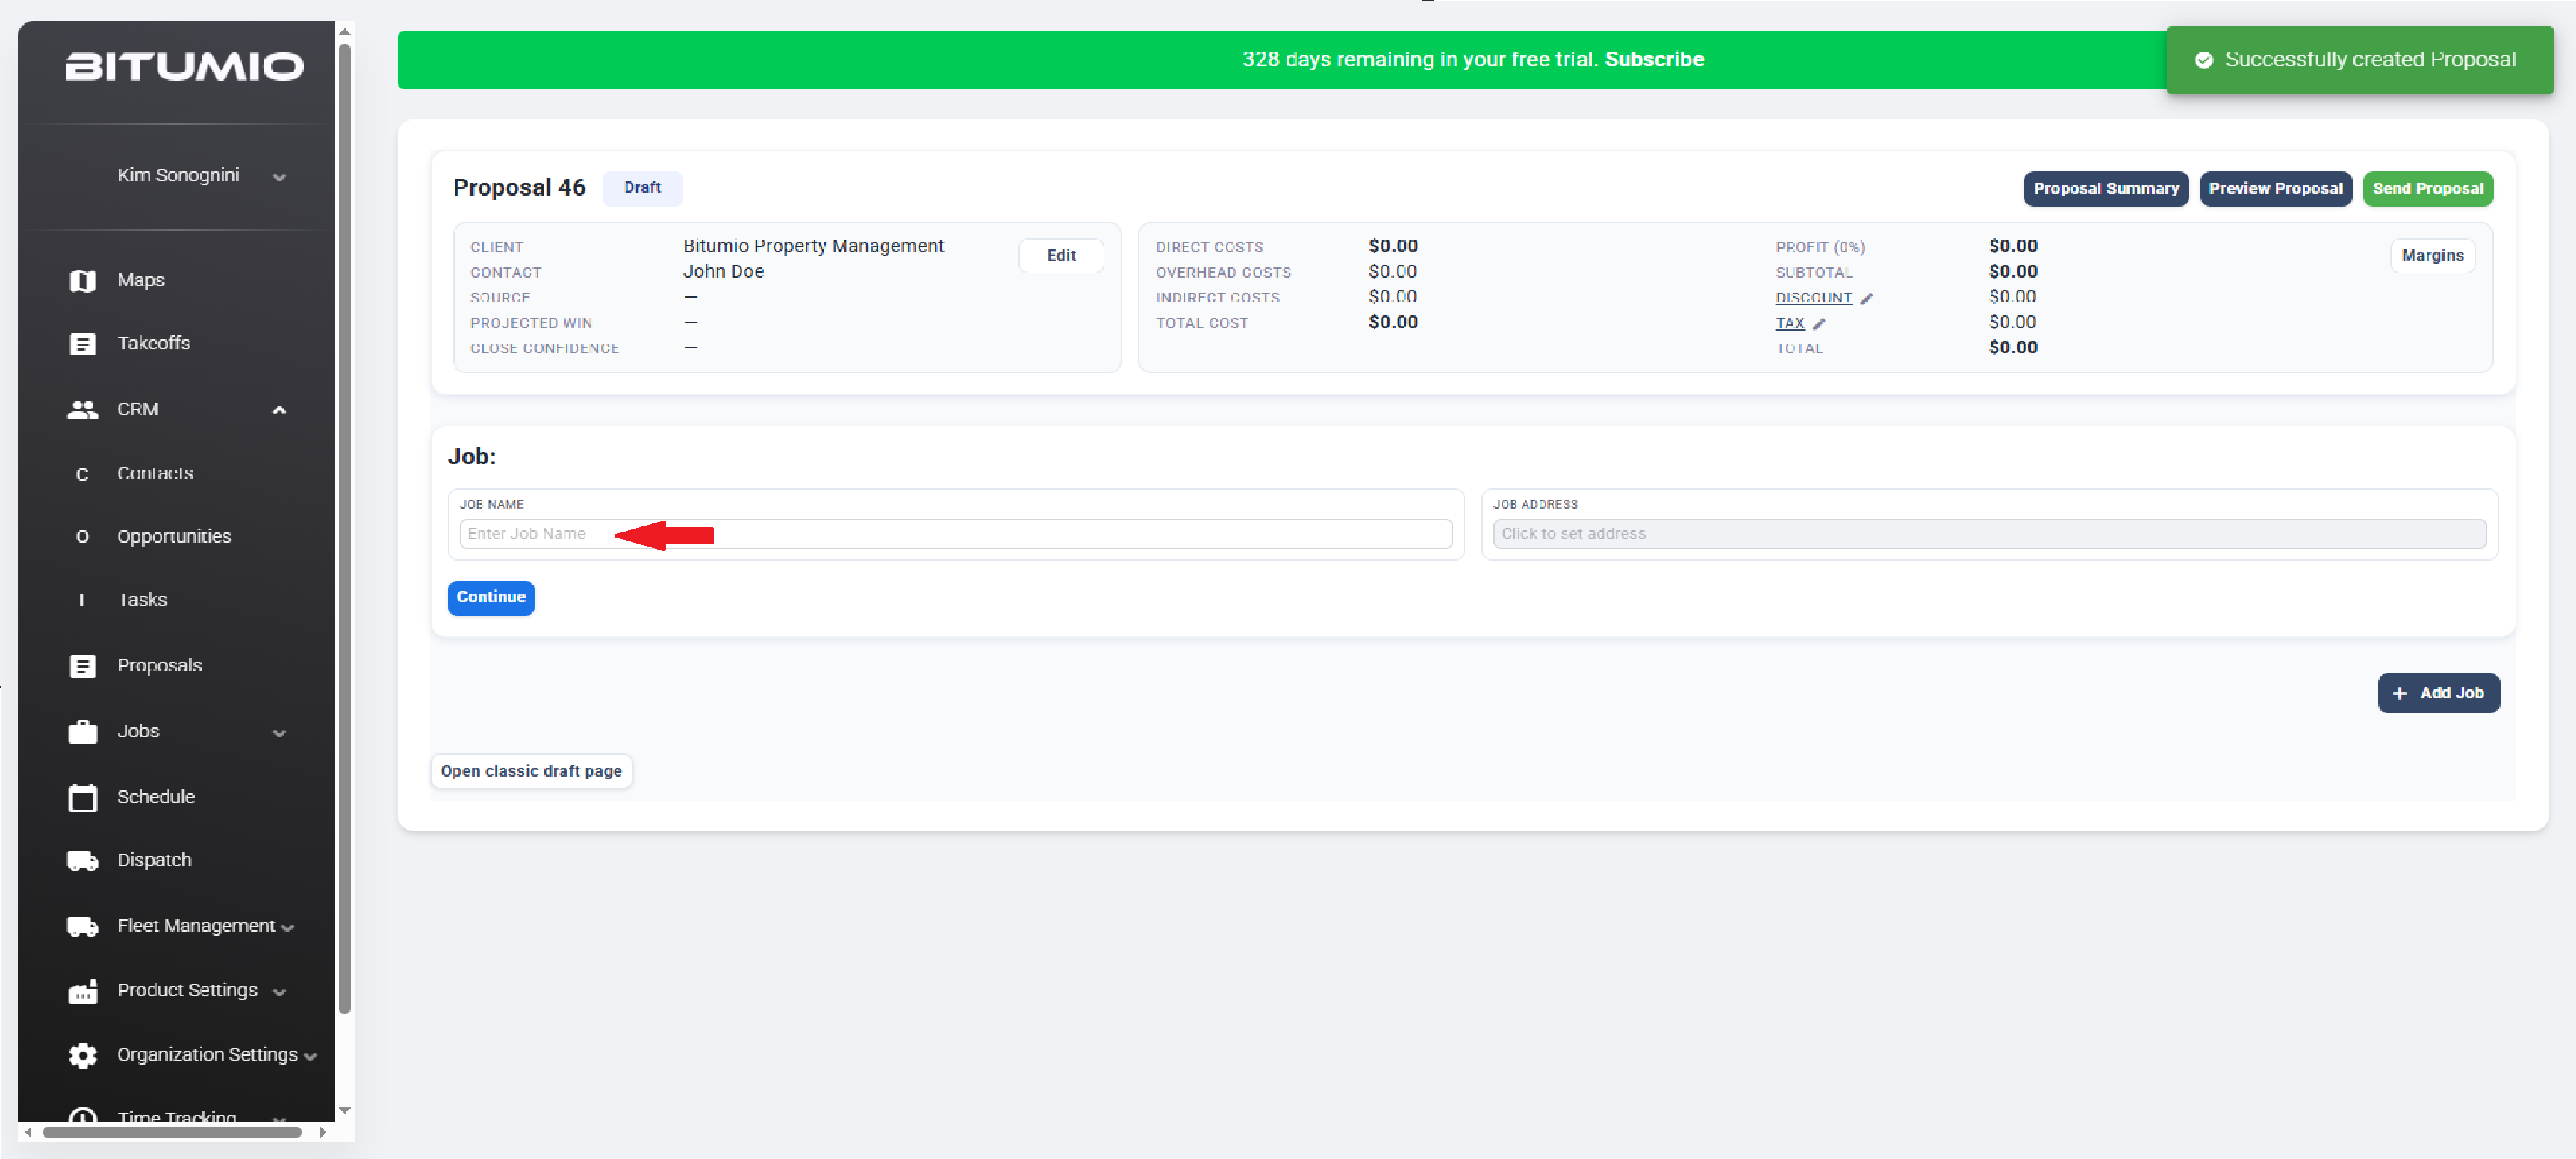
10. Use the Enter Job Address field to provide the job address.
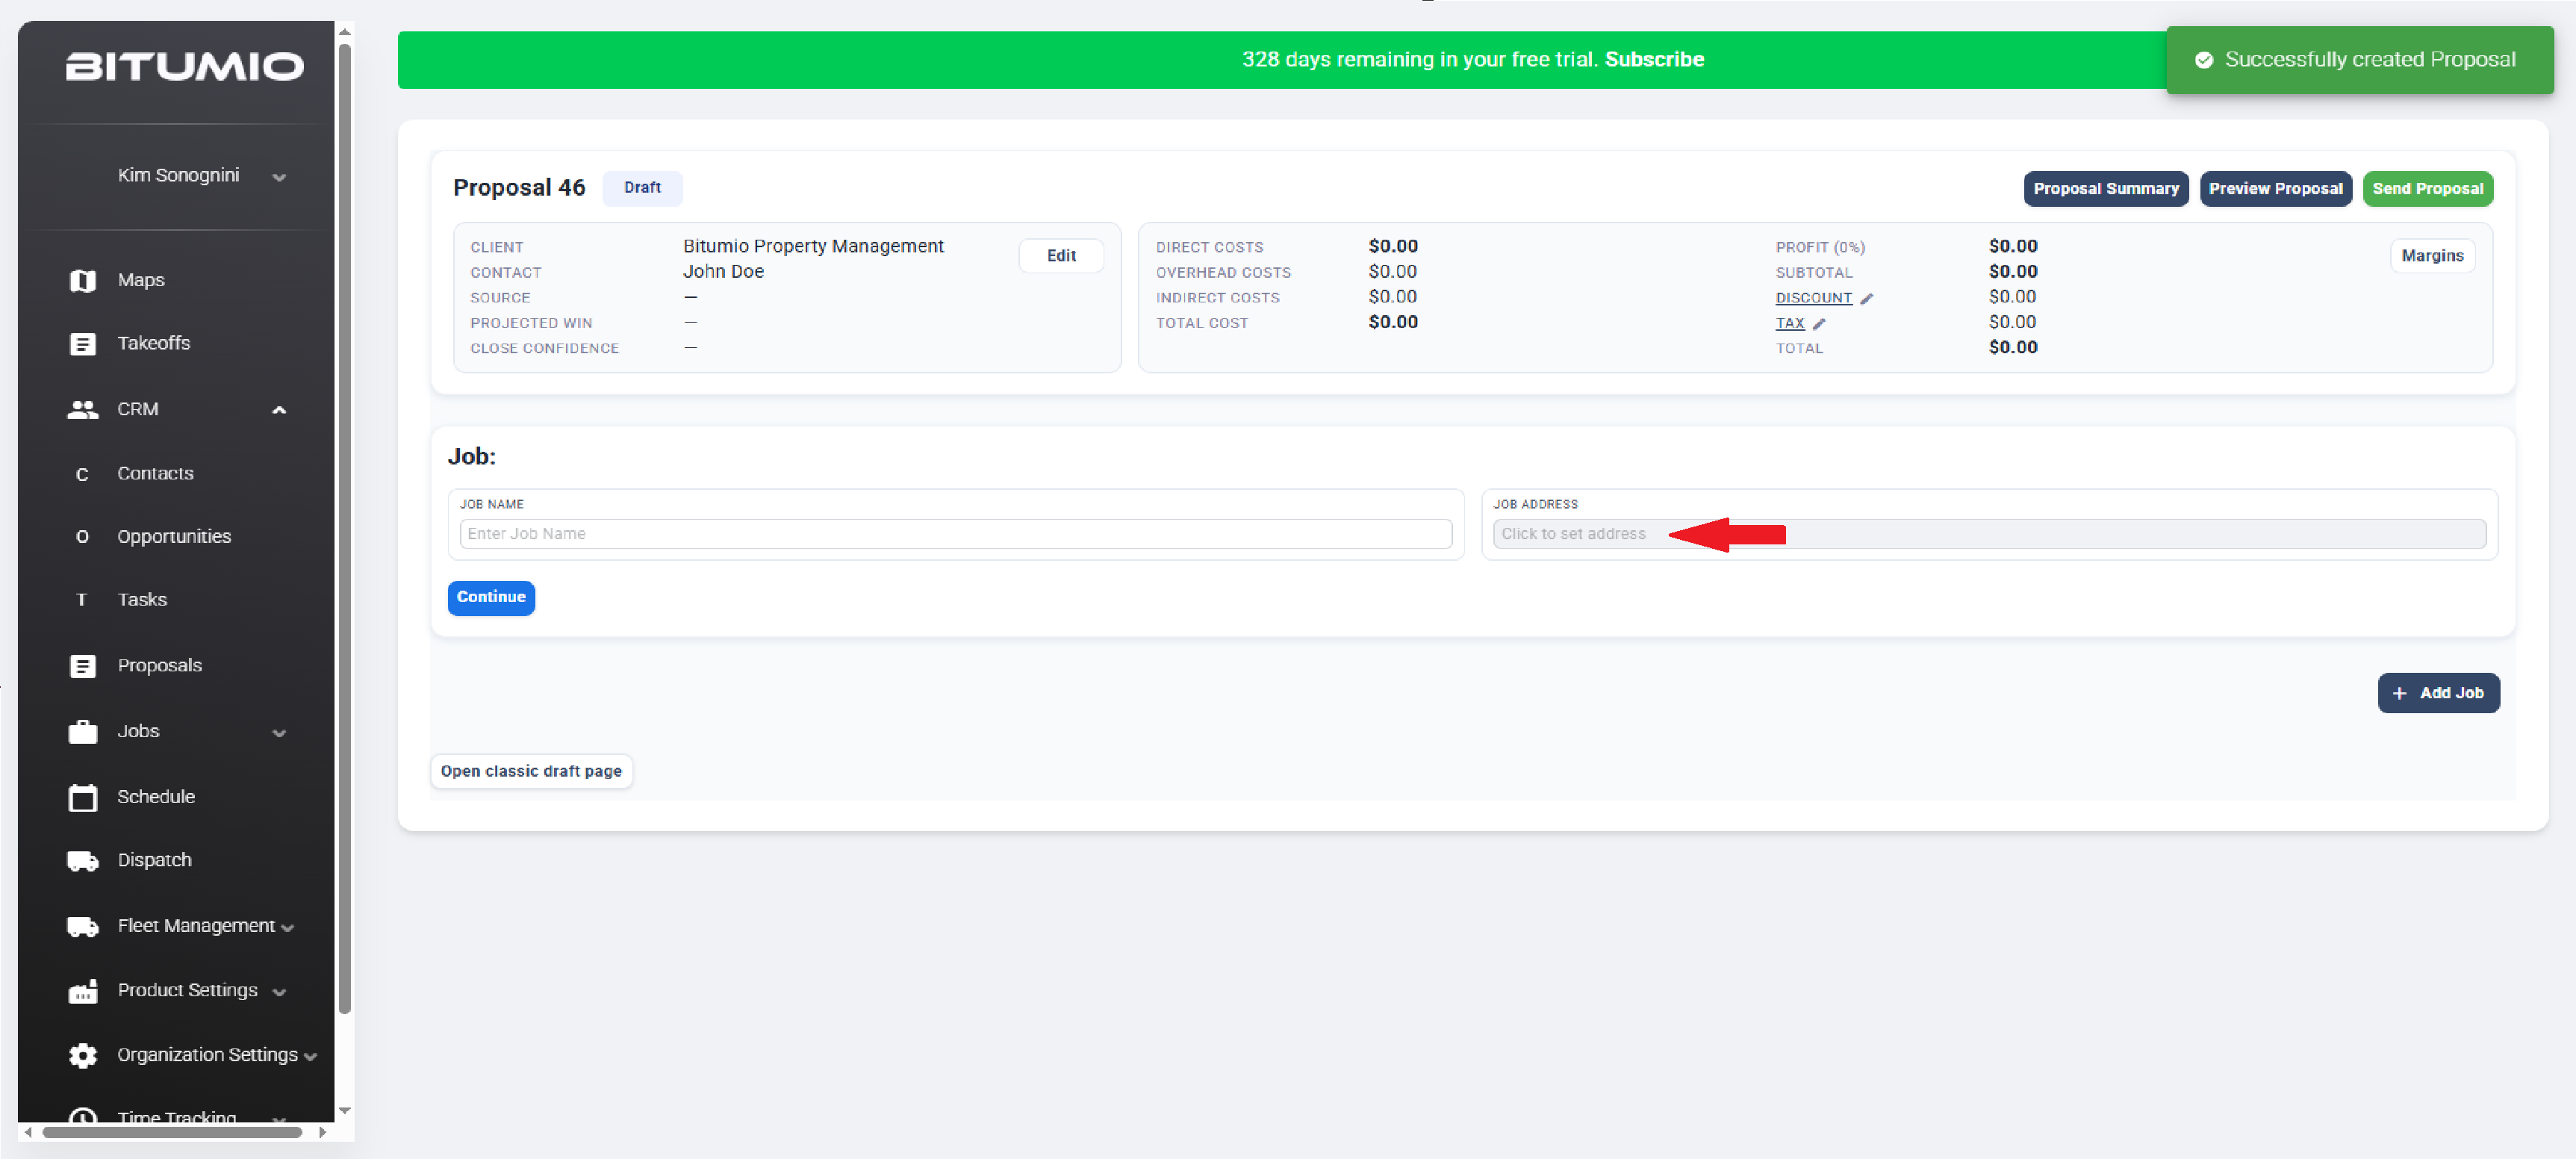
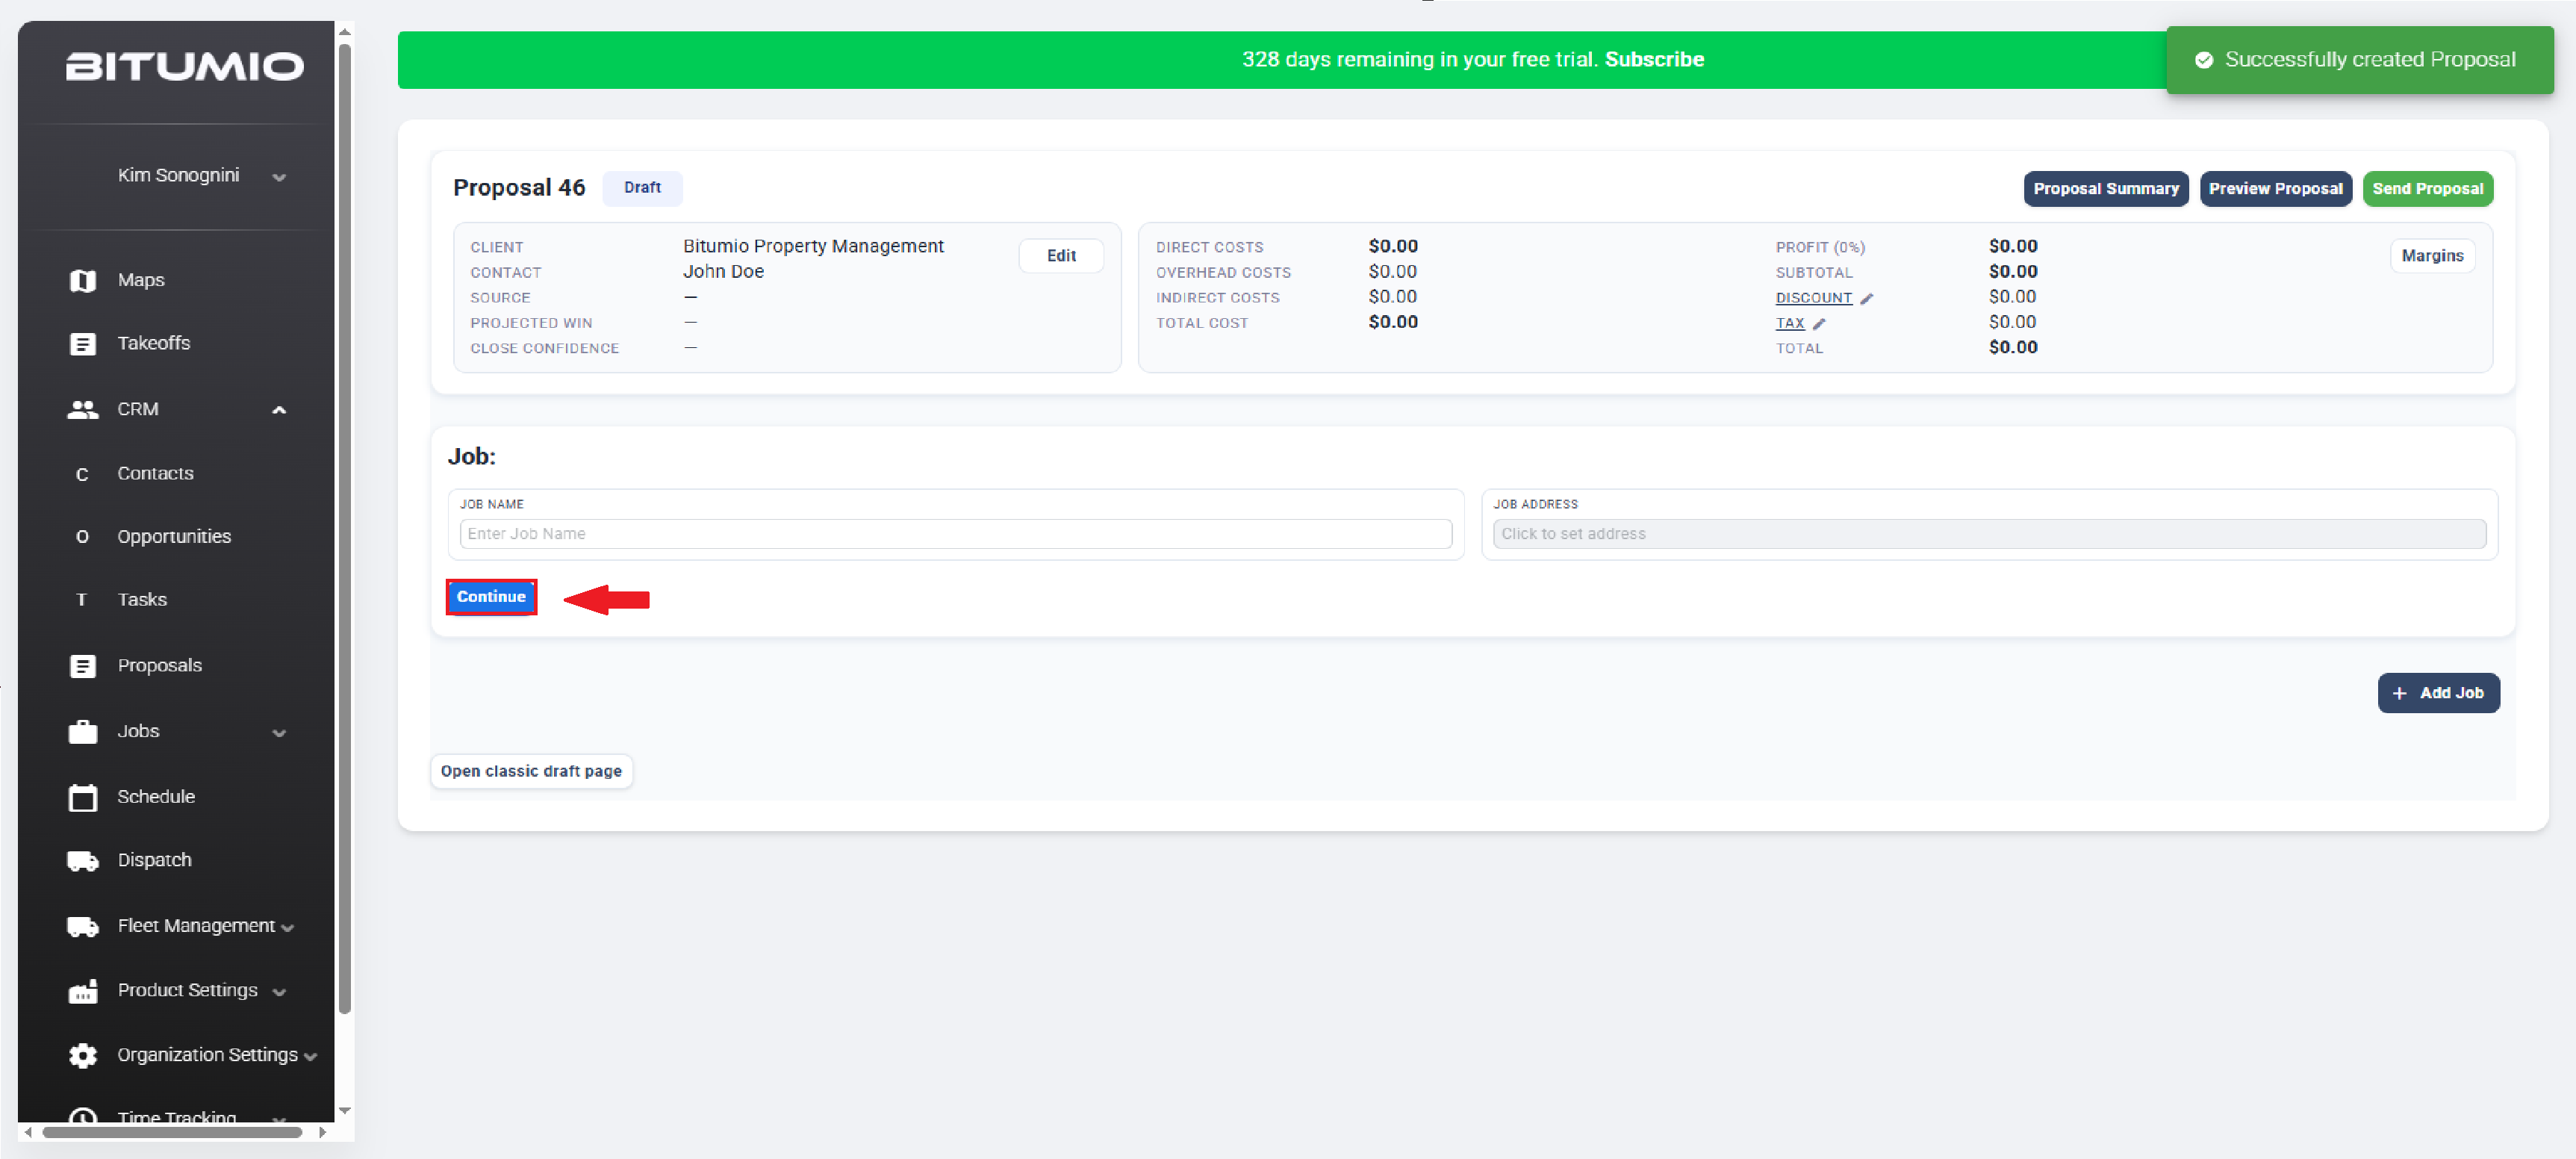
11. Once both details are recorded, click the  button.
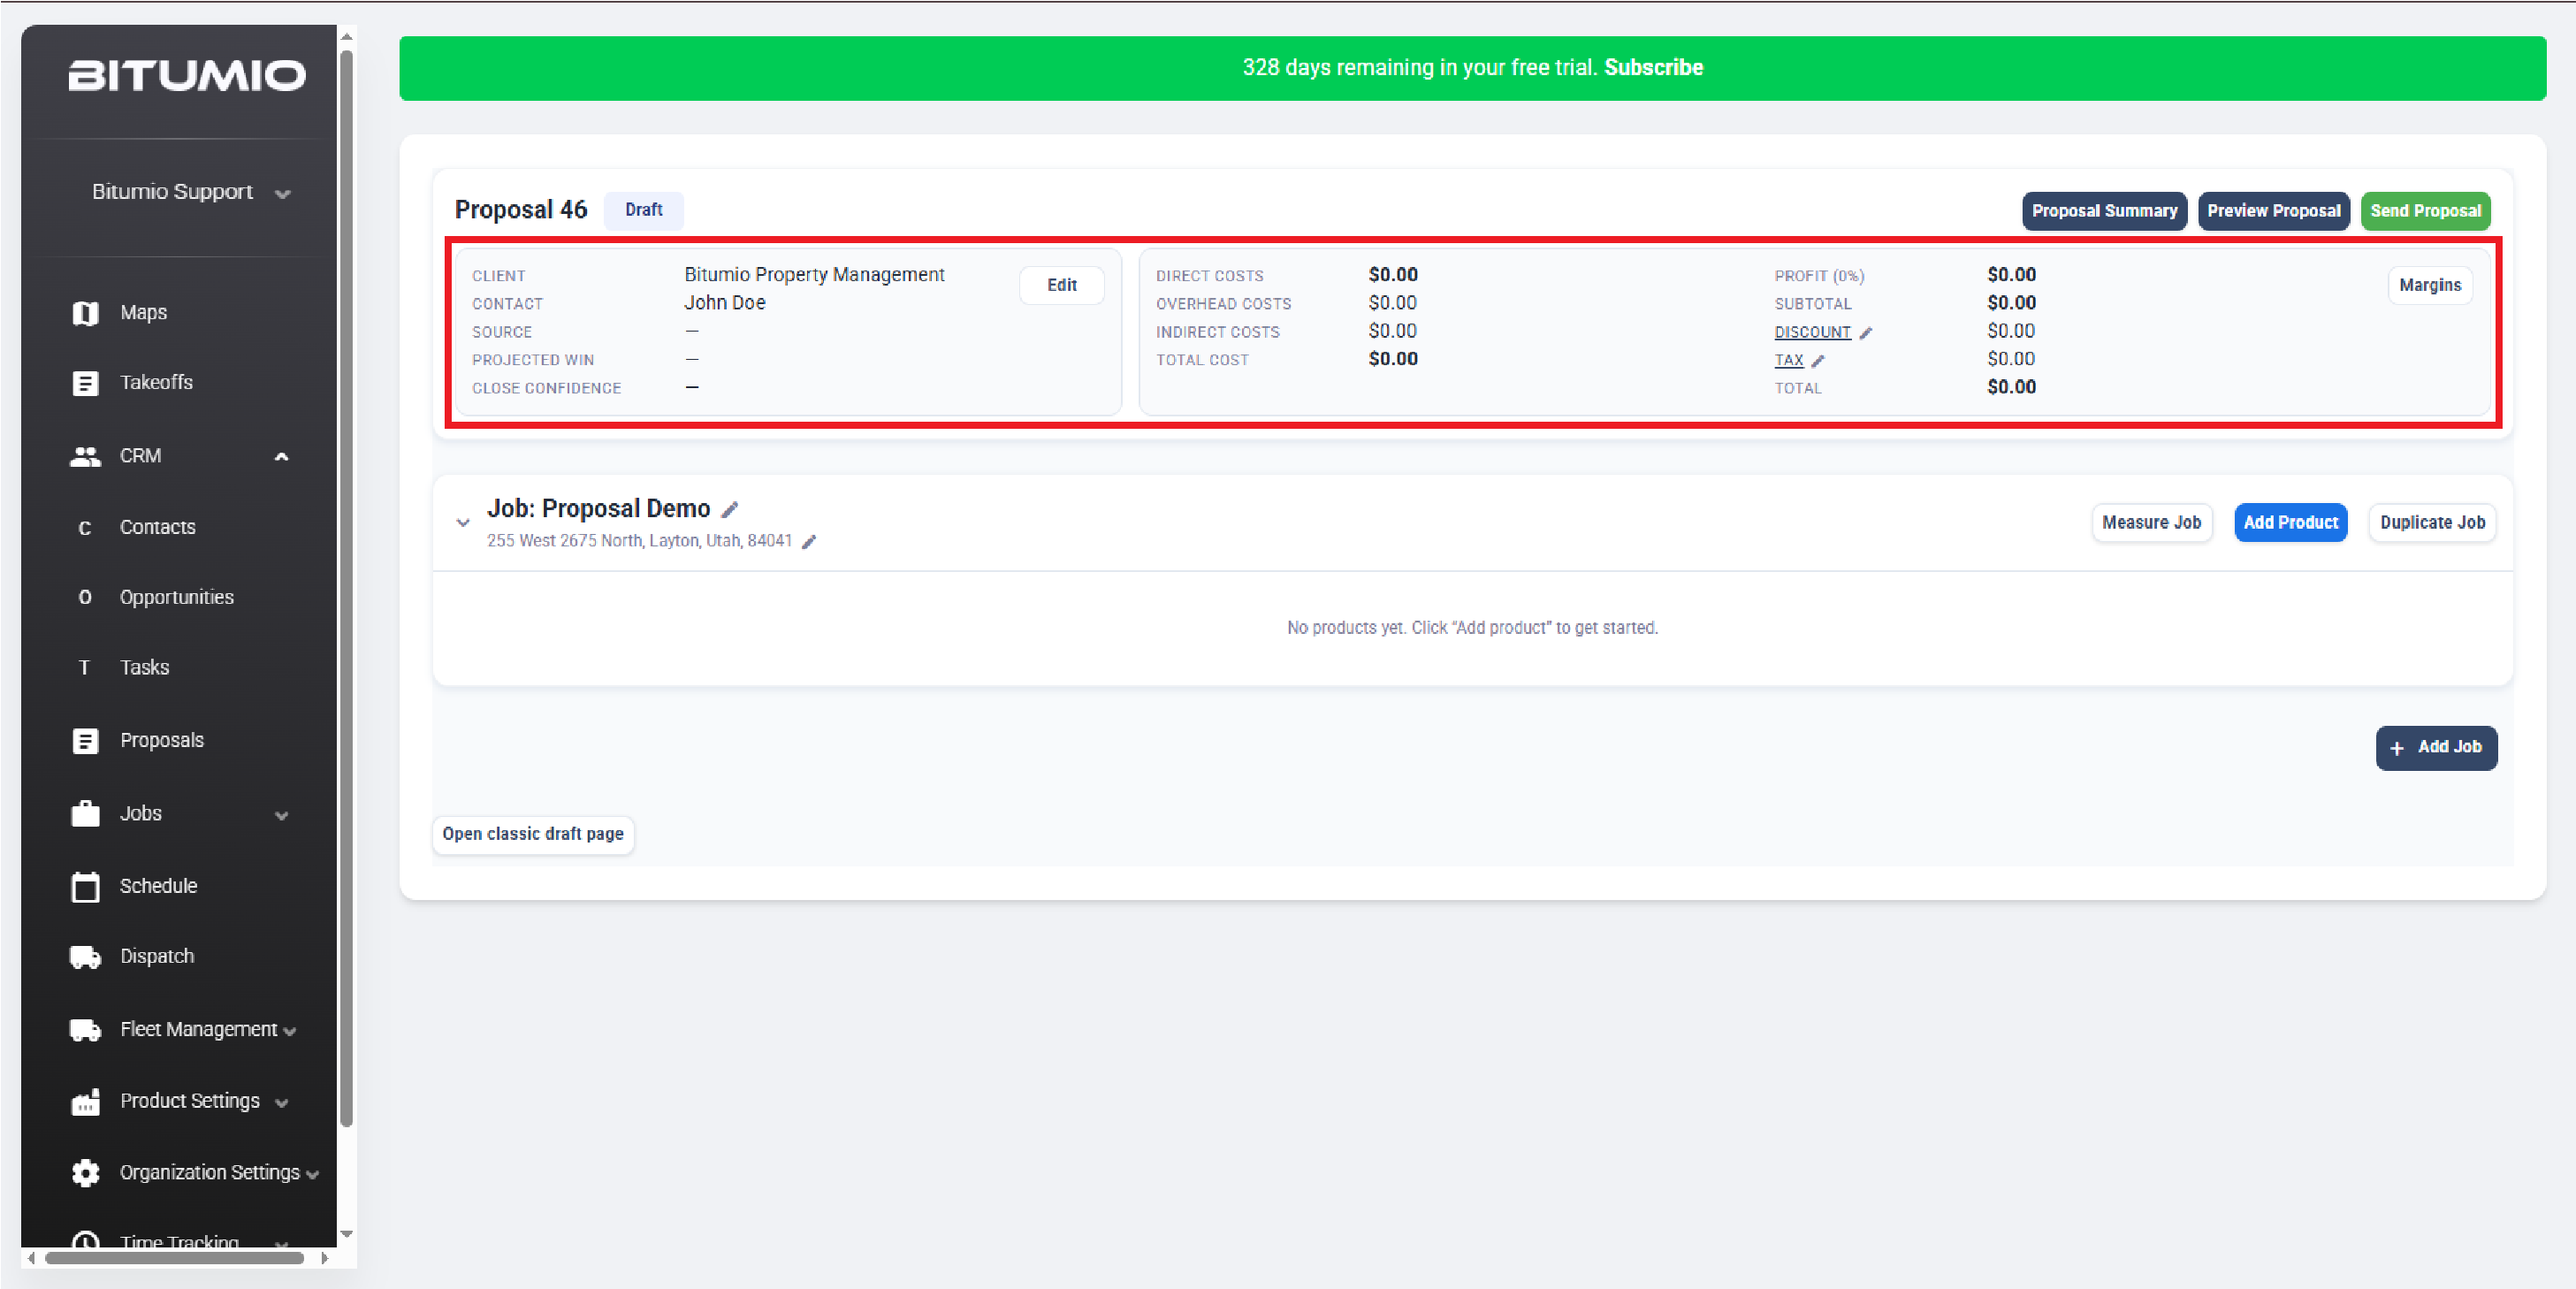
12. The Proposal Summary at the top groups your essential metrics—like total costs, net profit, and gross margins—into one easy-to-read snapshot. .
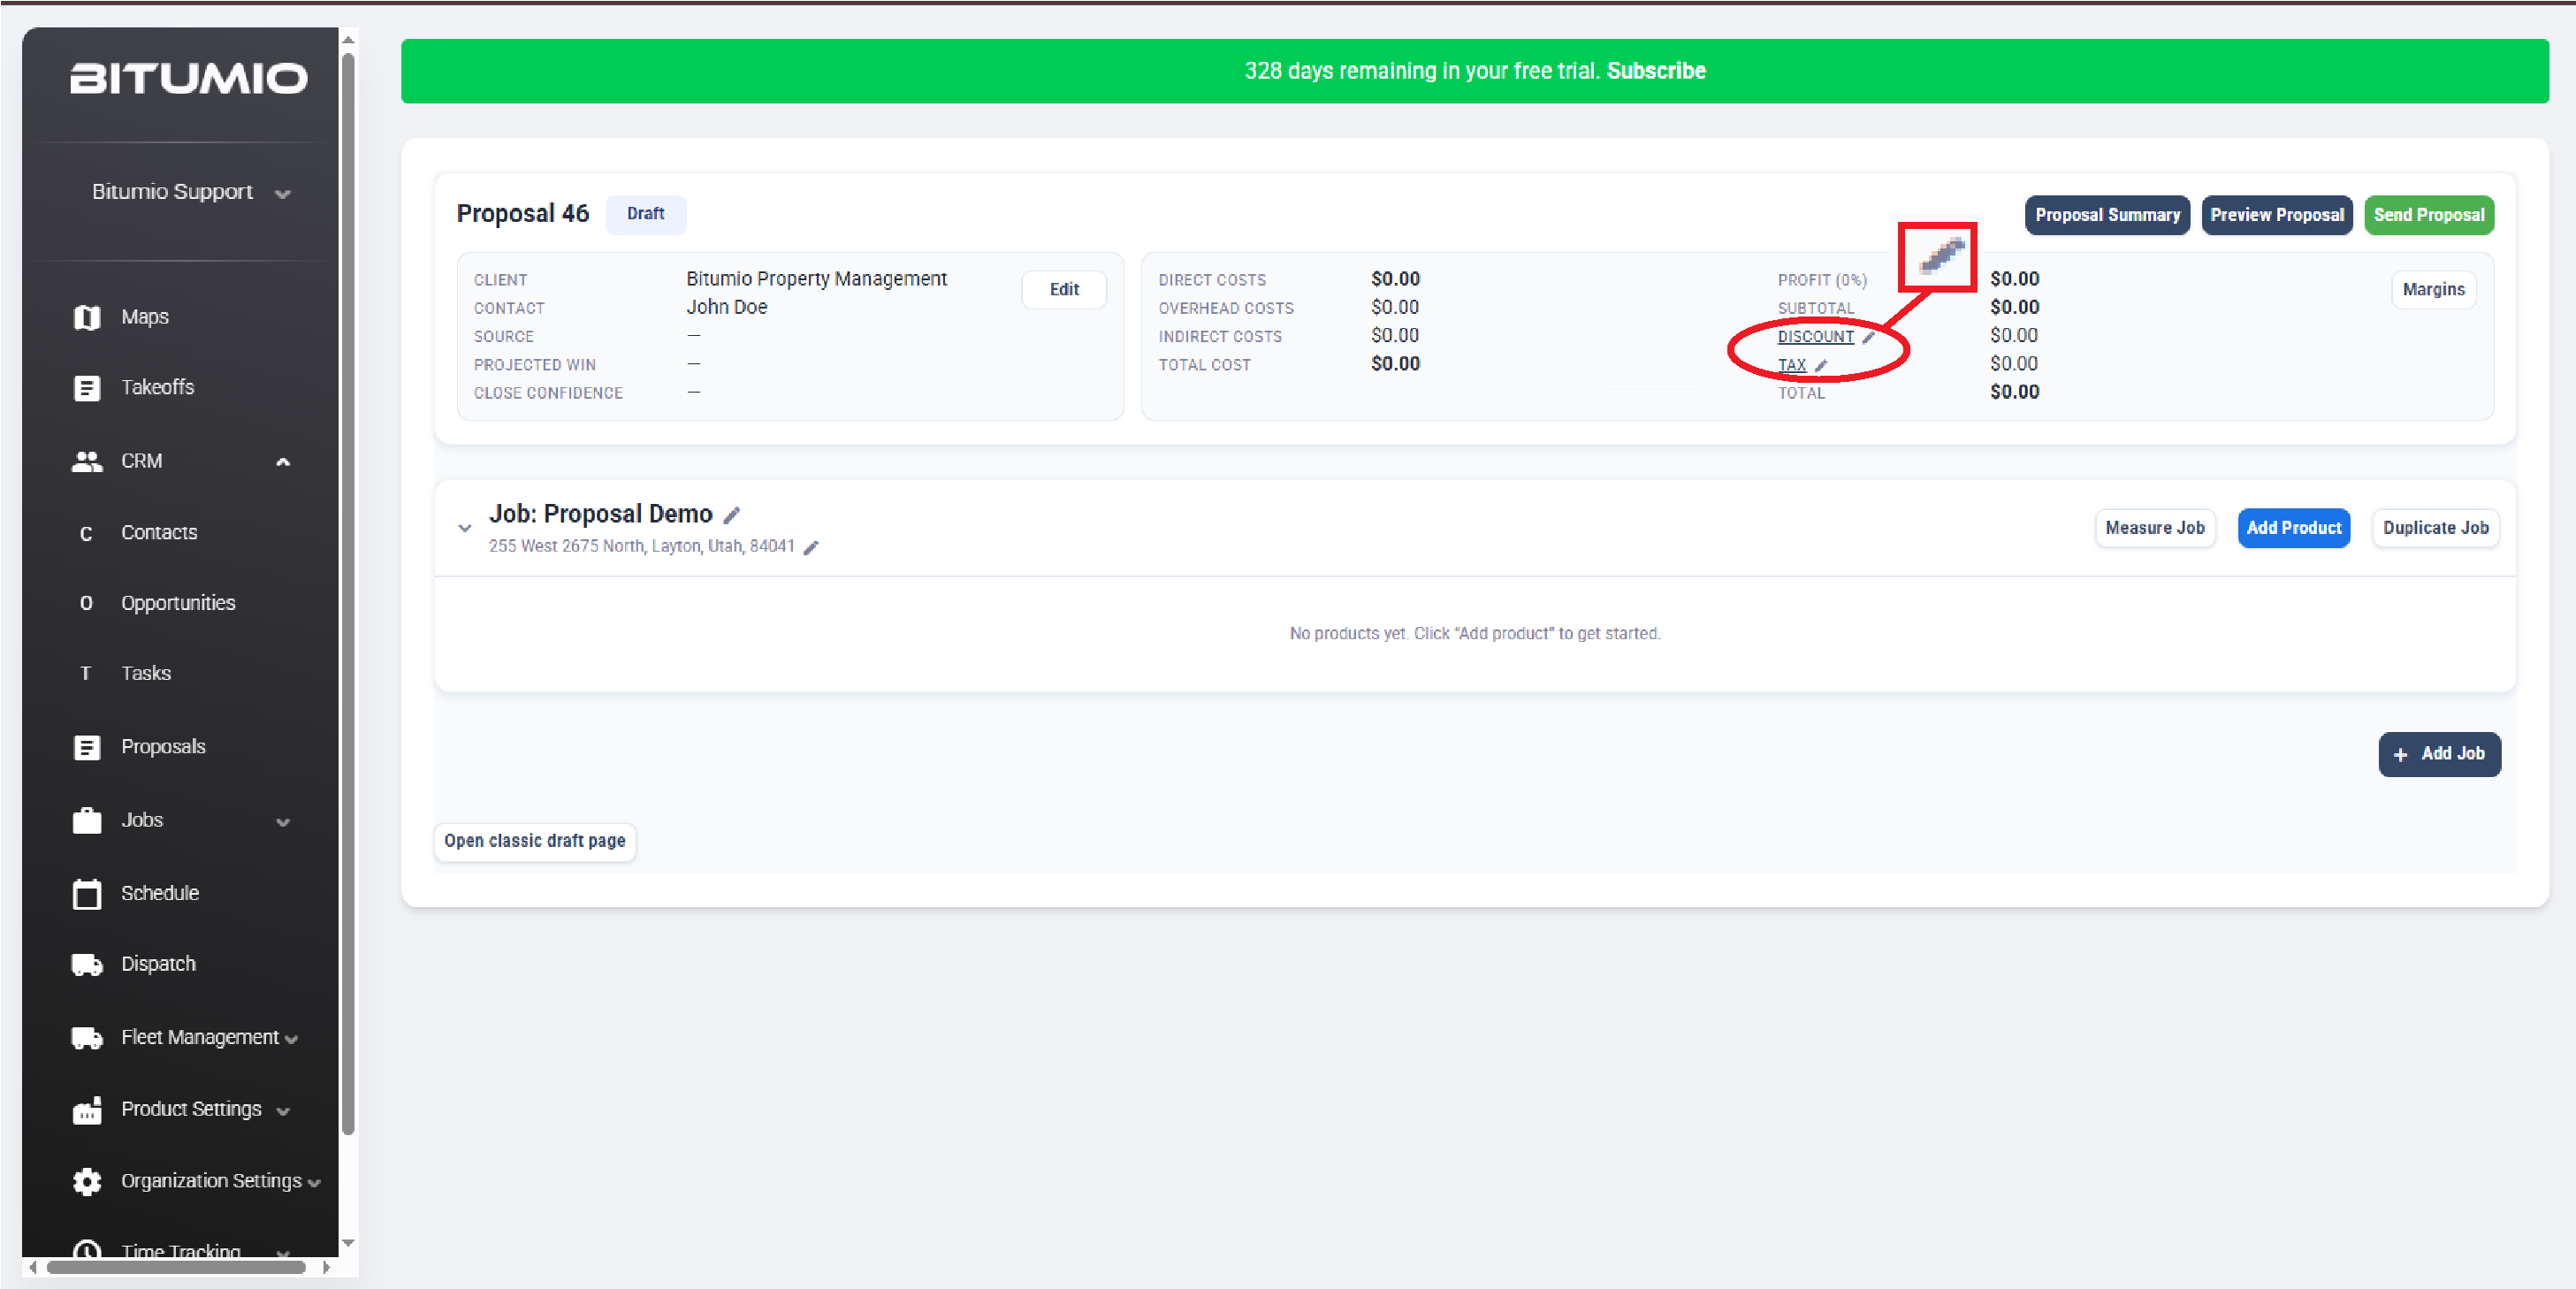
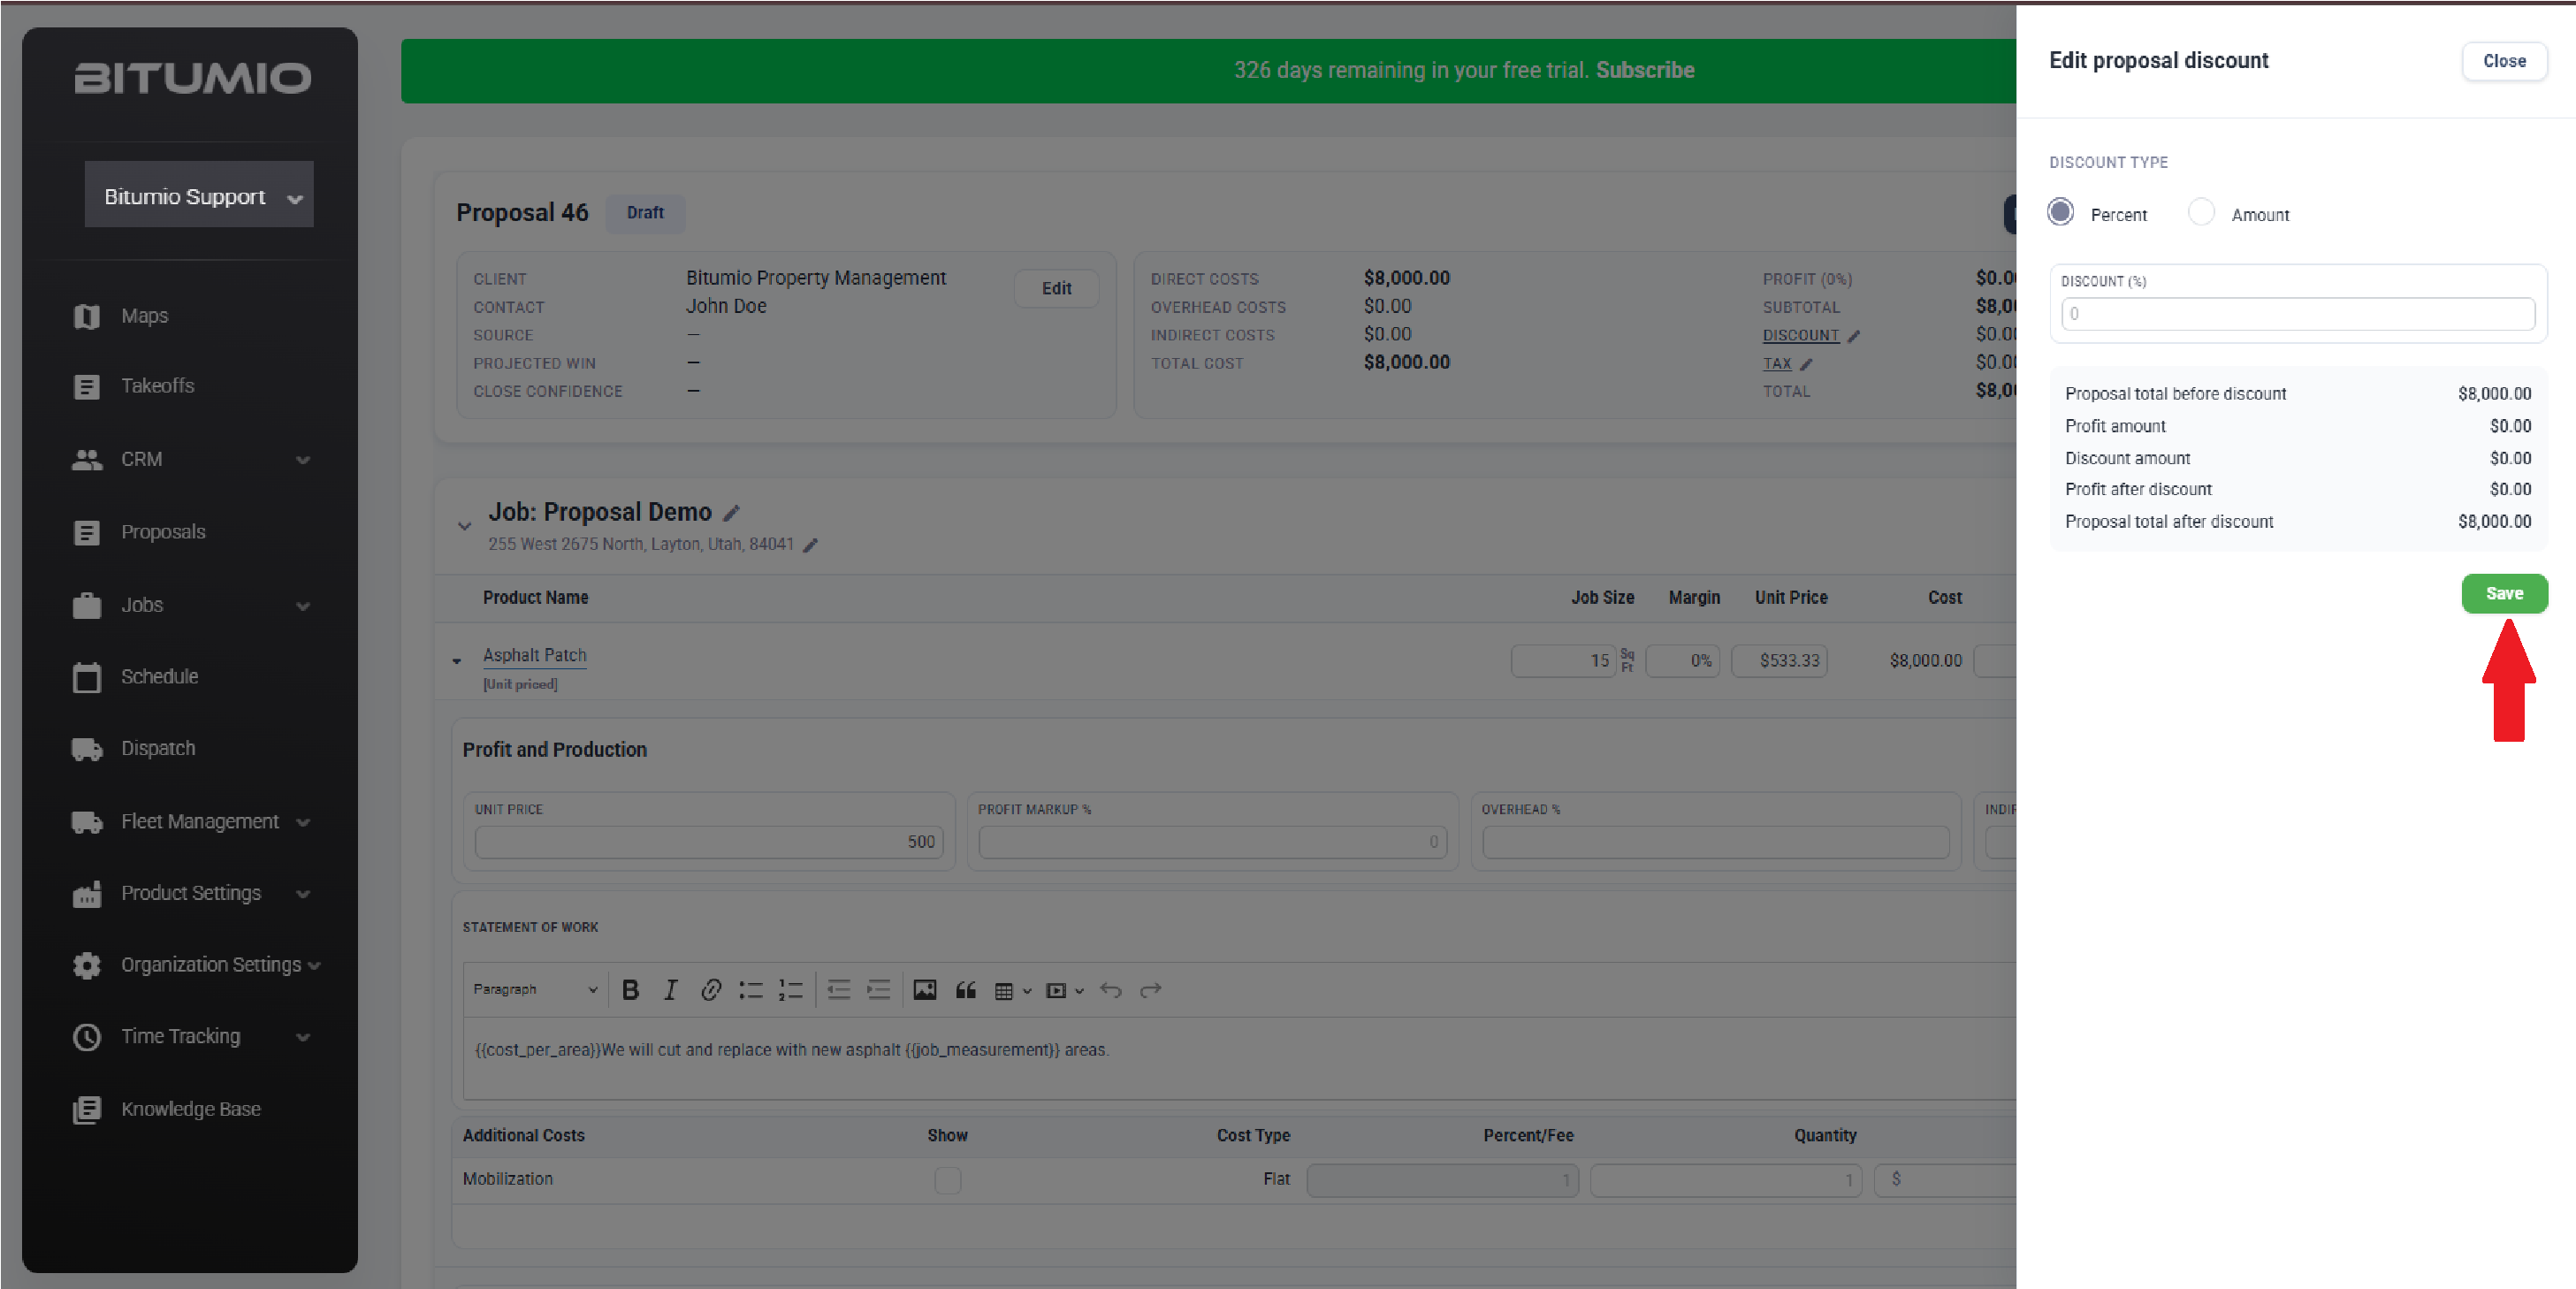
13. You can also edit the Tax Rate and Discount applied by clicking the edit icon next to either name. Doing so opens the Edit Tax Rates or Edit Discount drawer respectively. Once the required selection(s) are made, click the  button.
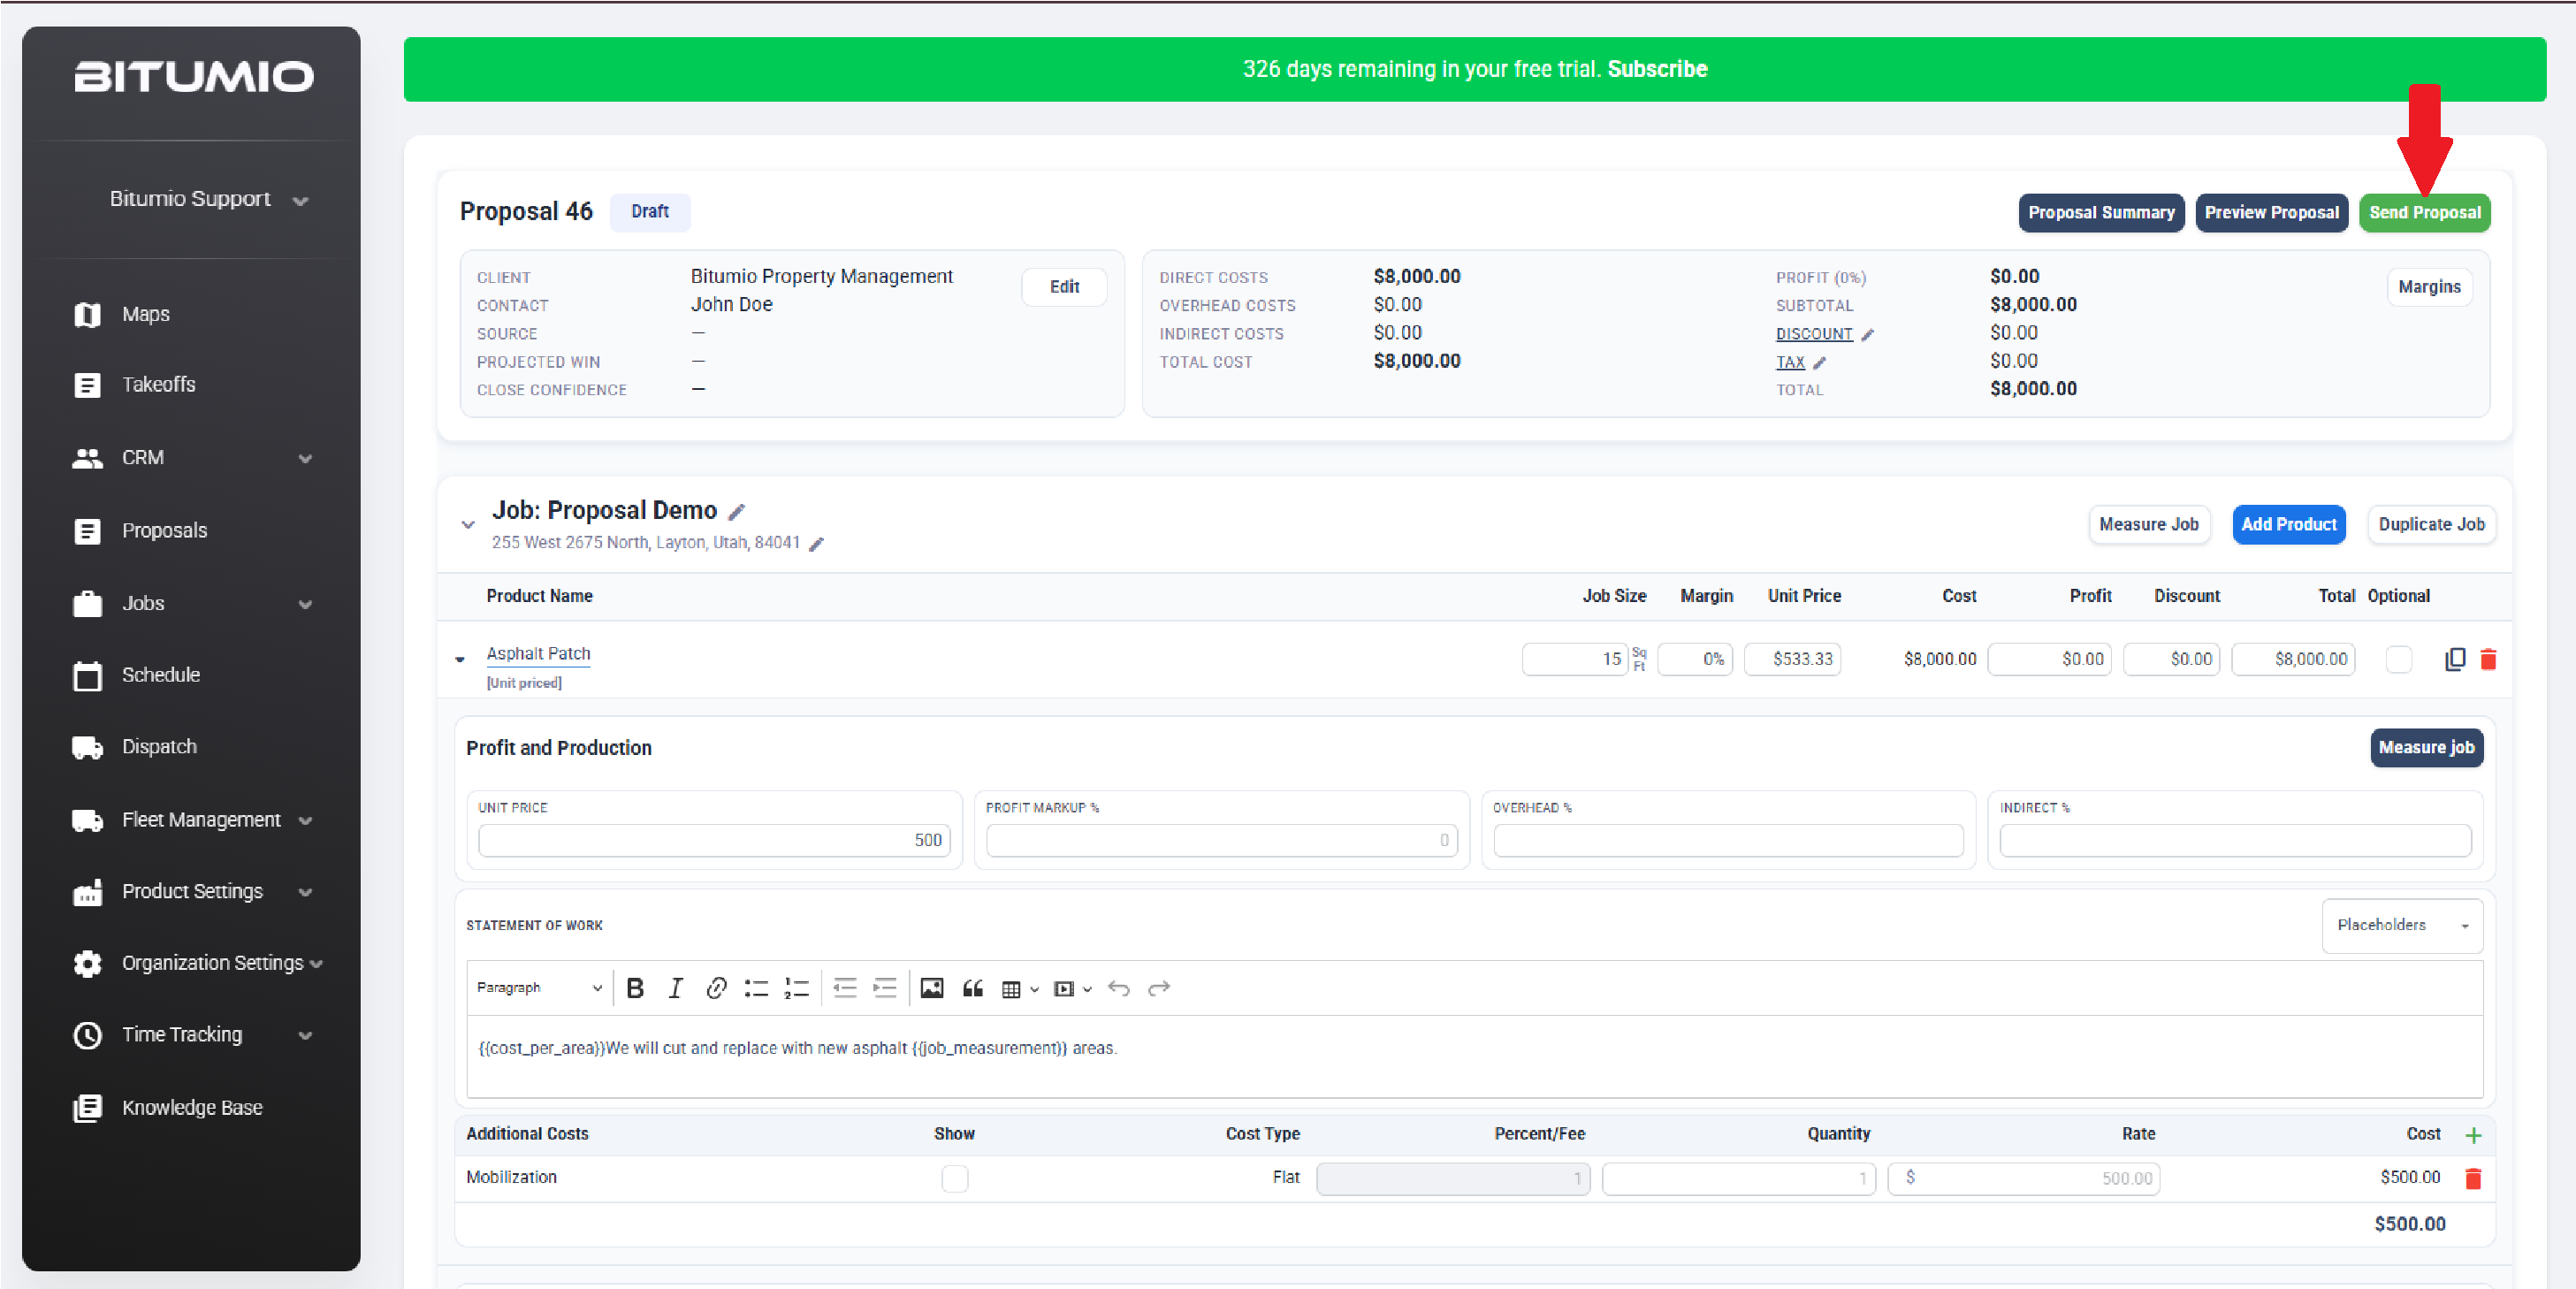
14. Select Send Proposal to review and configure advanced options before final delivery.
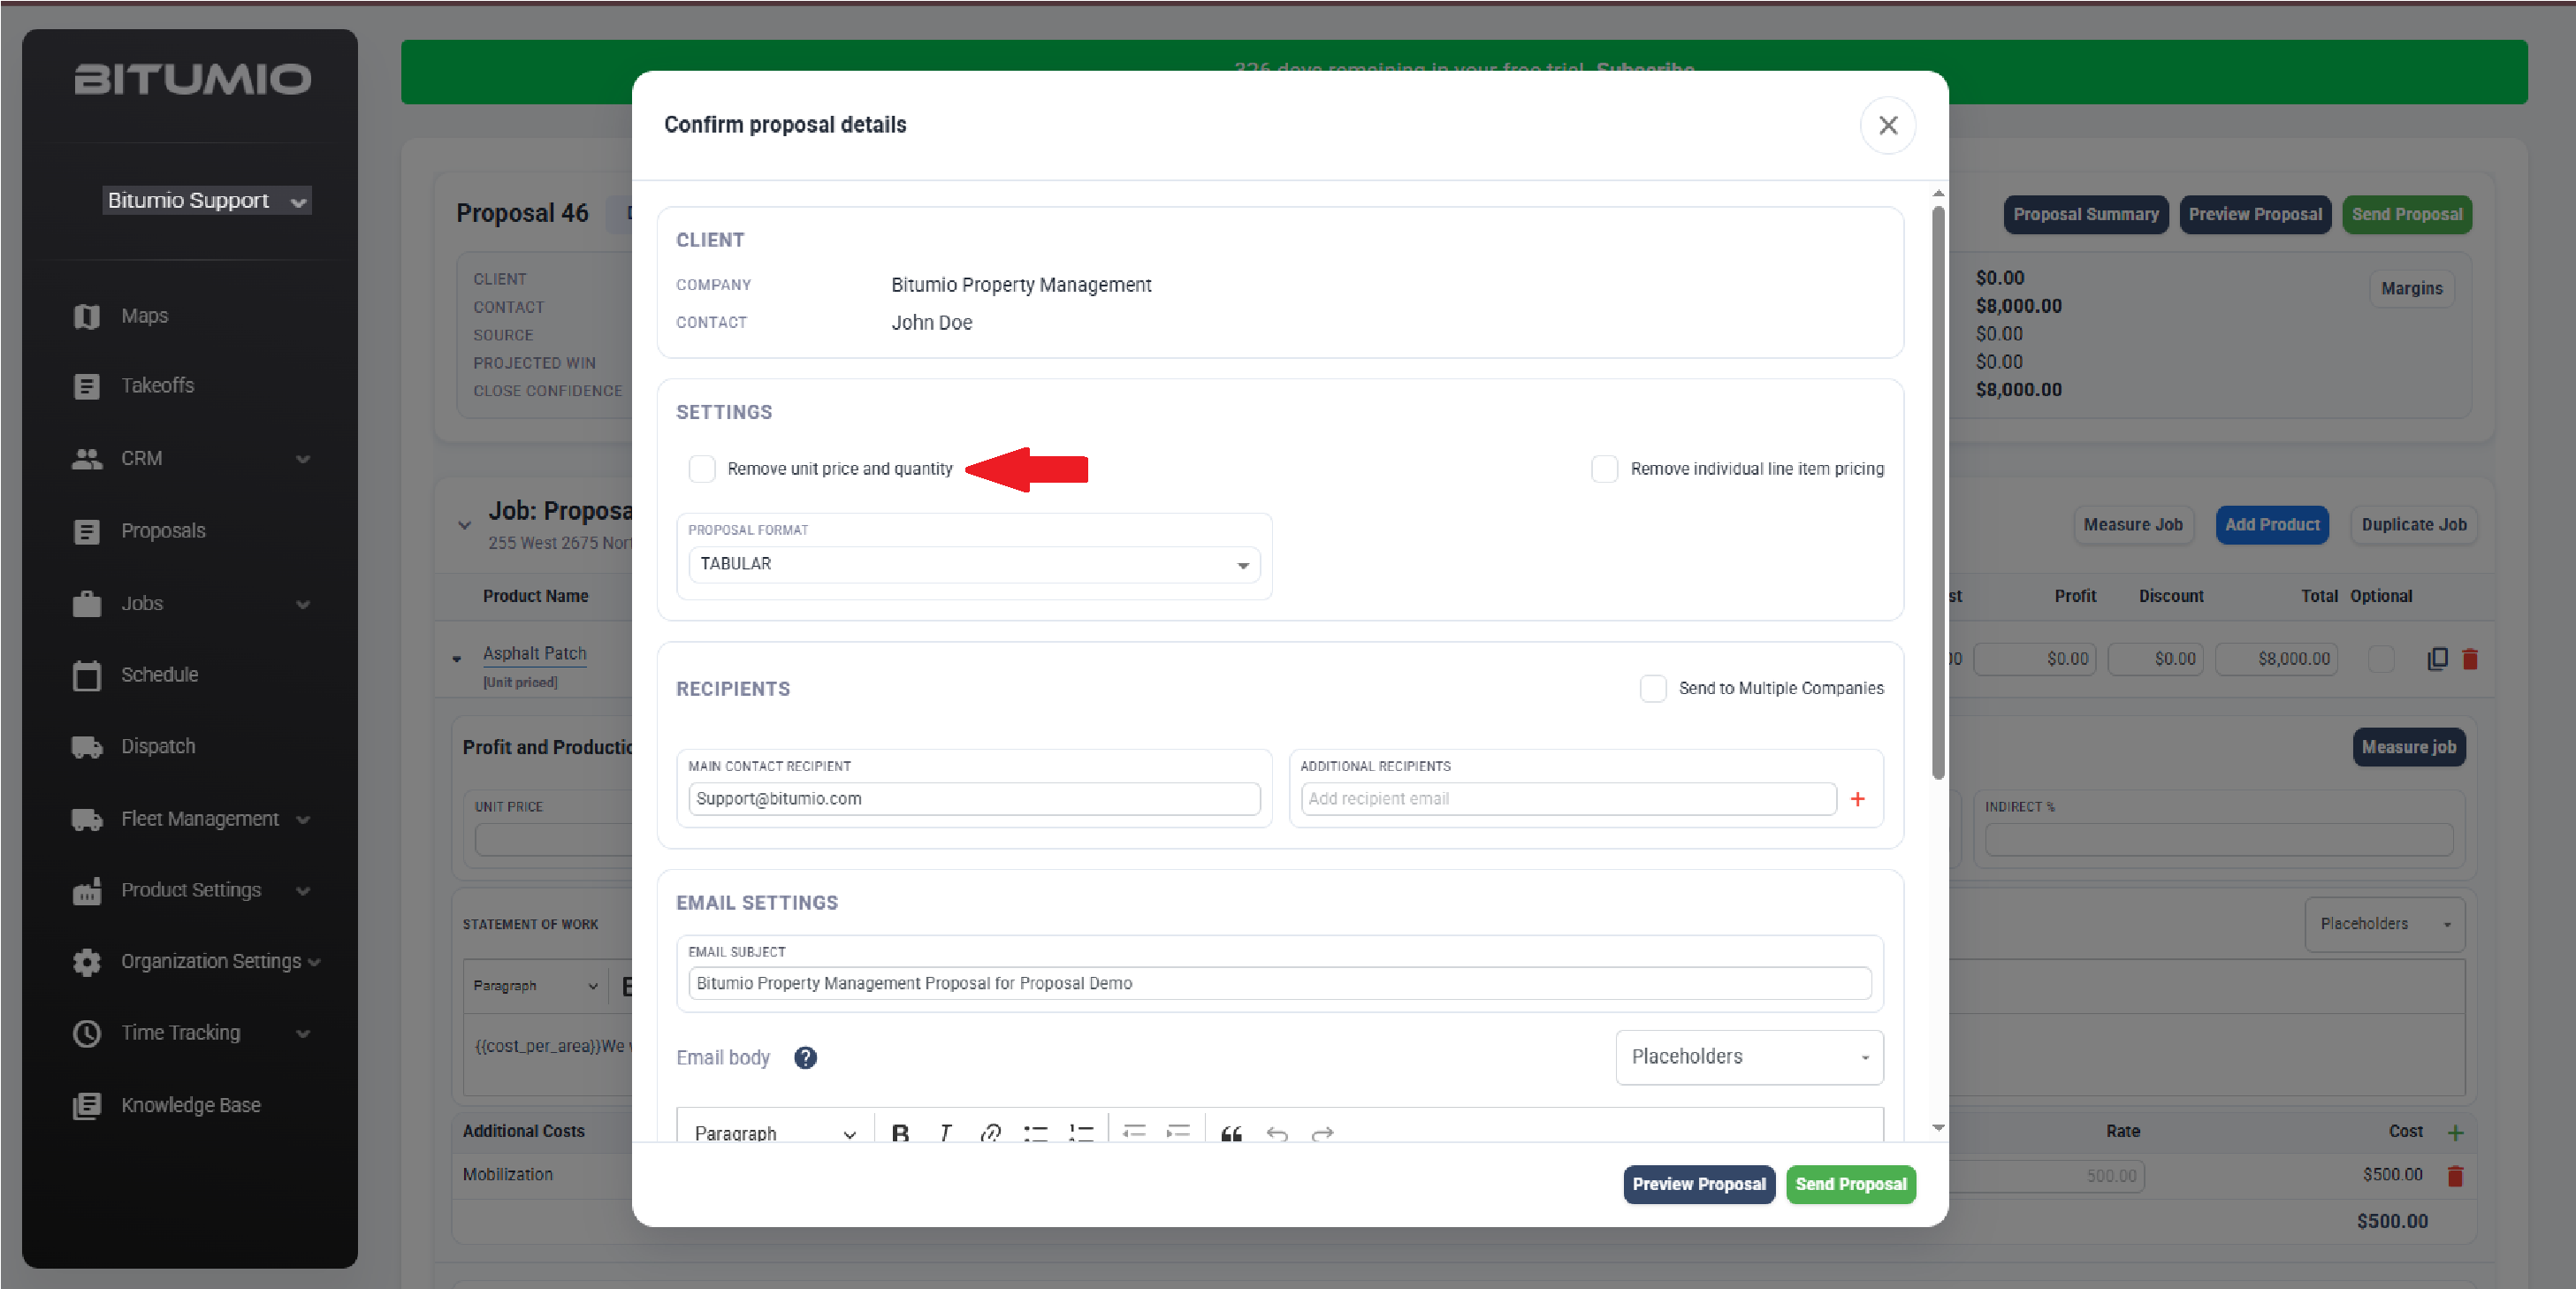
15. If you do not want to display unit price and quantity, mark the Remove Unit Price and Quantity checkbox.
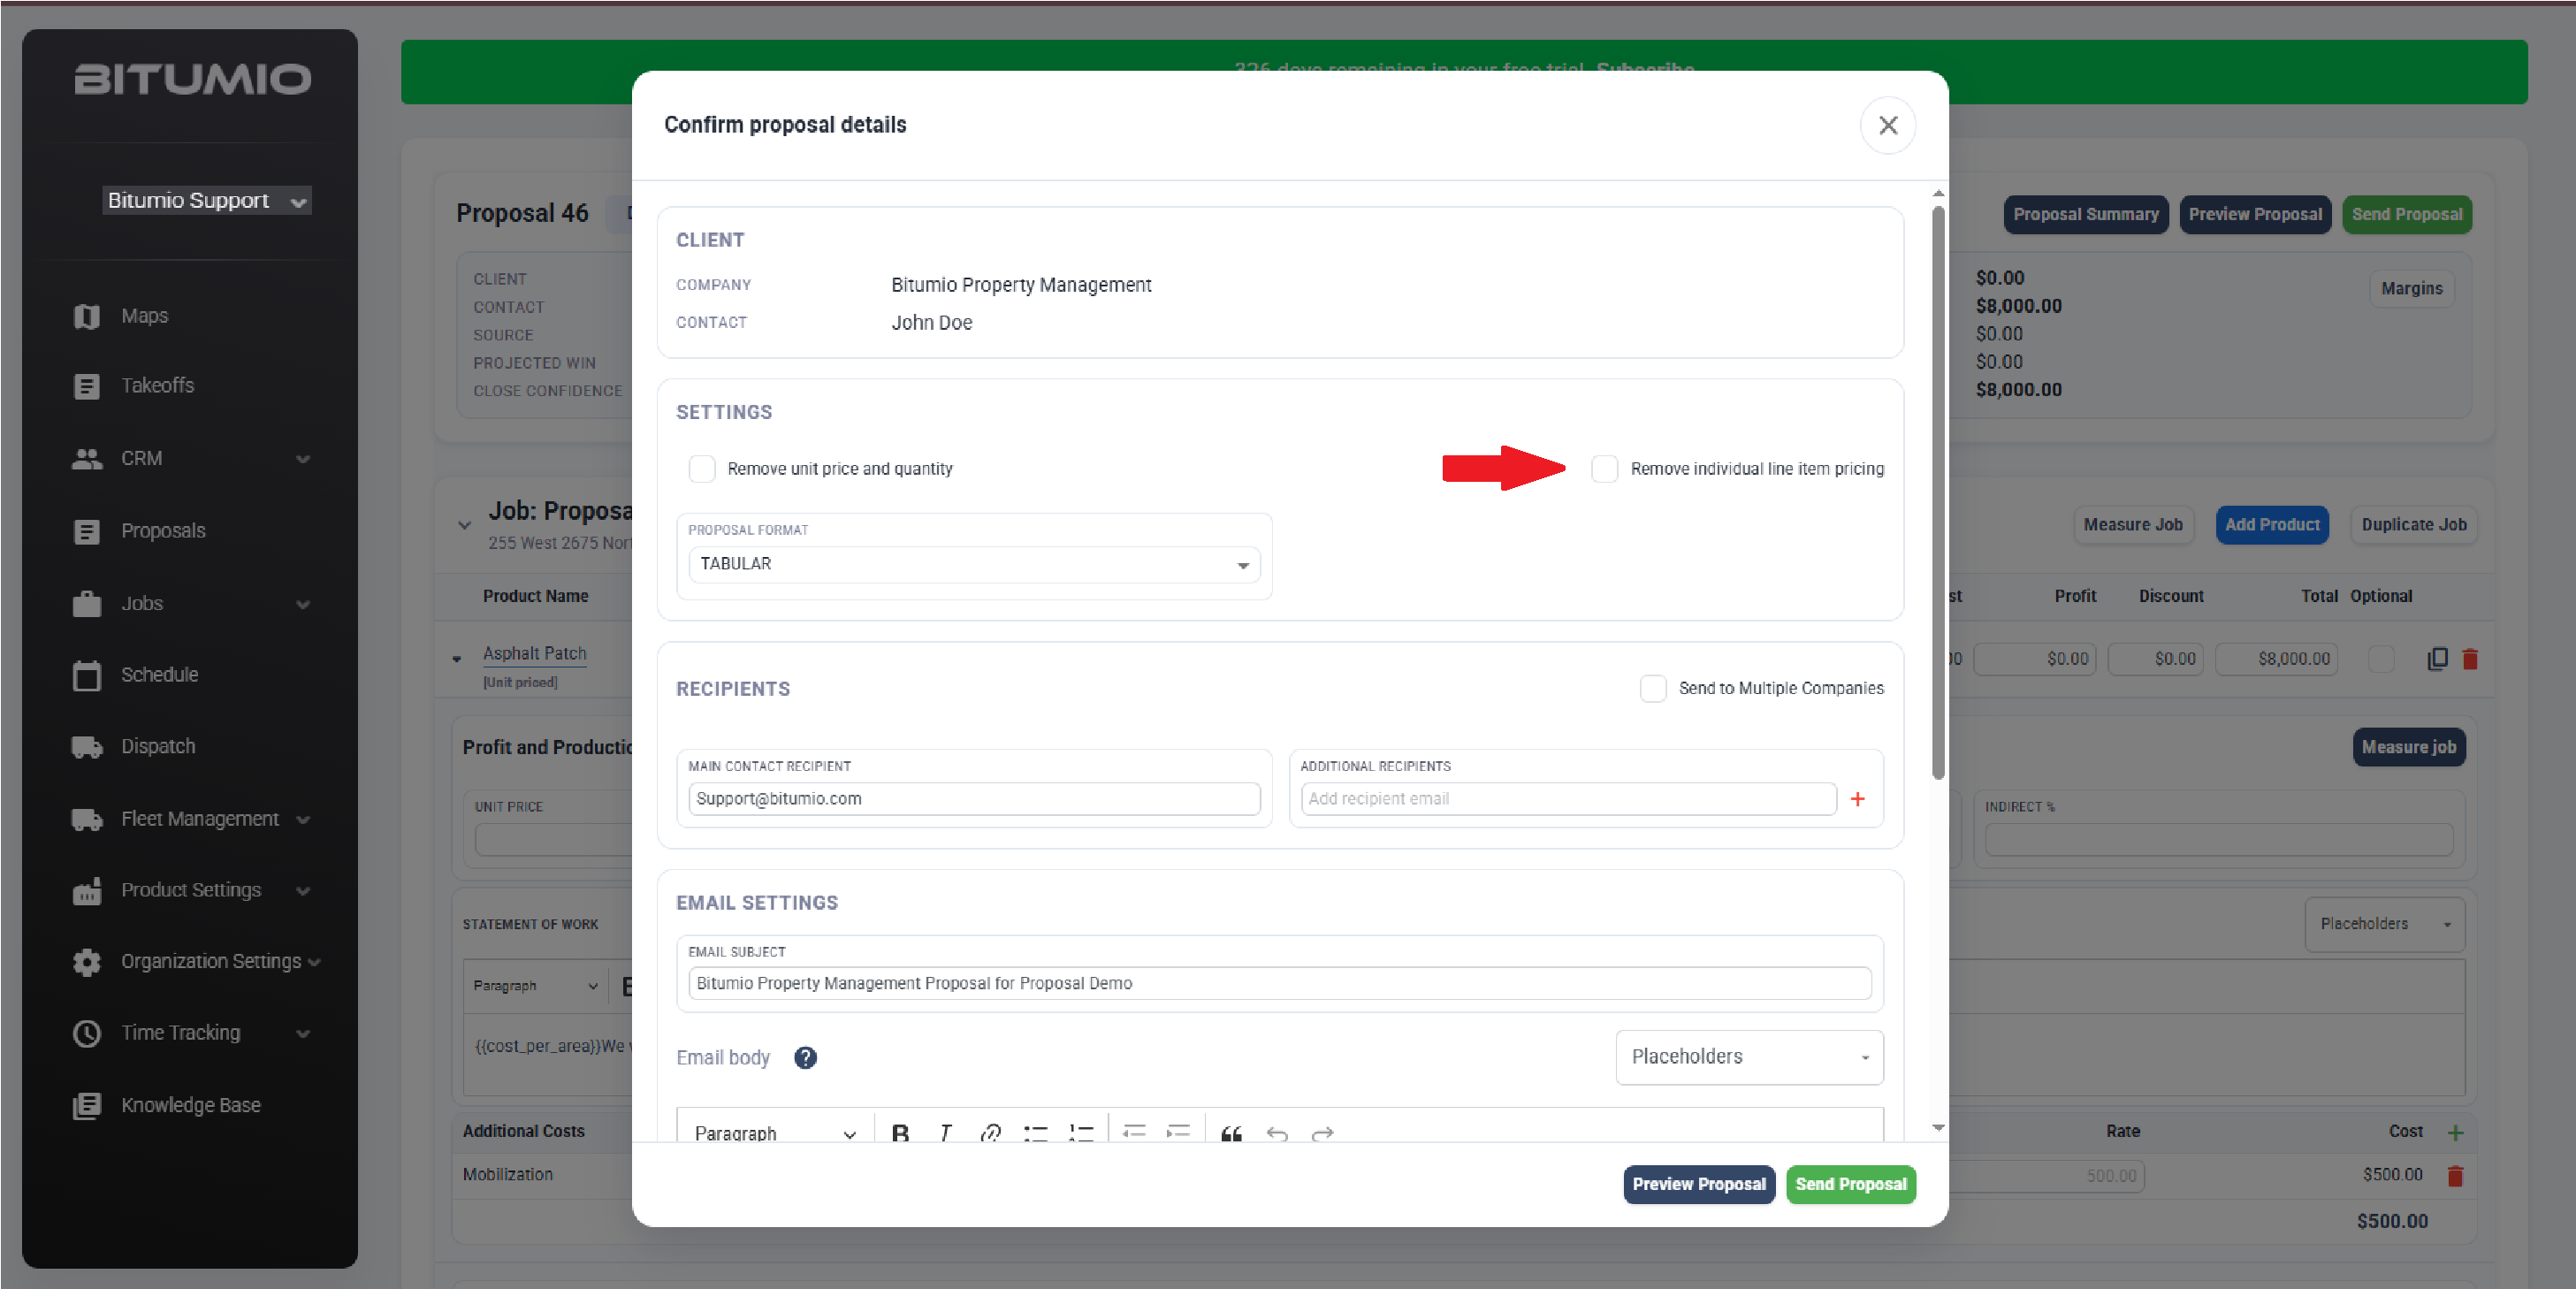
16. If you do not want to display individual line item pricing, mark the Remove Individual Line Item Pricing checkbox.
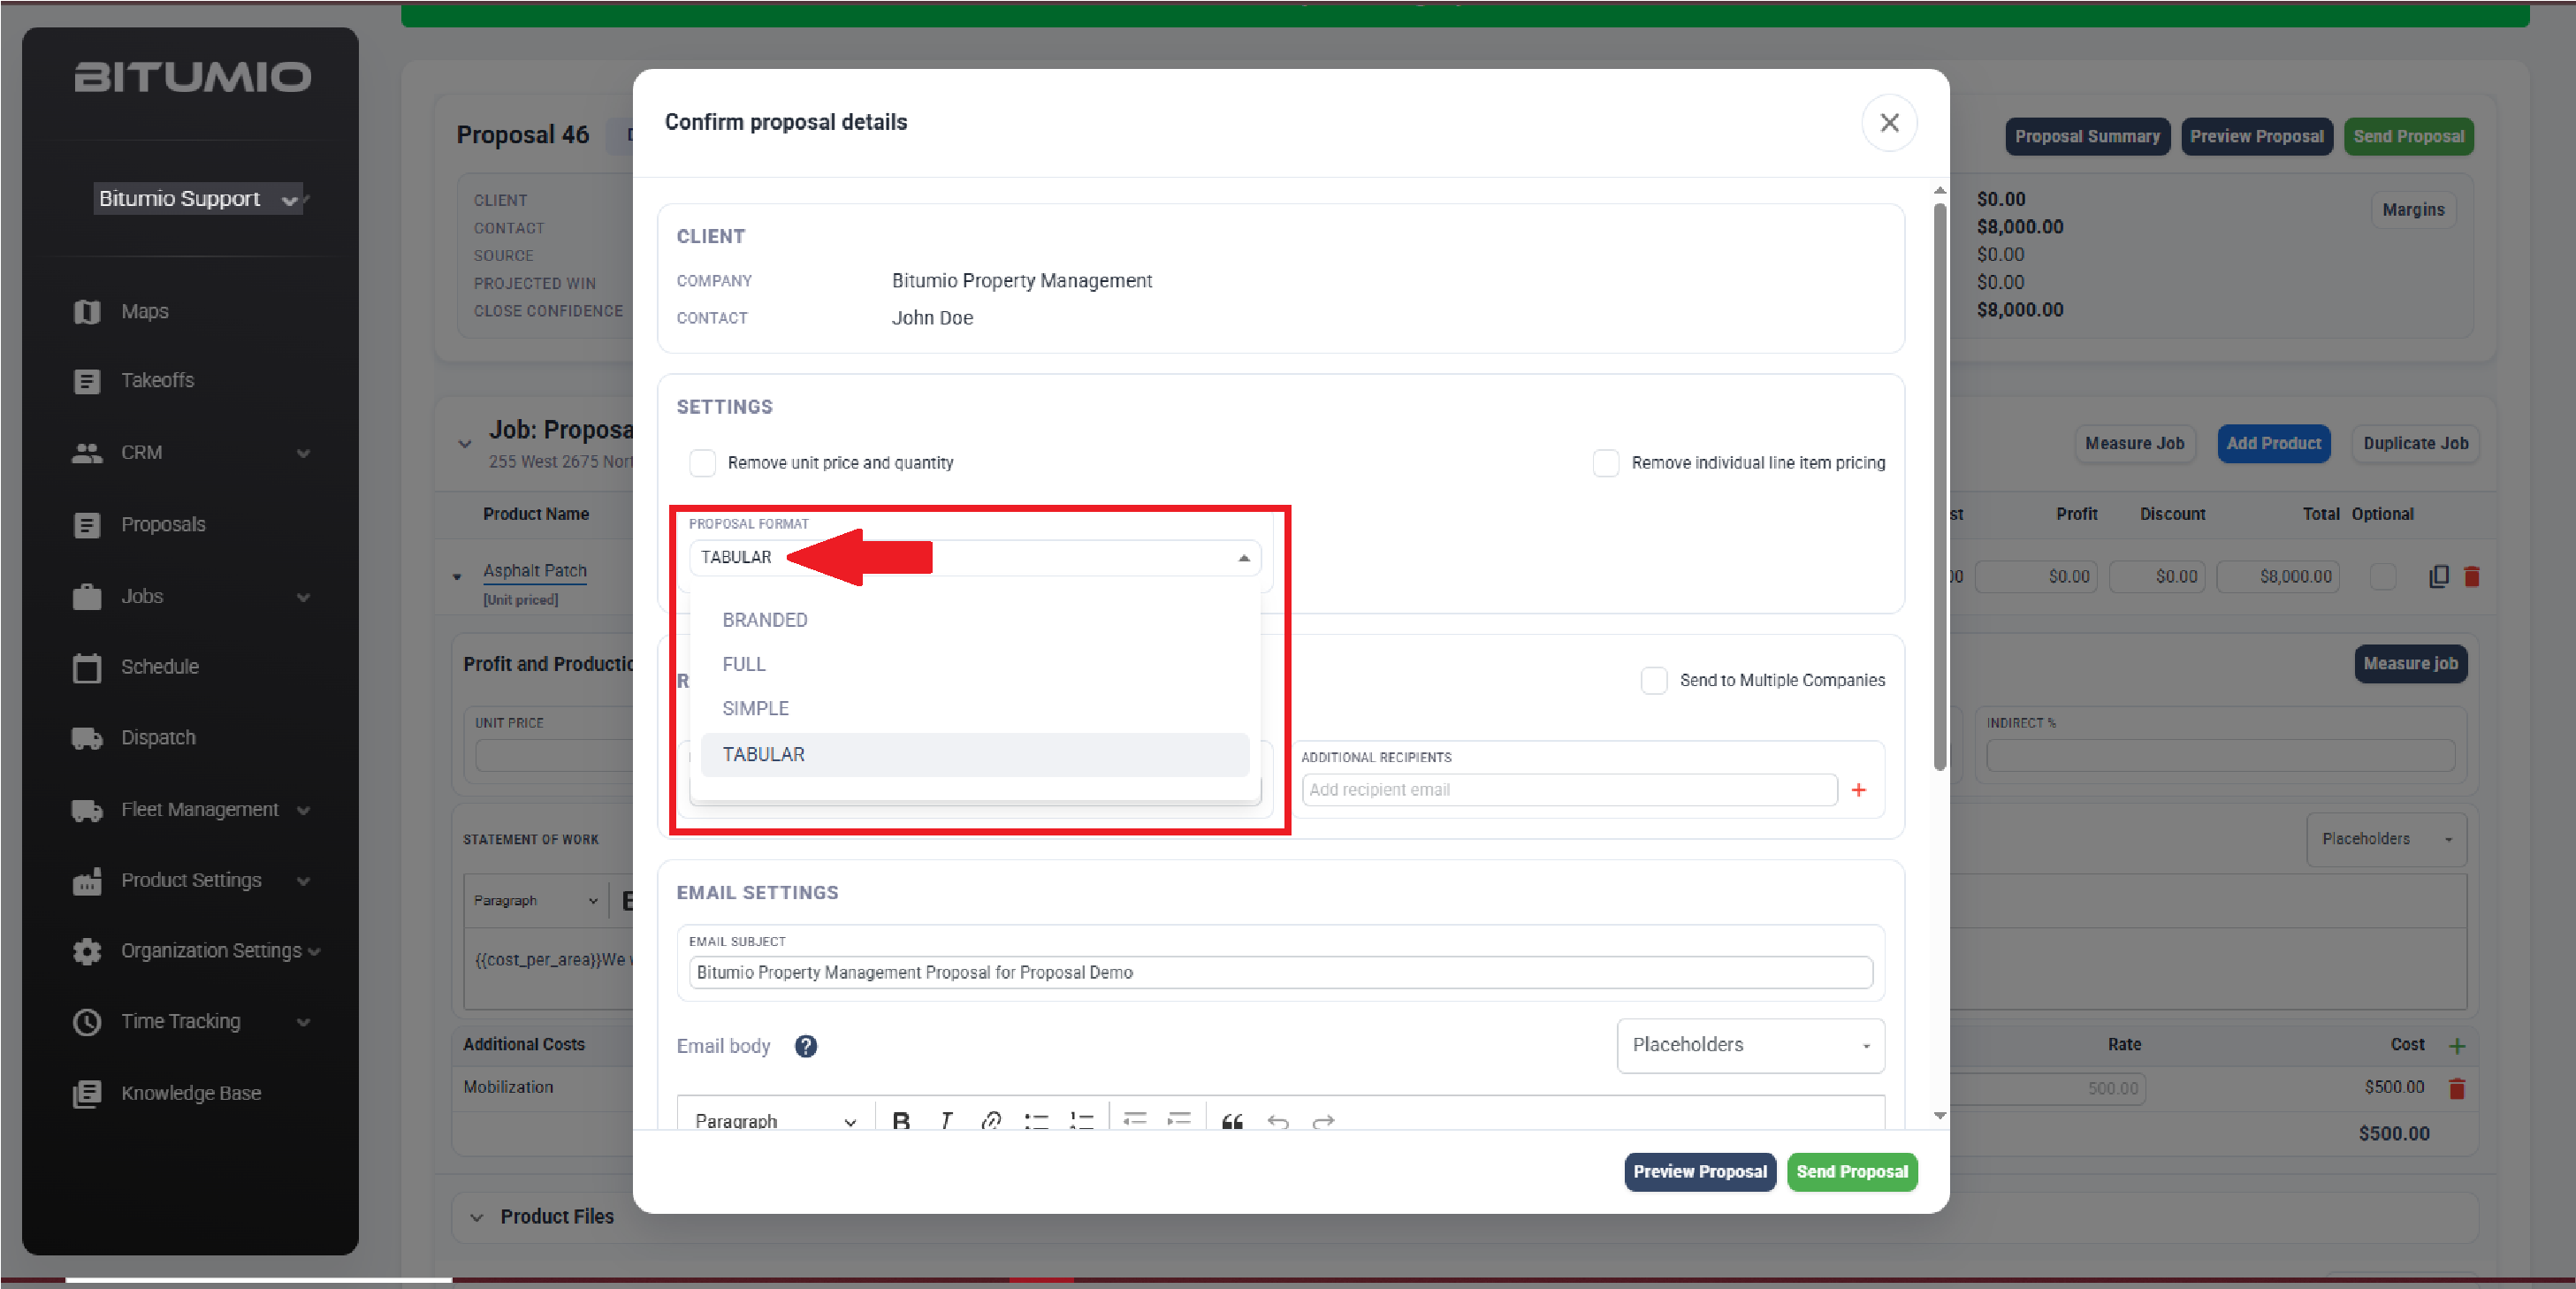
17. Use the Proposal Format dropdown to select the format for the proposal.
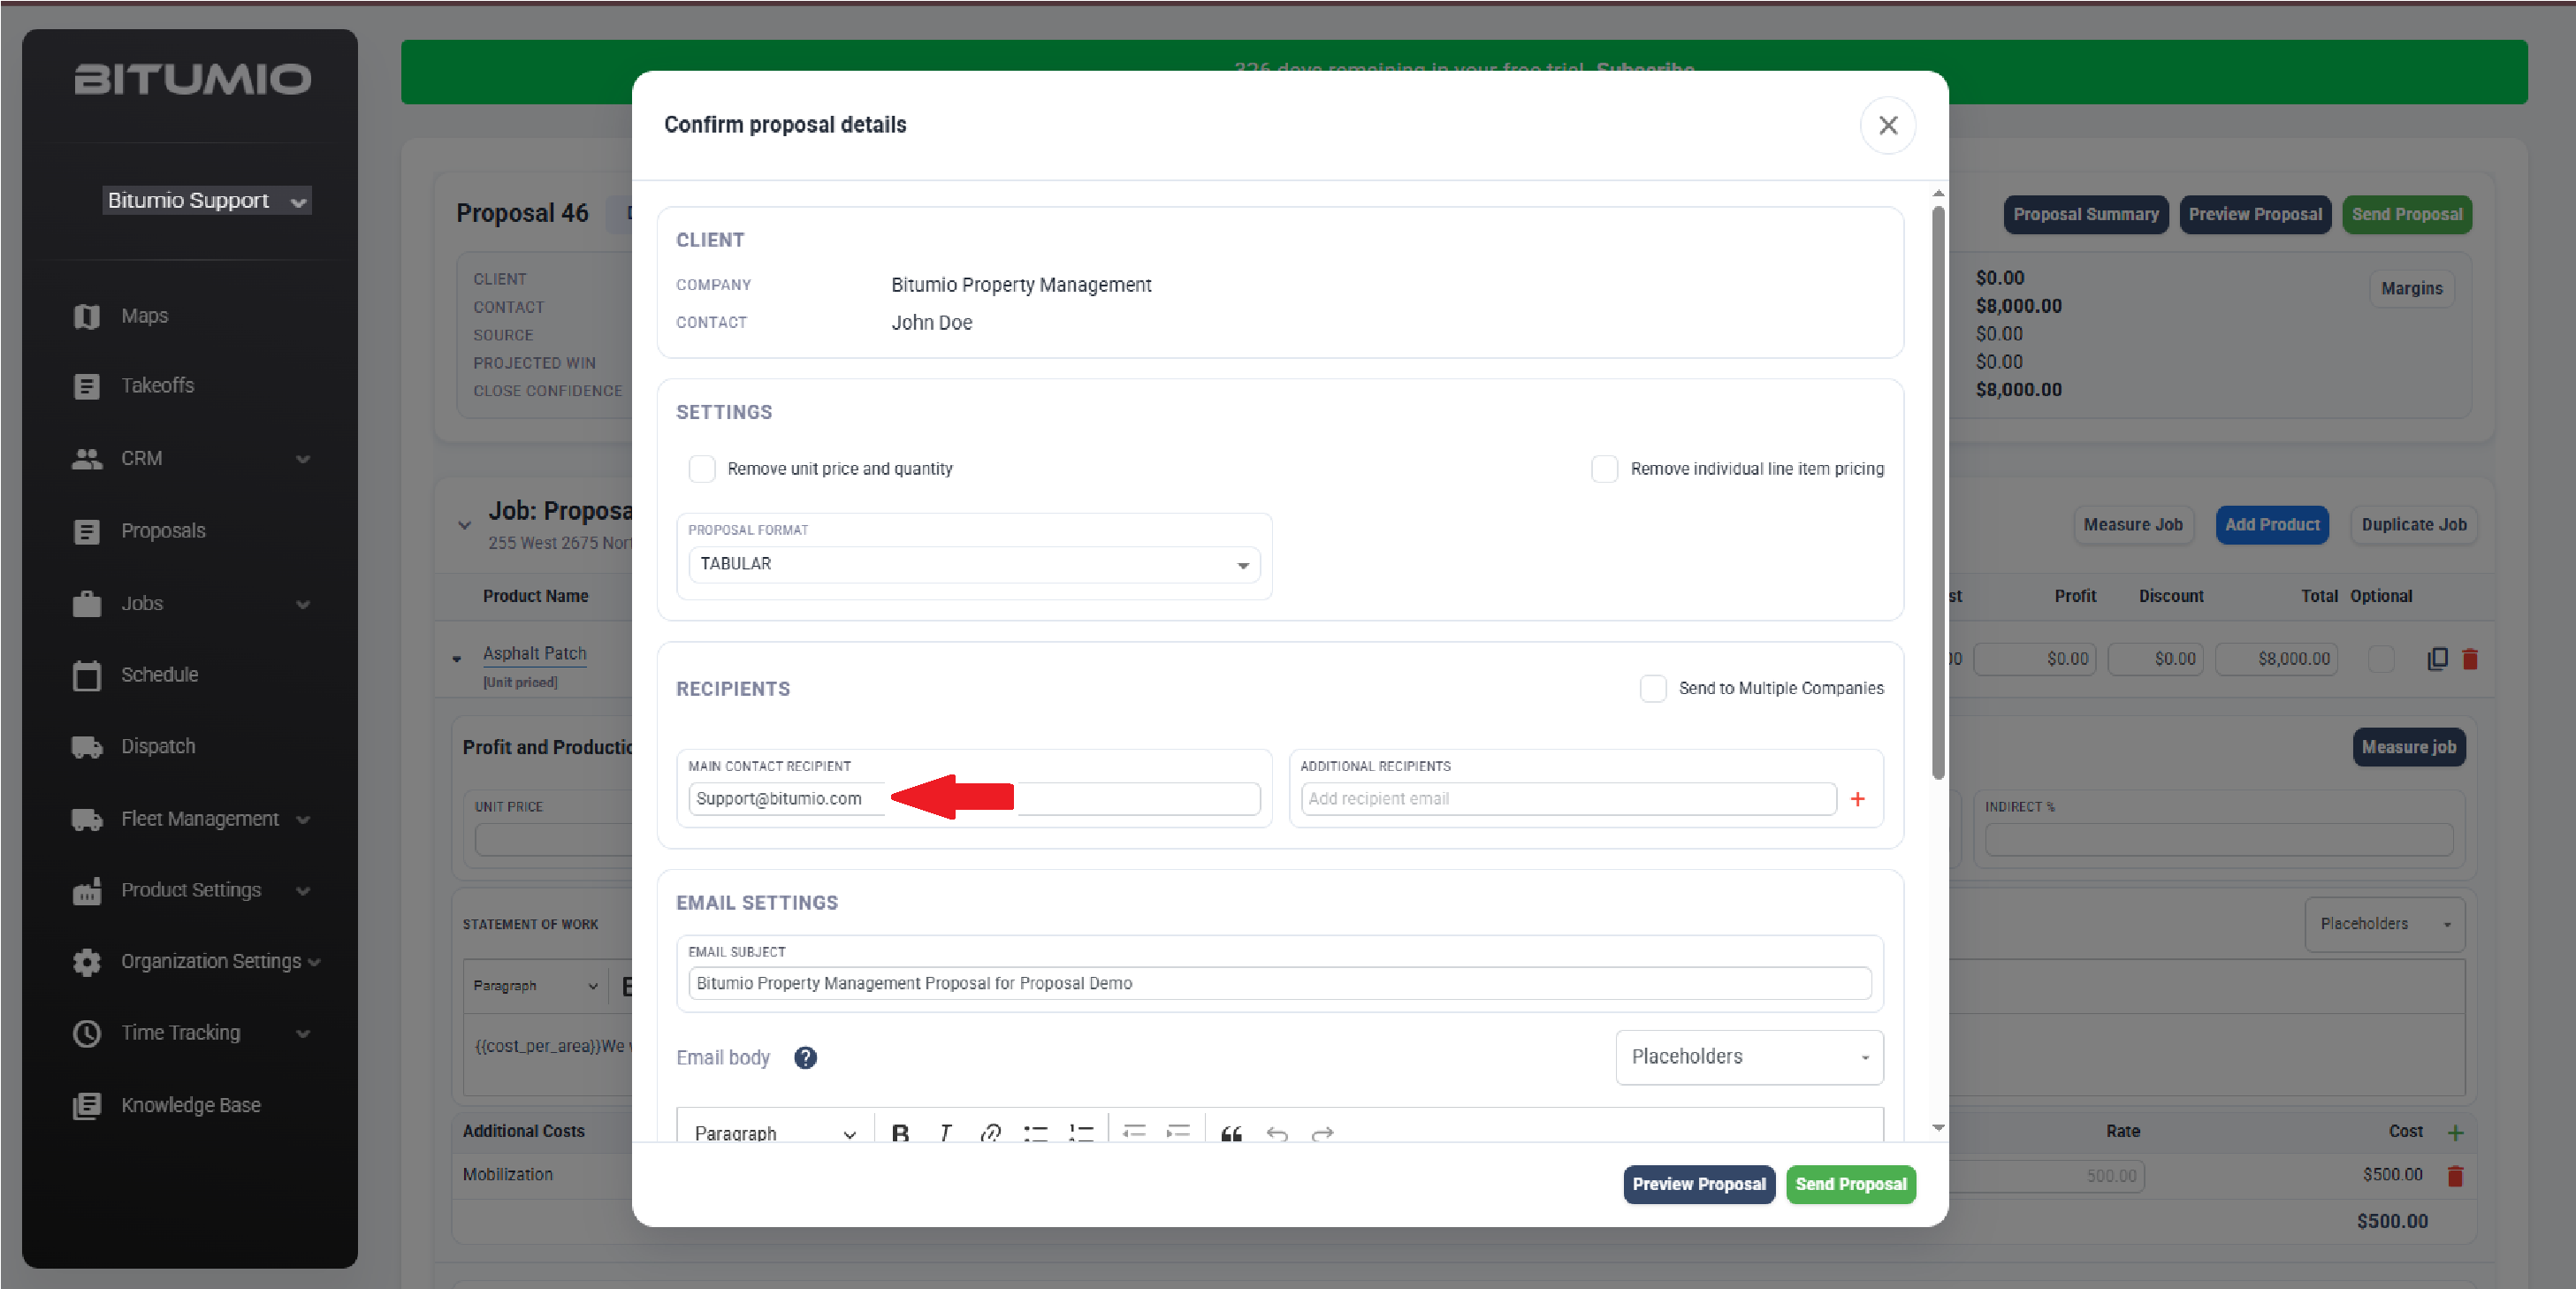
18. The main contact recipient's email address is displayed in the Main Contact Recipient field.
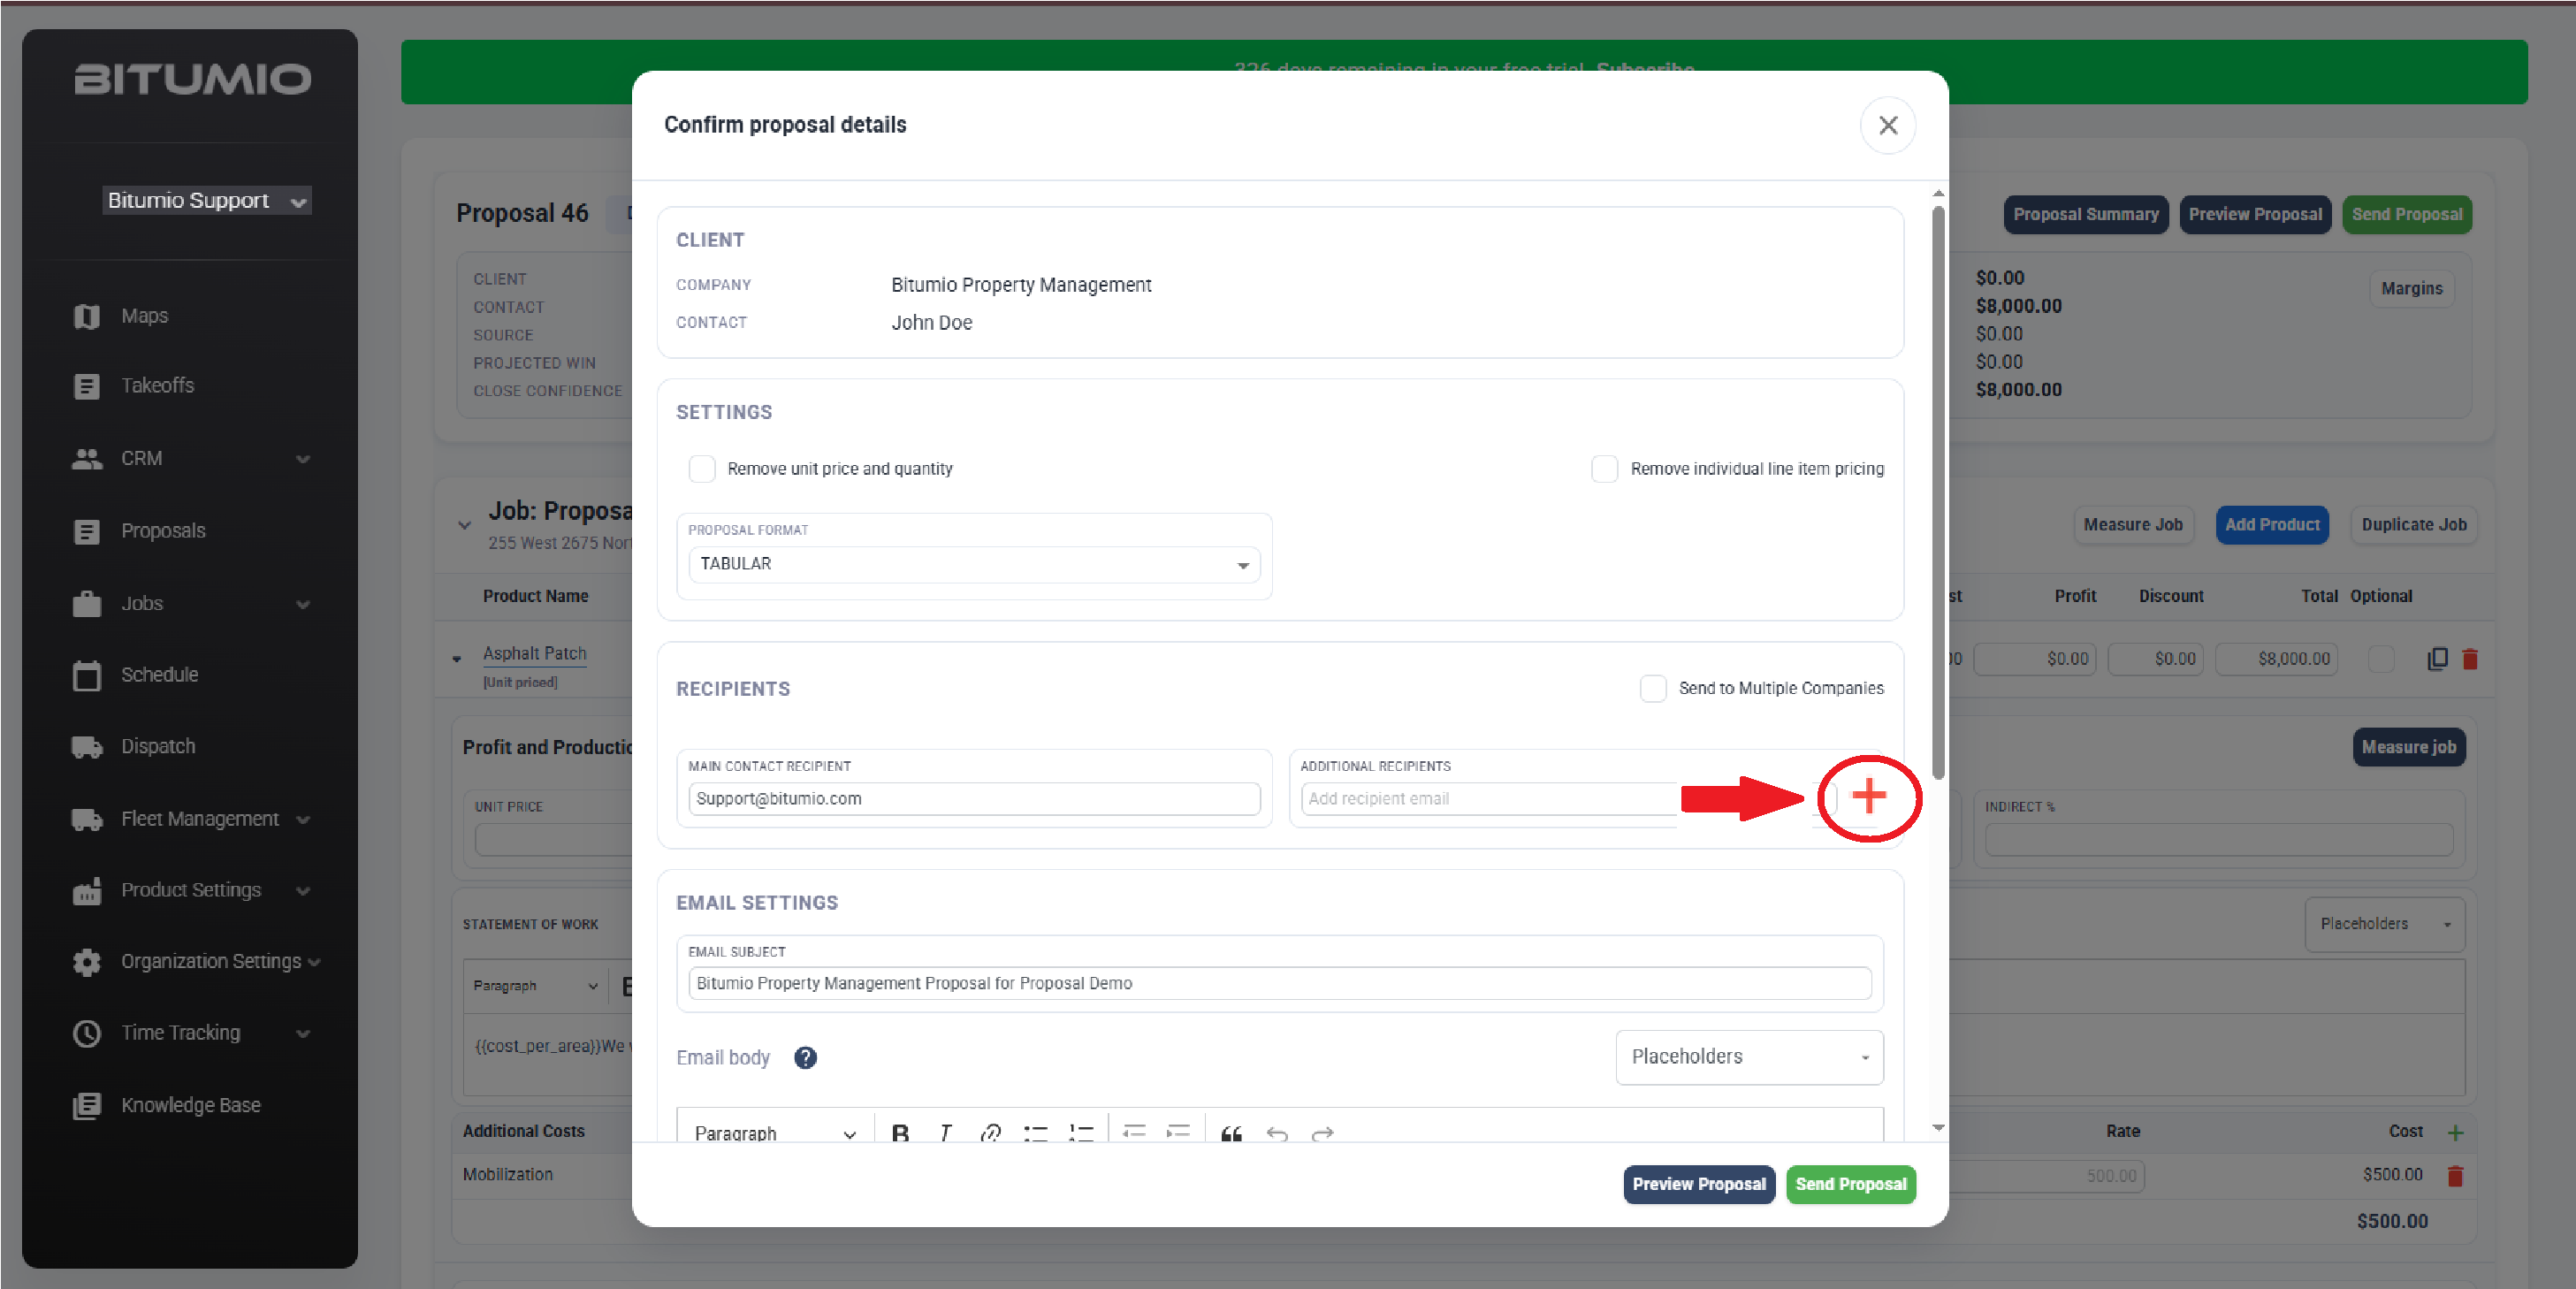
19. If you want to add more recipient(s), click the  icon next to the Additional Recipients heading.
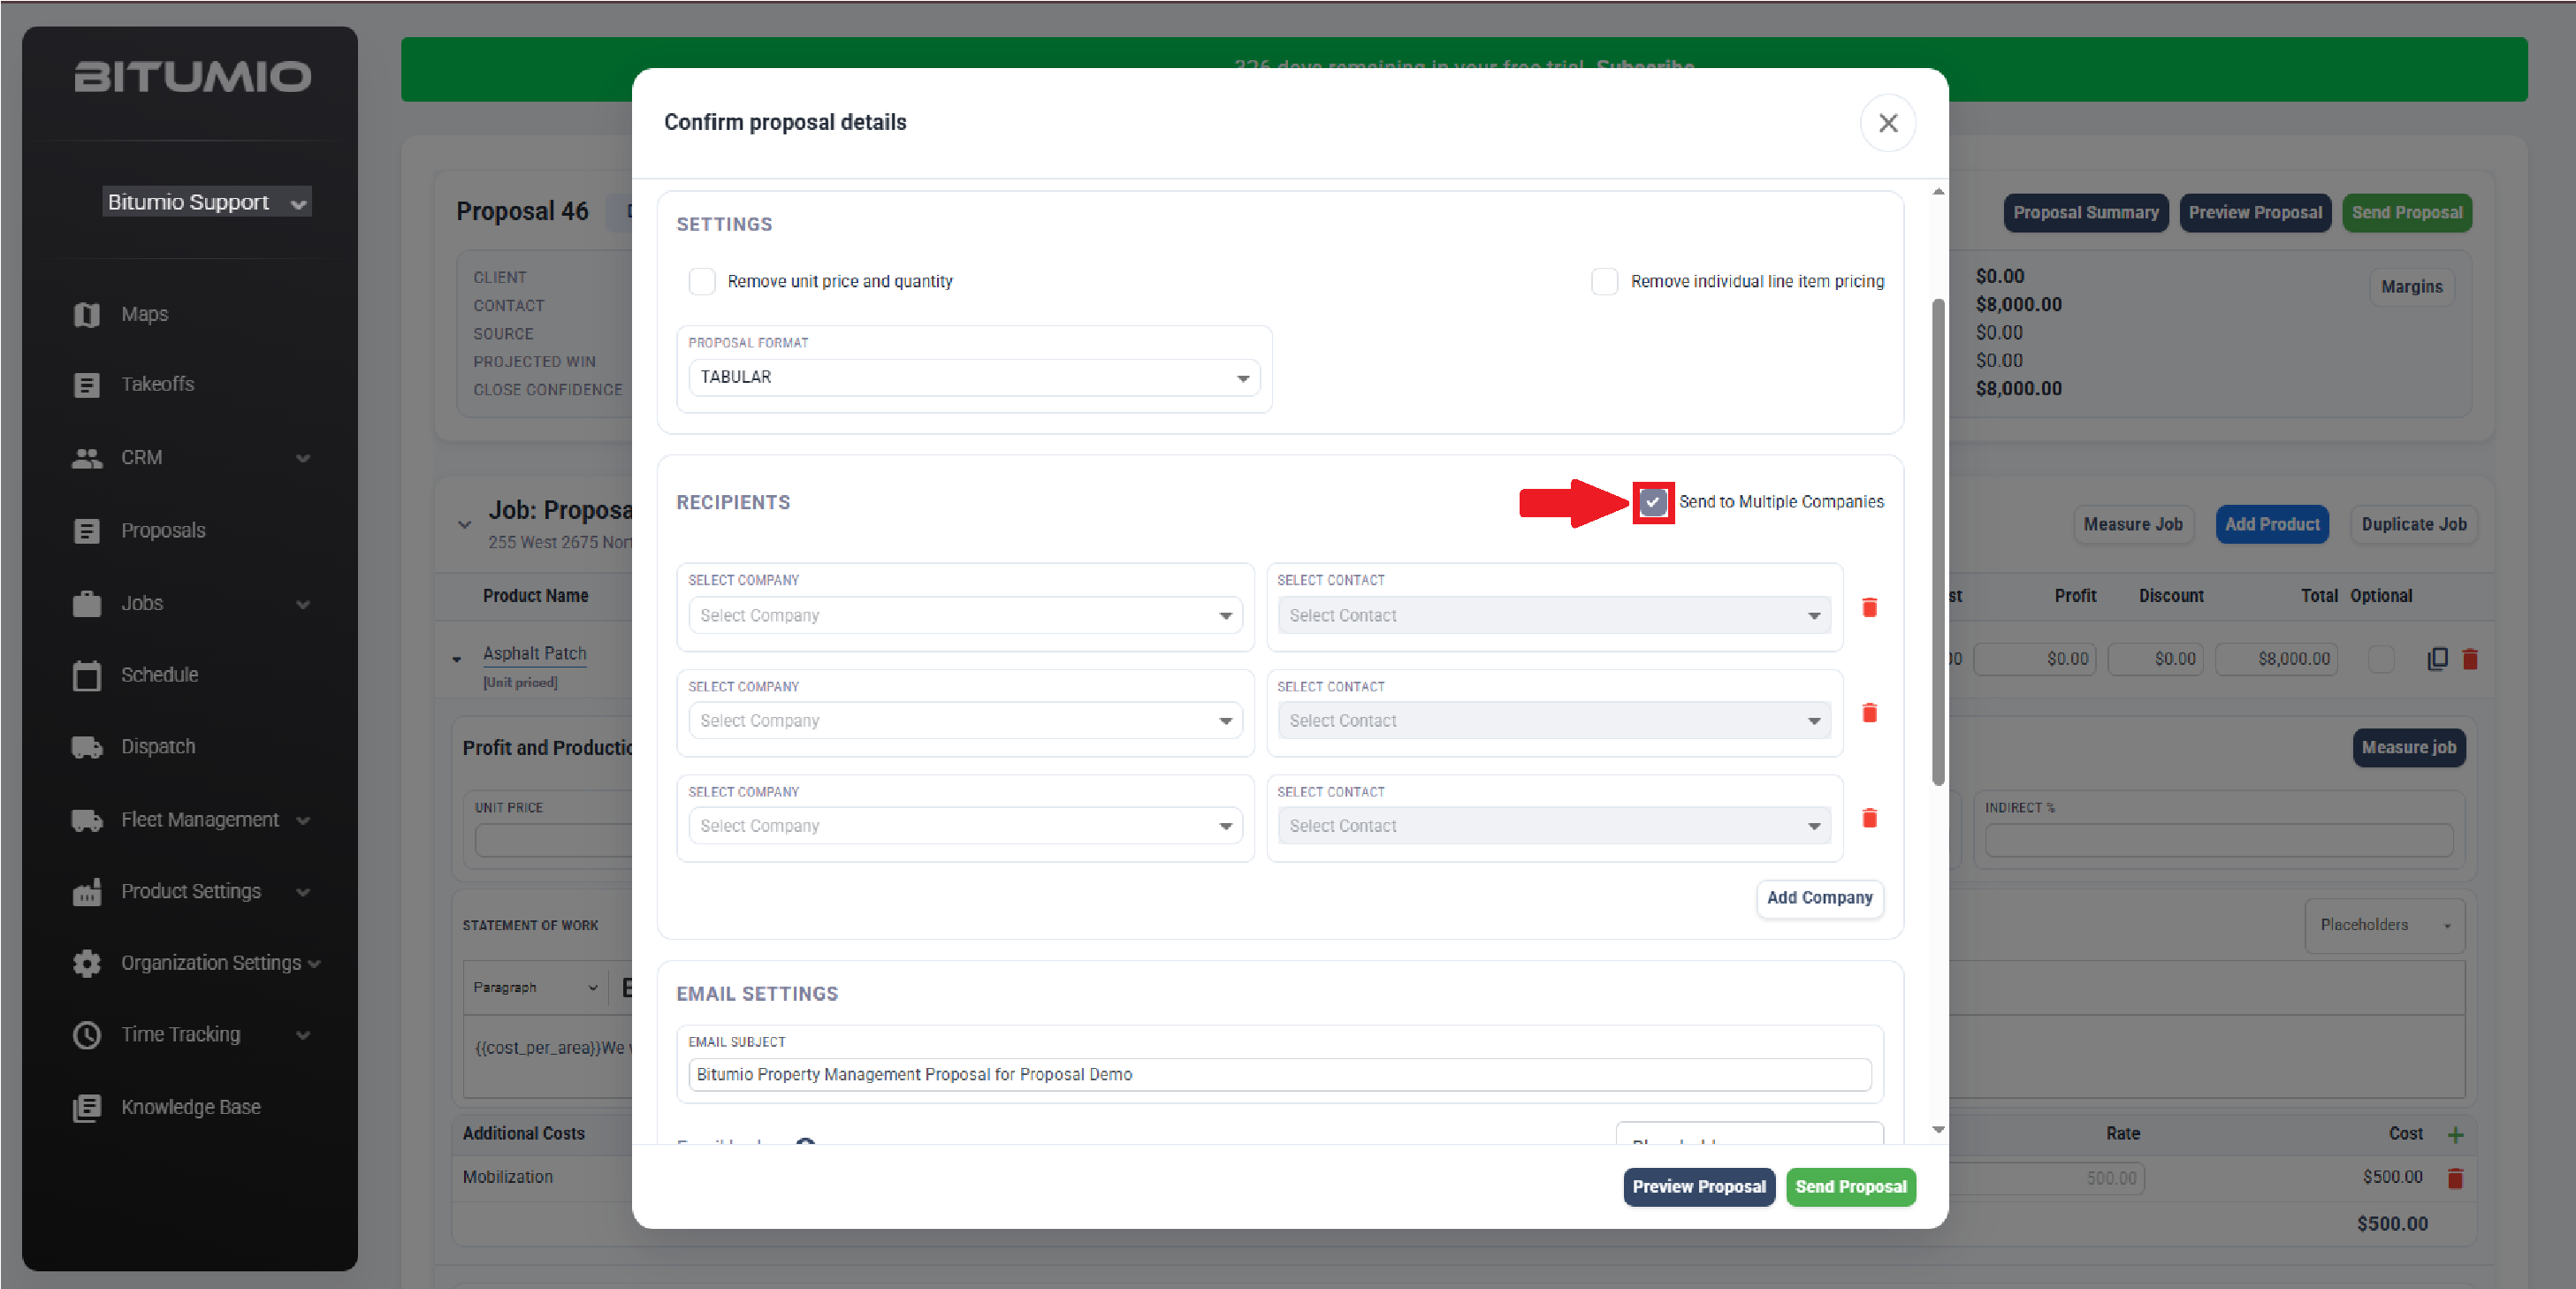
20. If you want to send duplicate copies of the same proposal to multiple companies all at once, tick the box for multiple sending. Choose ALL applicable companies you'd like to receive the proposal.
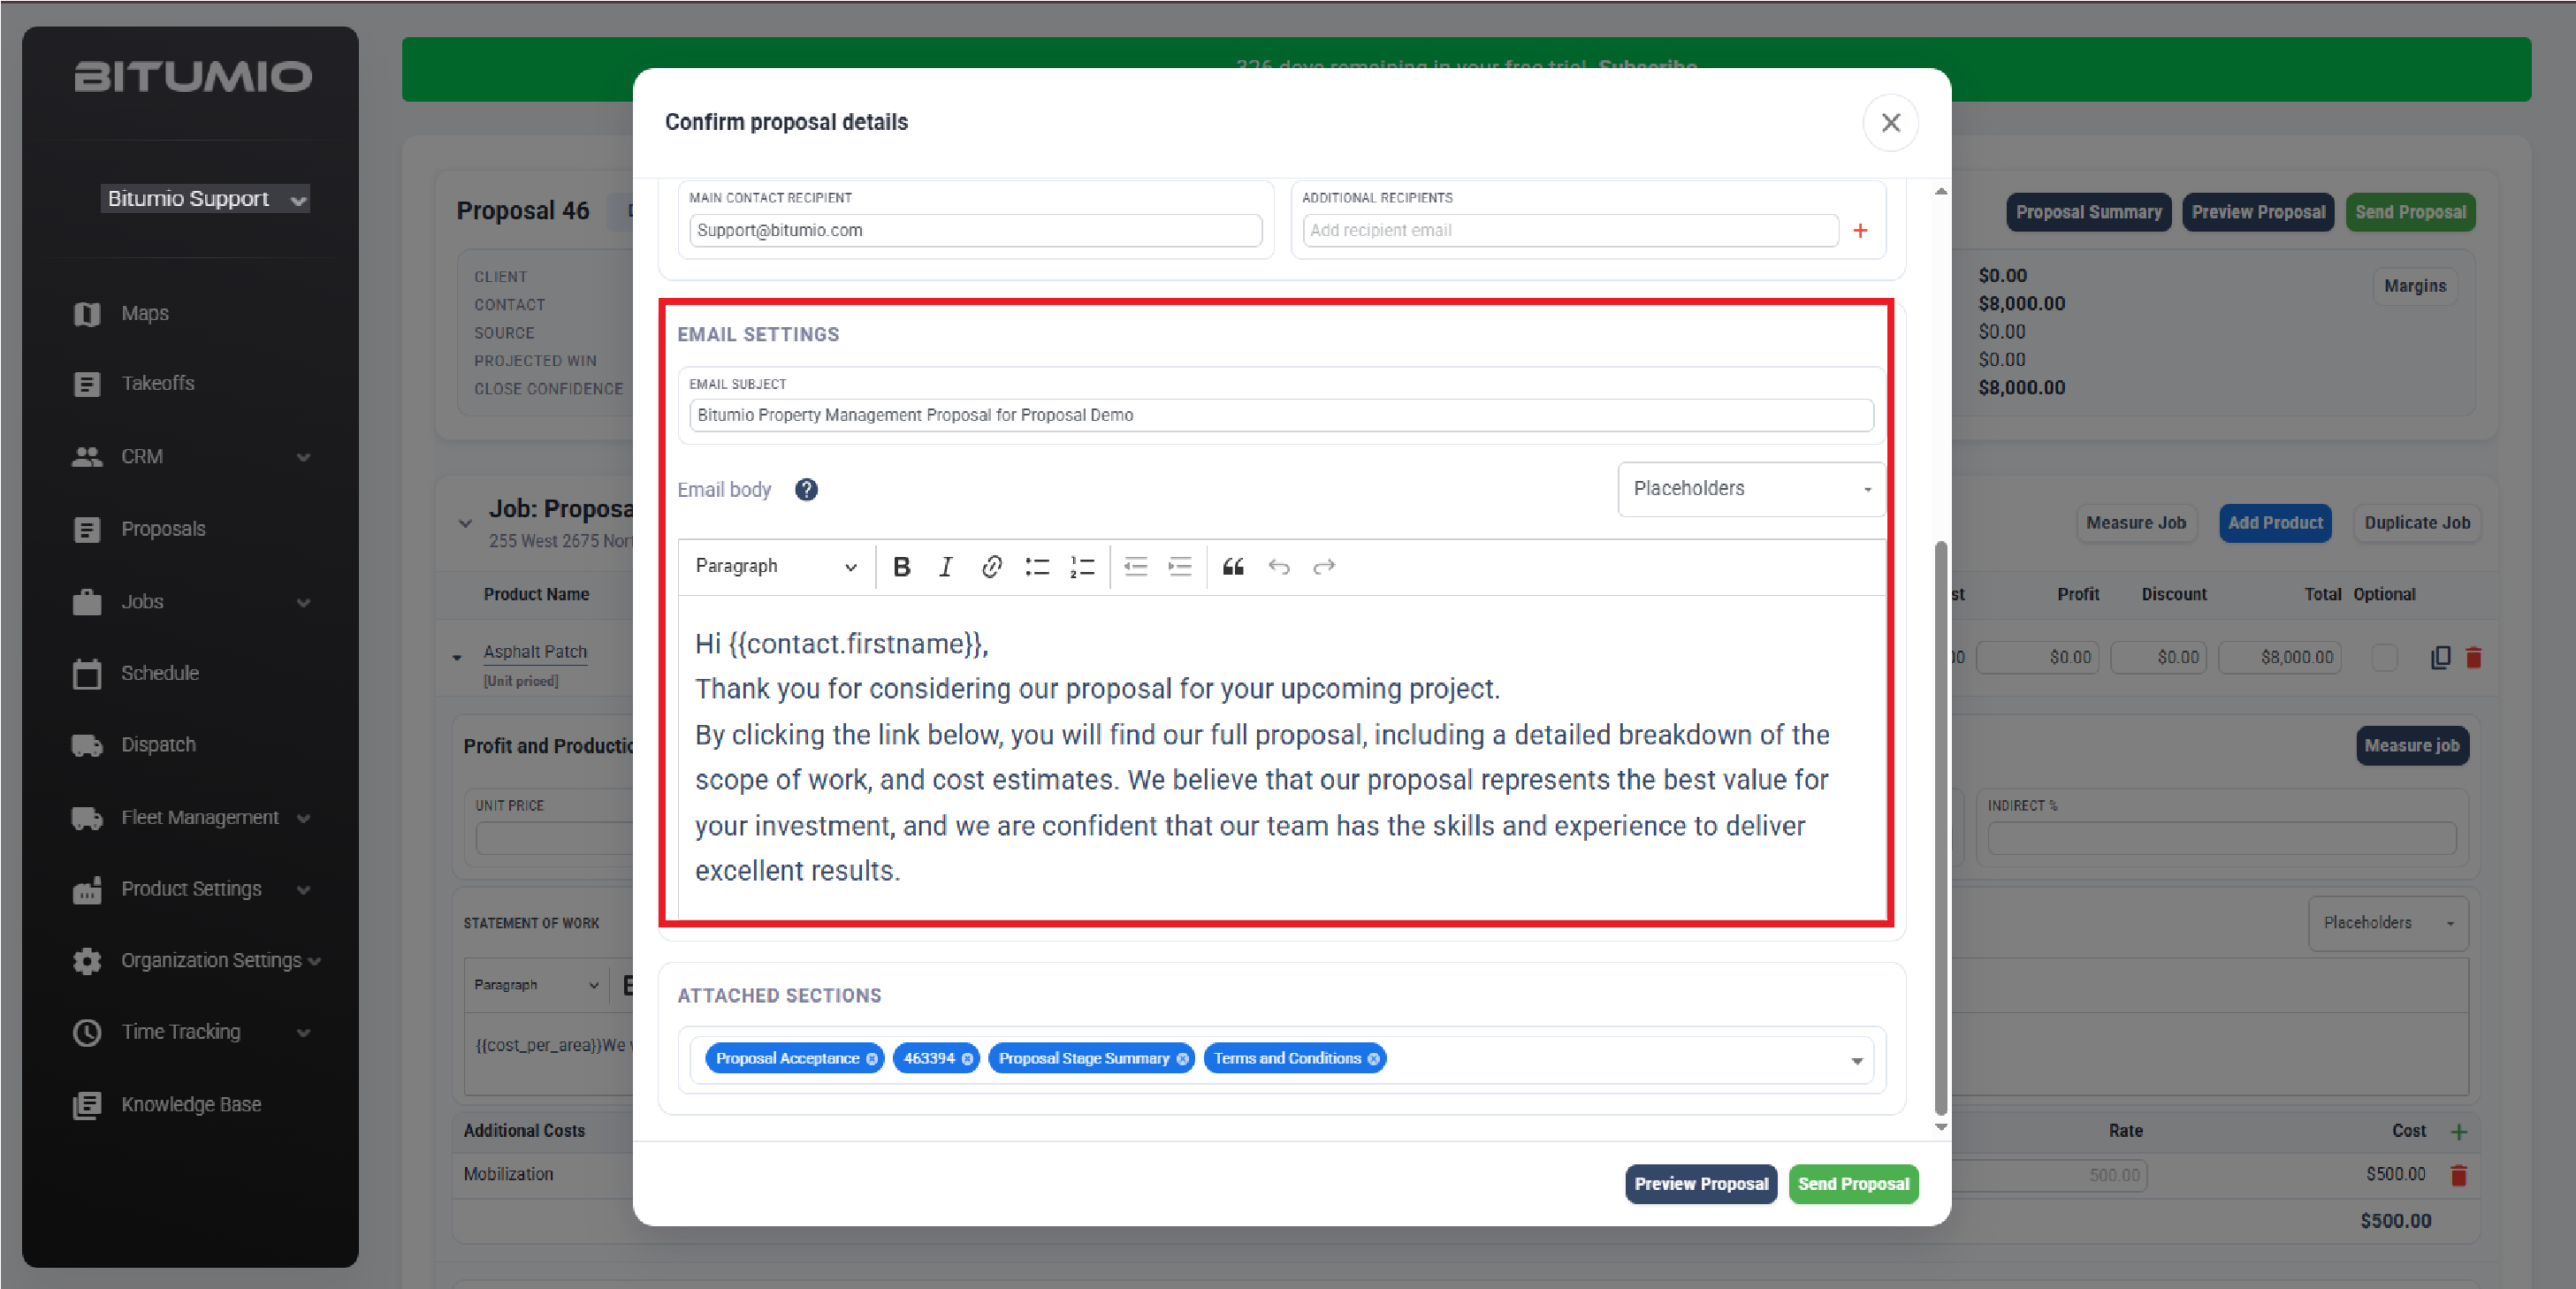
21. Ensure all email text, including placeholders and email subject, are correct.
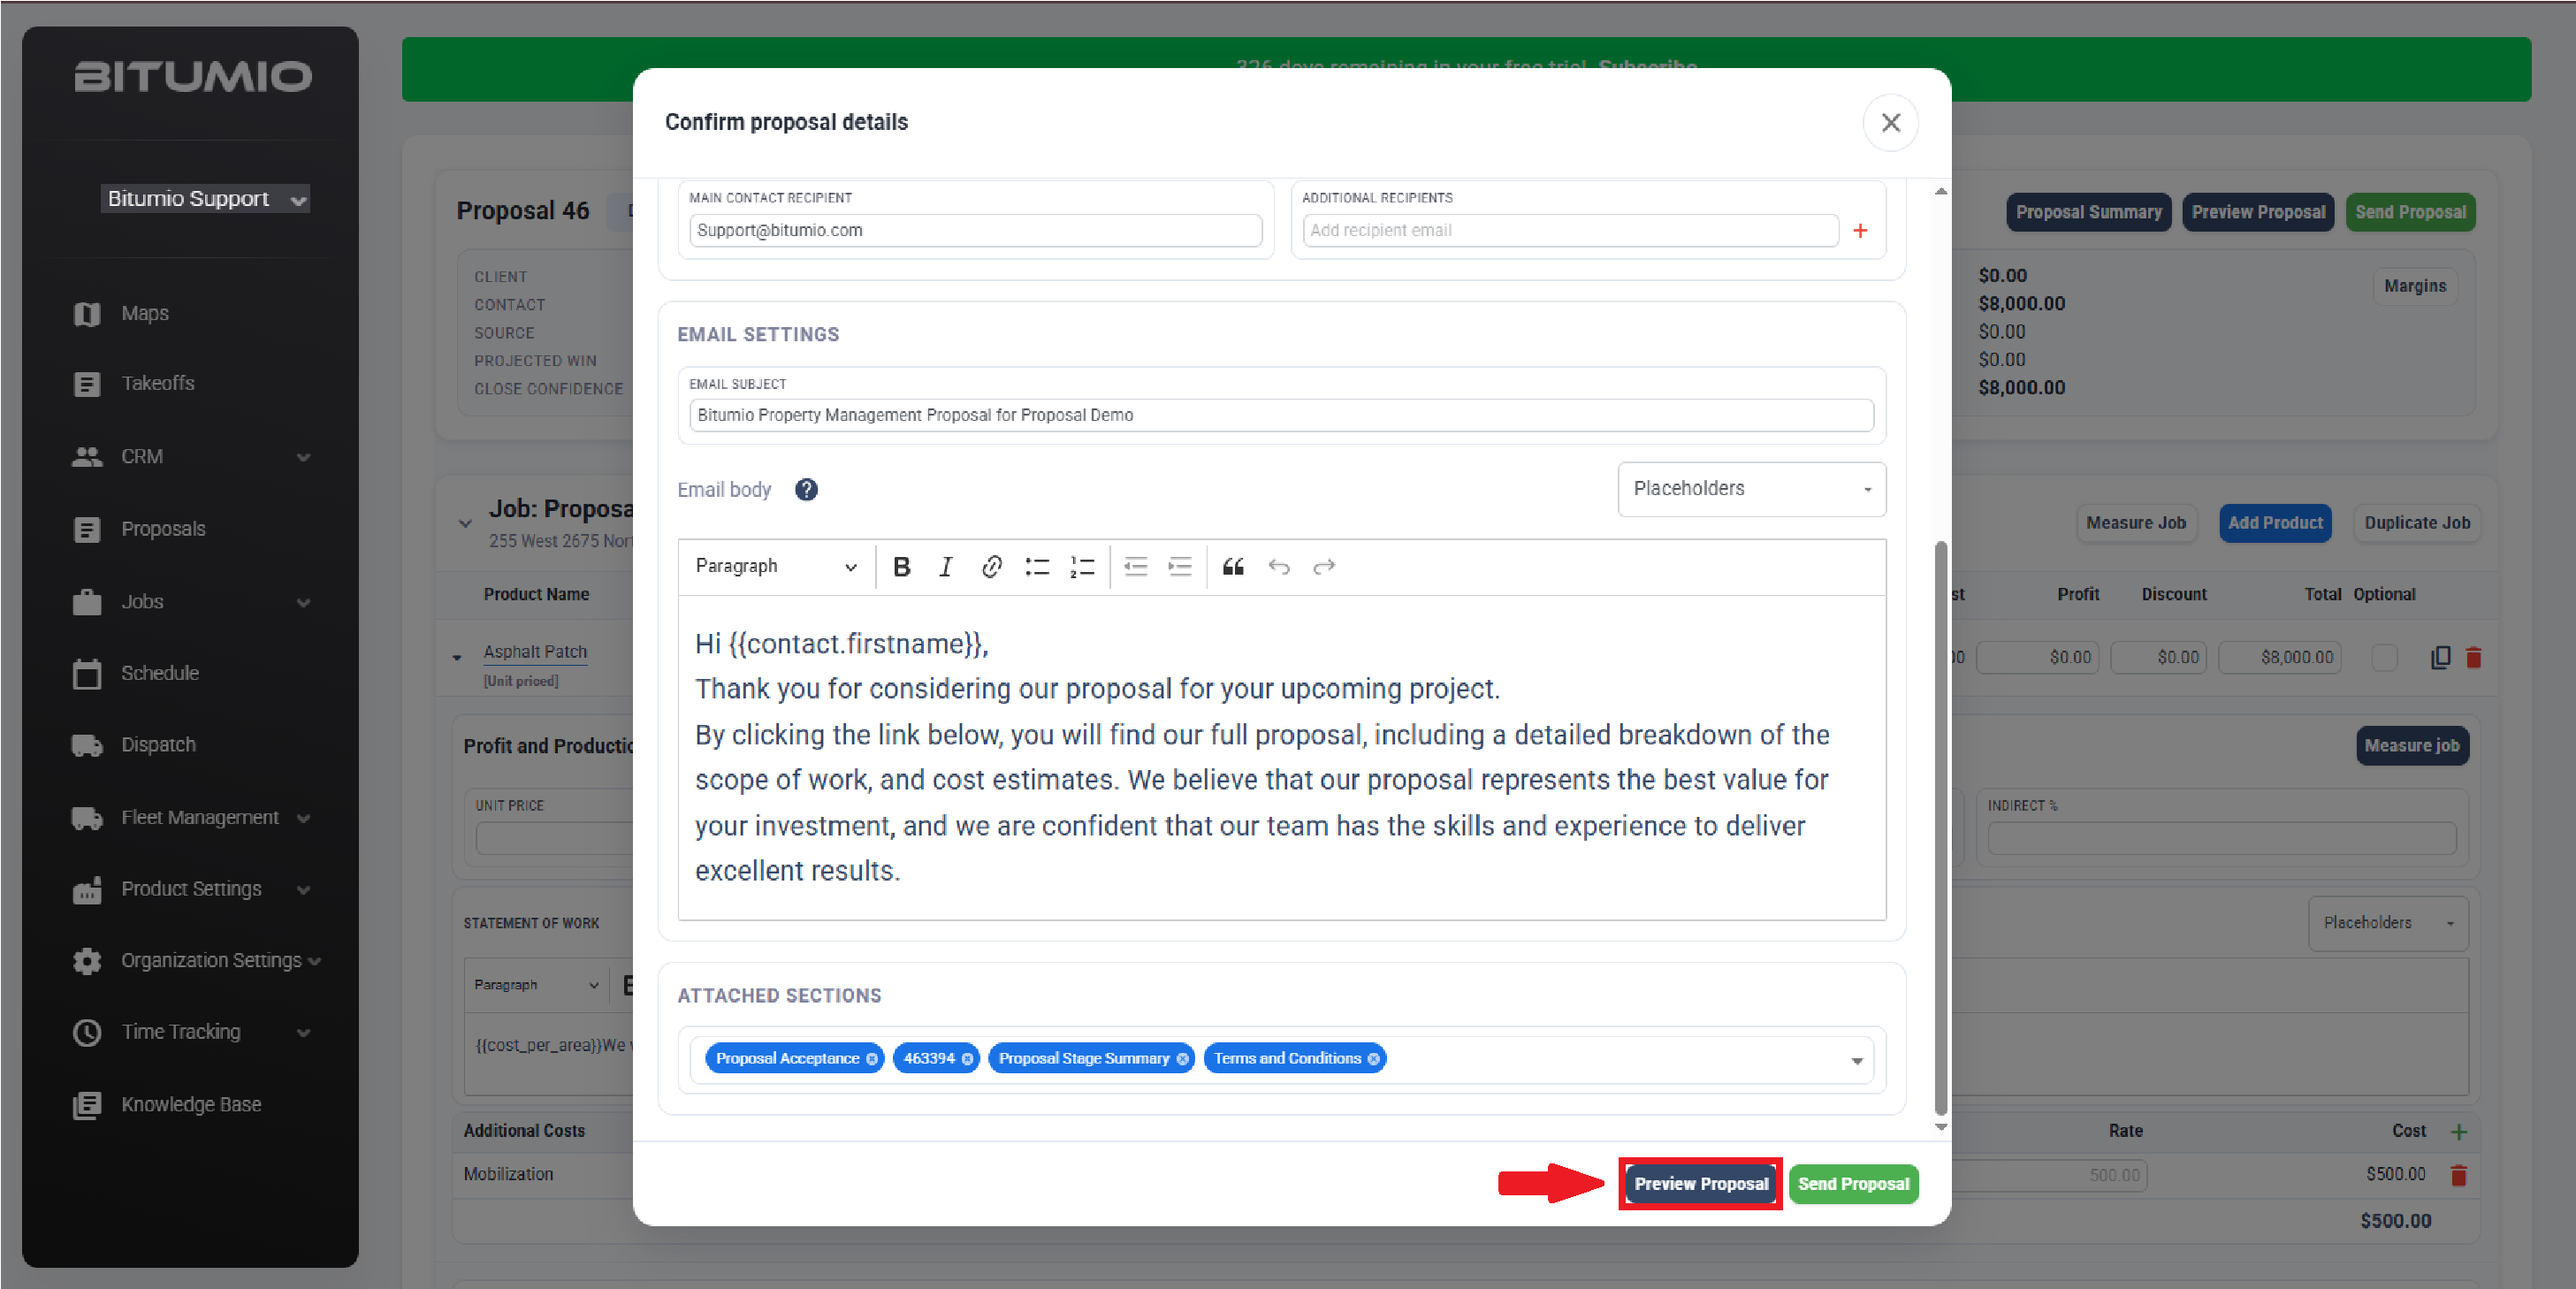
22. To review the proposal, click the  button.
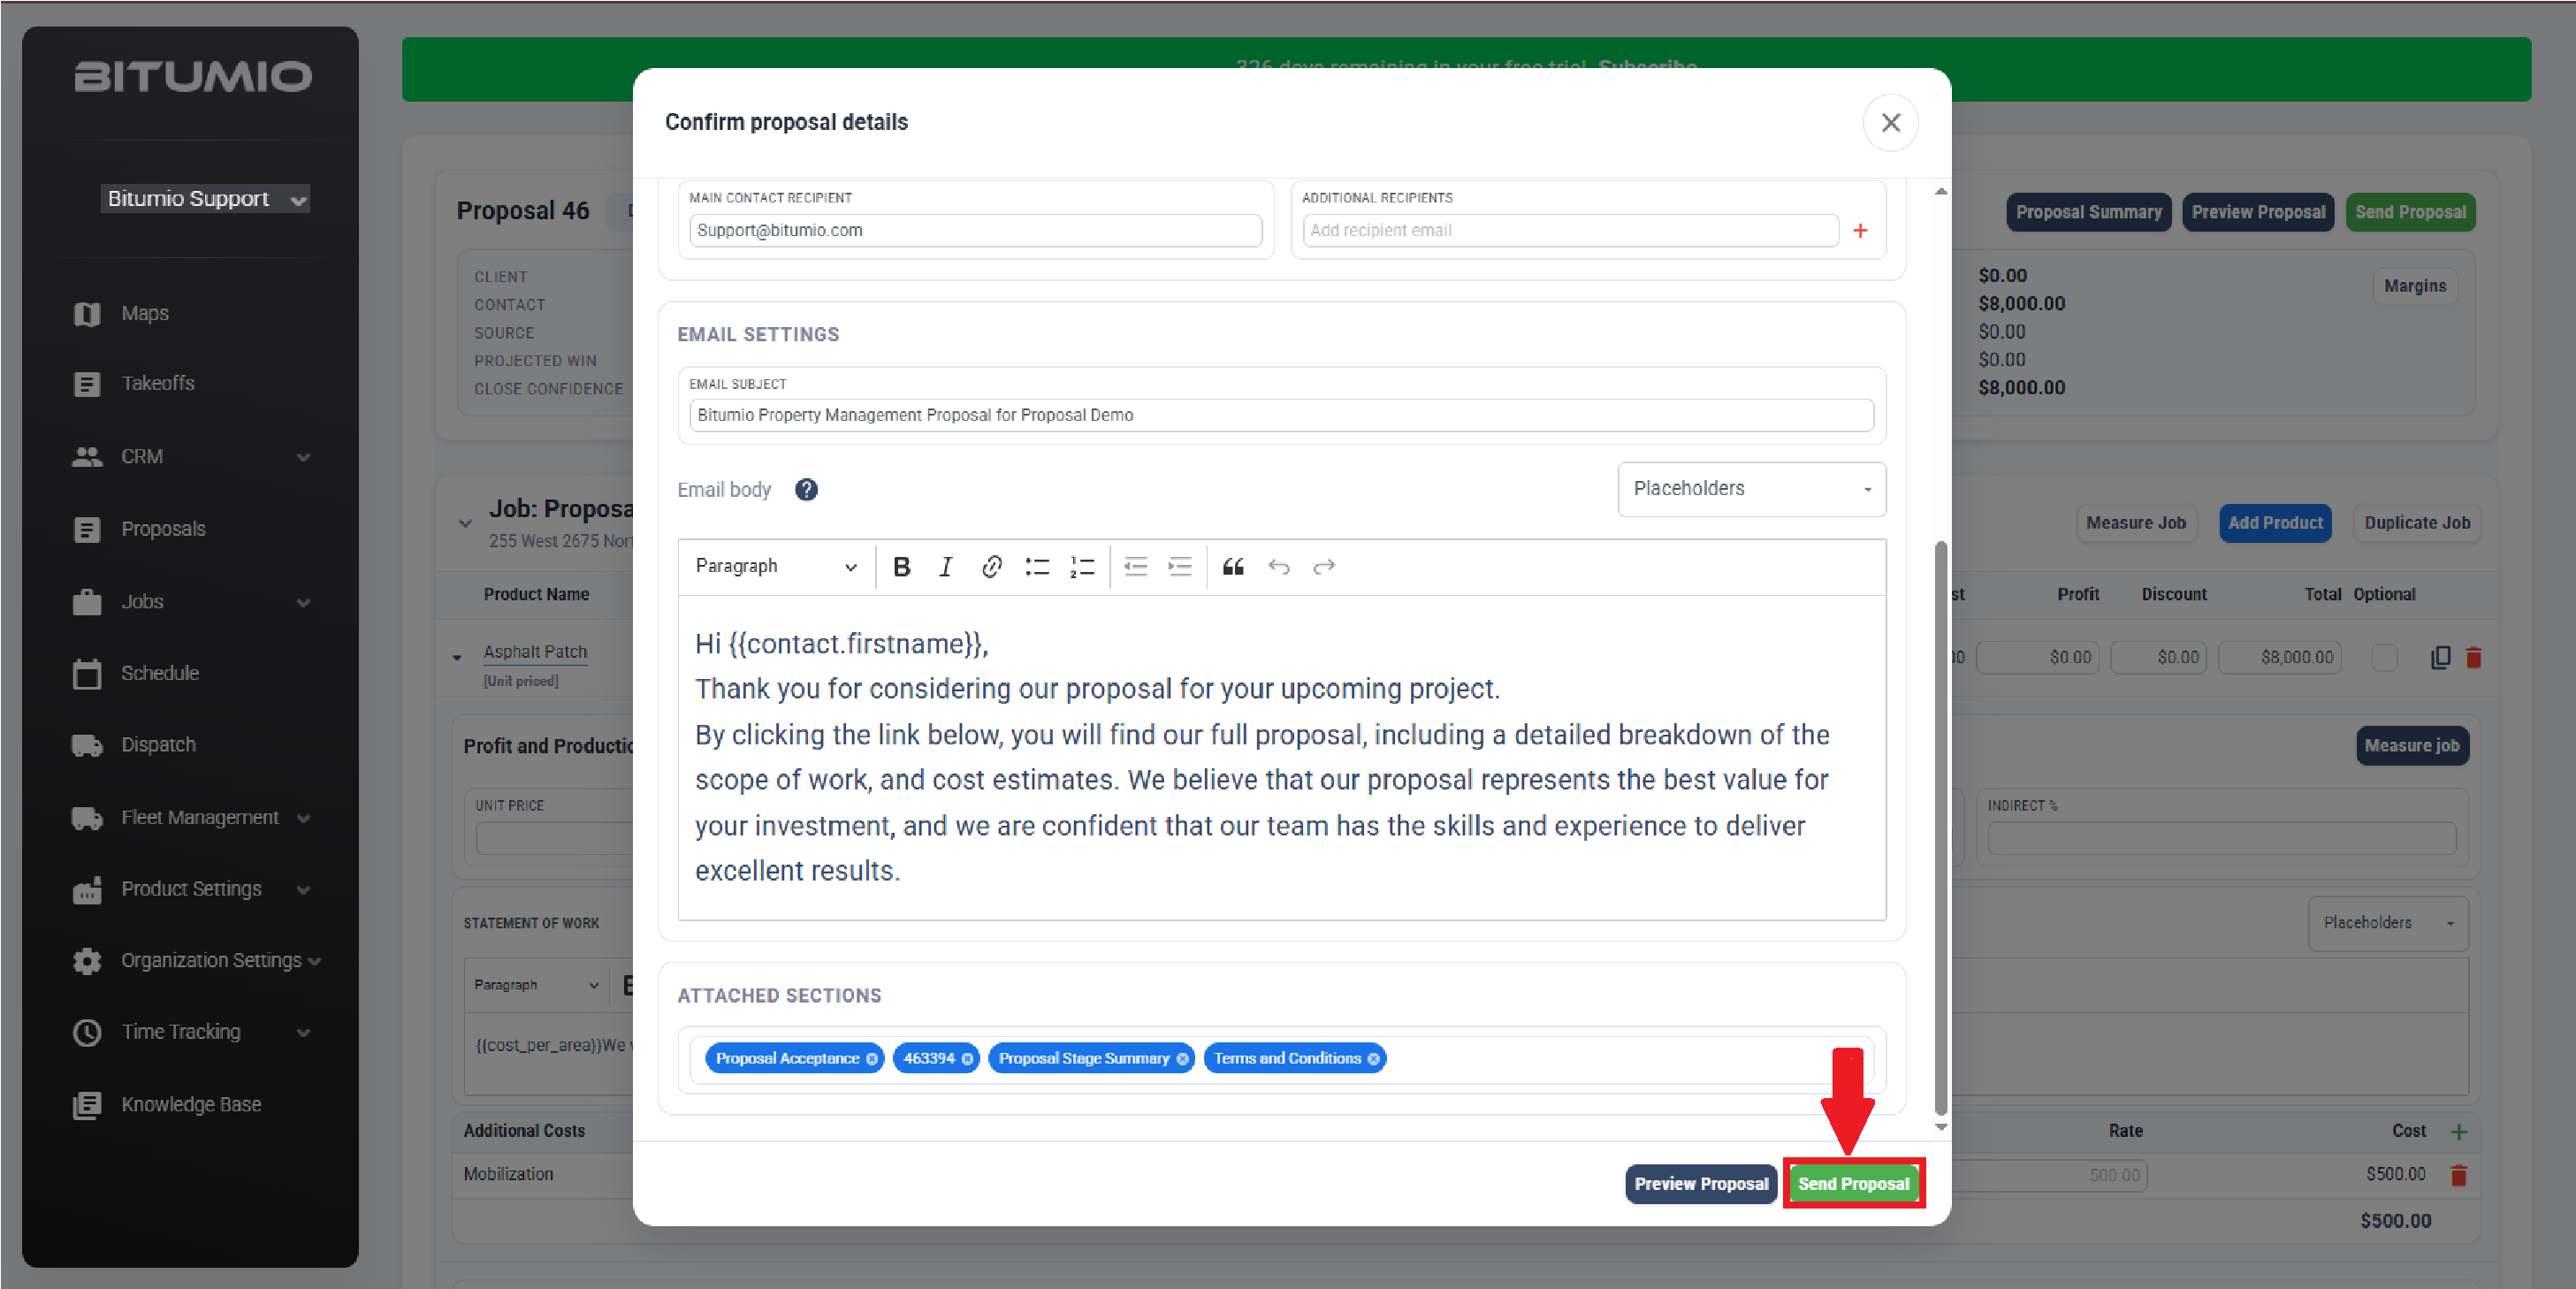
23. Once the required selections are made, click the  button.
Was this article helpful?
That’s Great!
Thank you for your feedback
Sorry! We couldn't be helpful
Thank you for your feedback
Feedback sent
We appreciate your effort and will try to fix the article