Bitumio > Left Navigation Bar > ProposalsStep 1: Create a Proposal
1. Follow the workflow mentioned above to land on the Proposals screen.
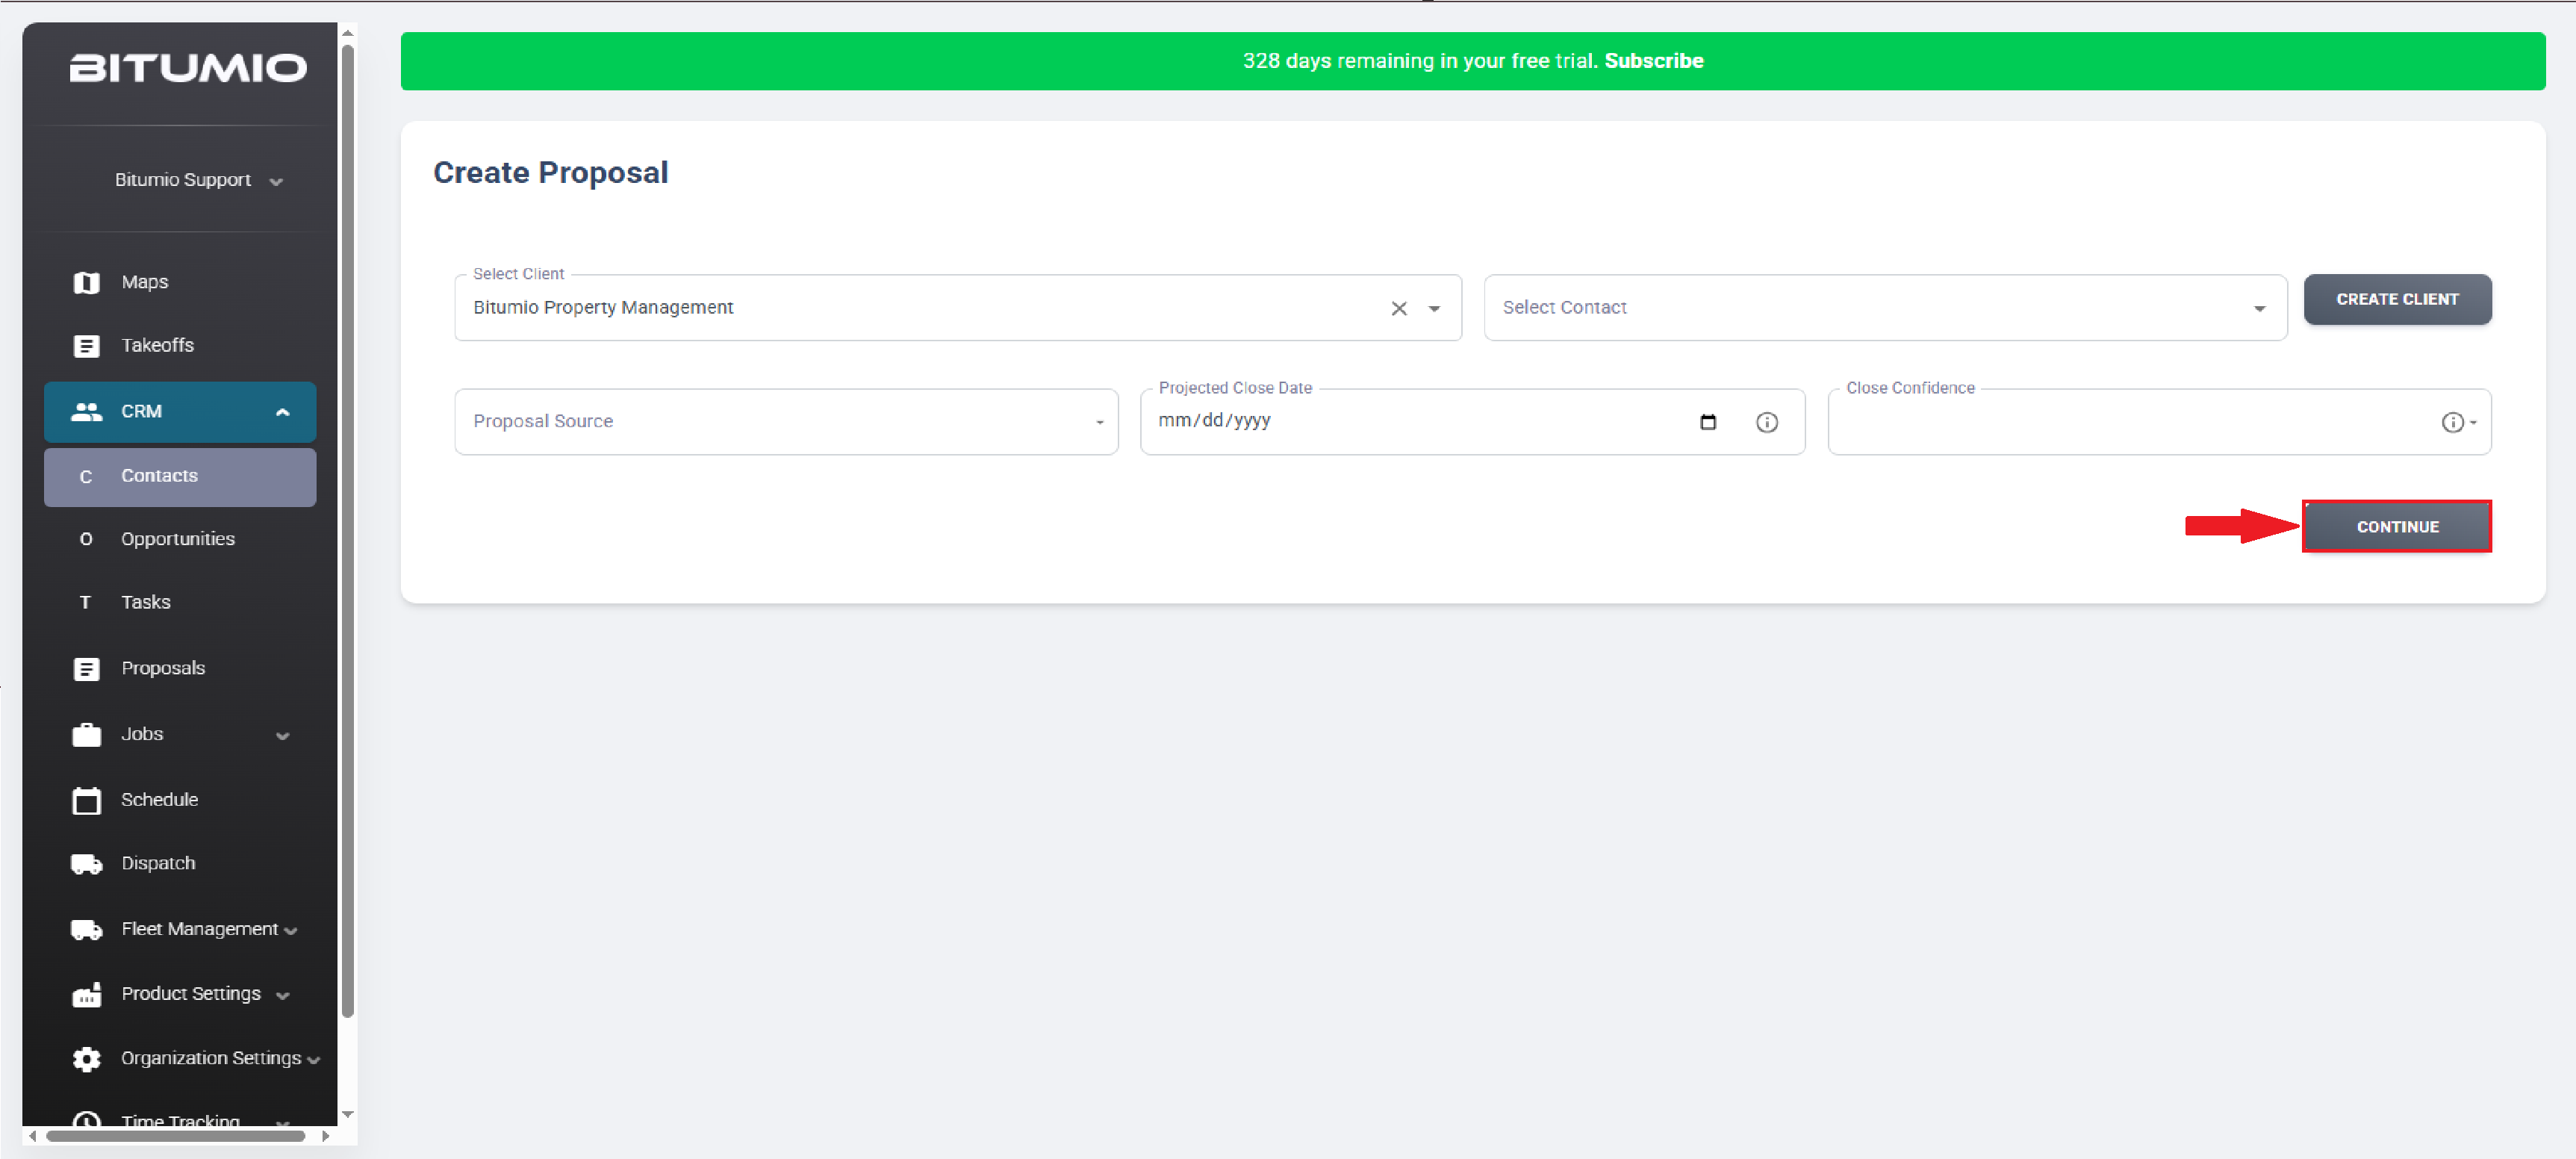
2. Click the  button. Doing so takes you to the Create Proposal screen.

3. Use the Select Client dropdown to select the client you want to create the proposal for.
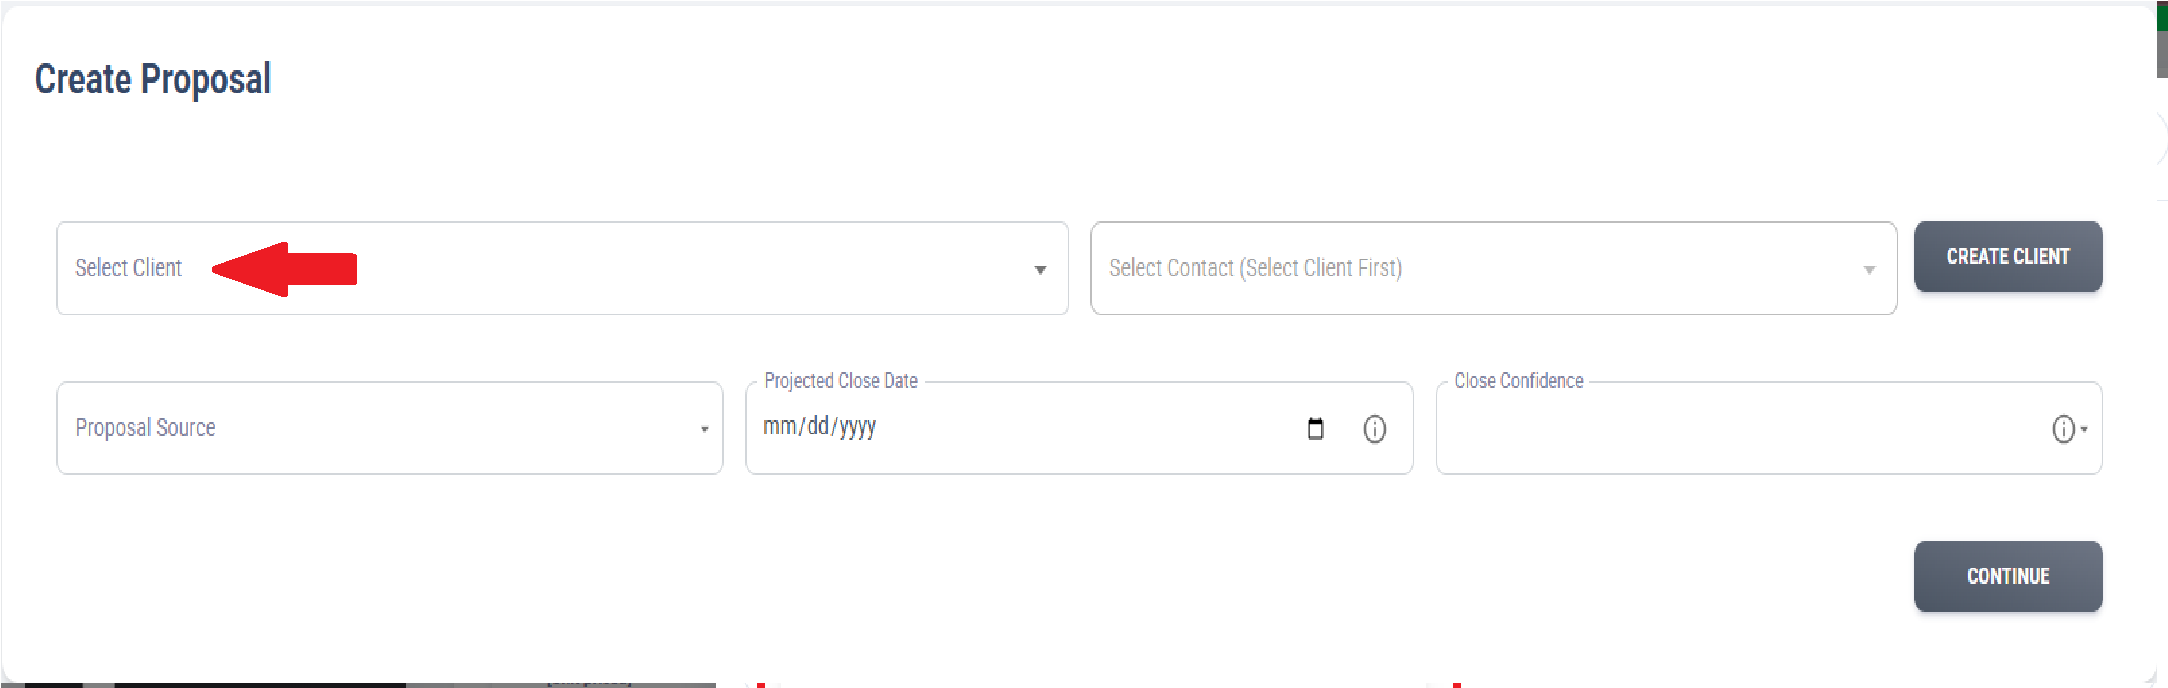
4. Select the client contact using the Select Contact dropdown.
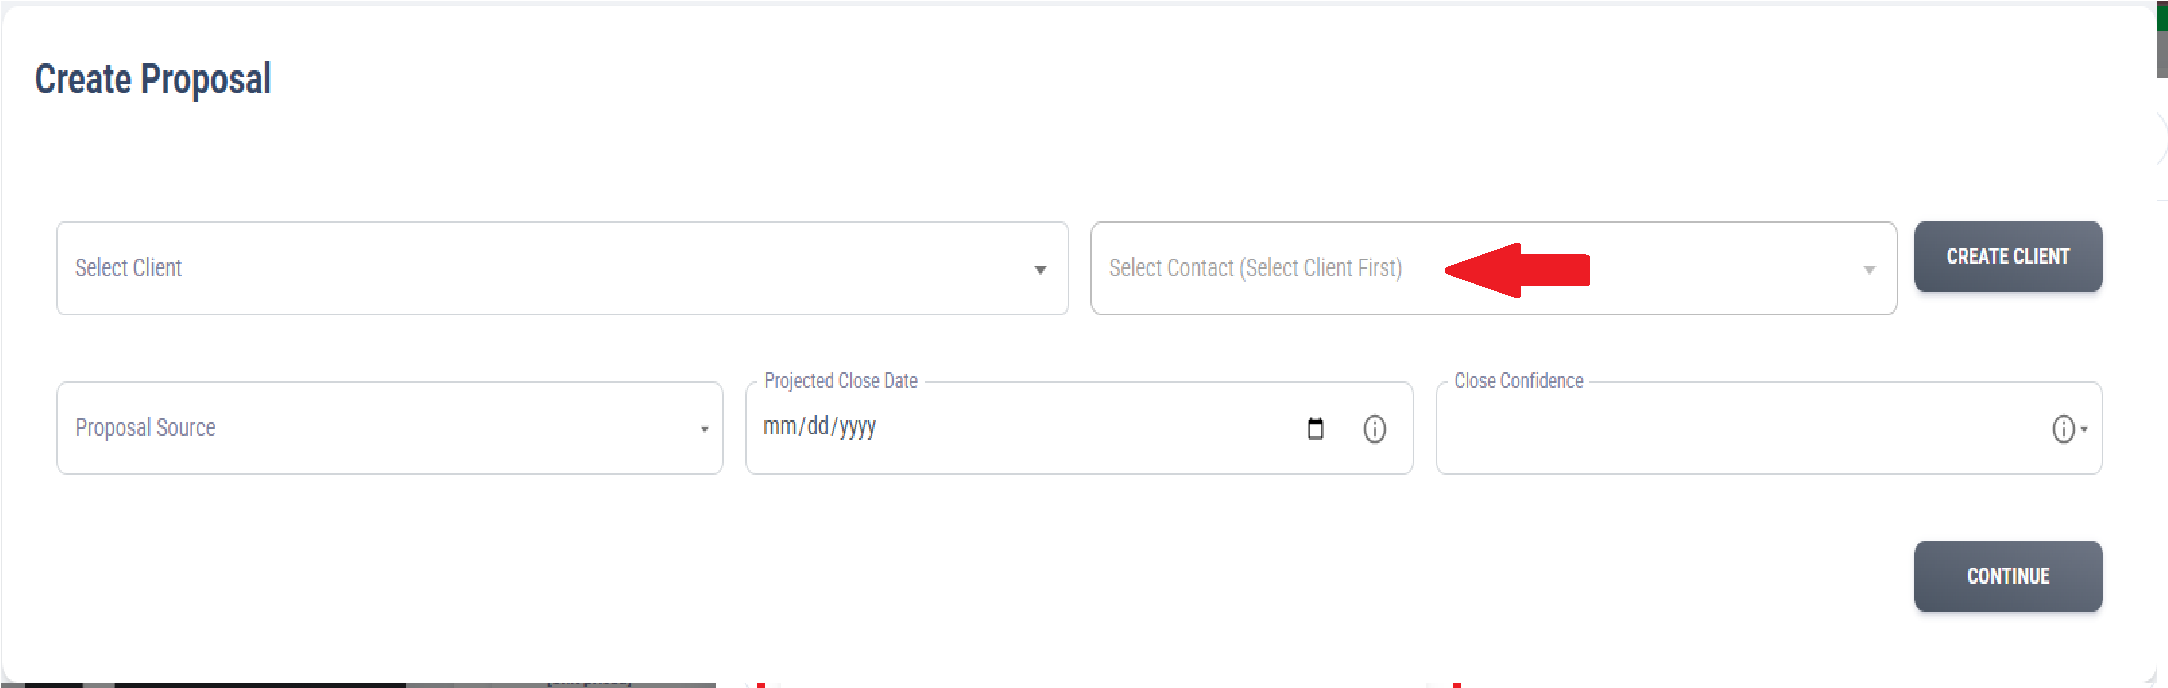 5. In case you want to create a new client, click the
  button.
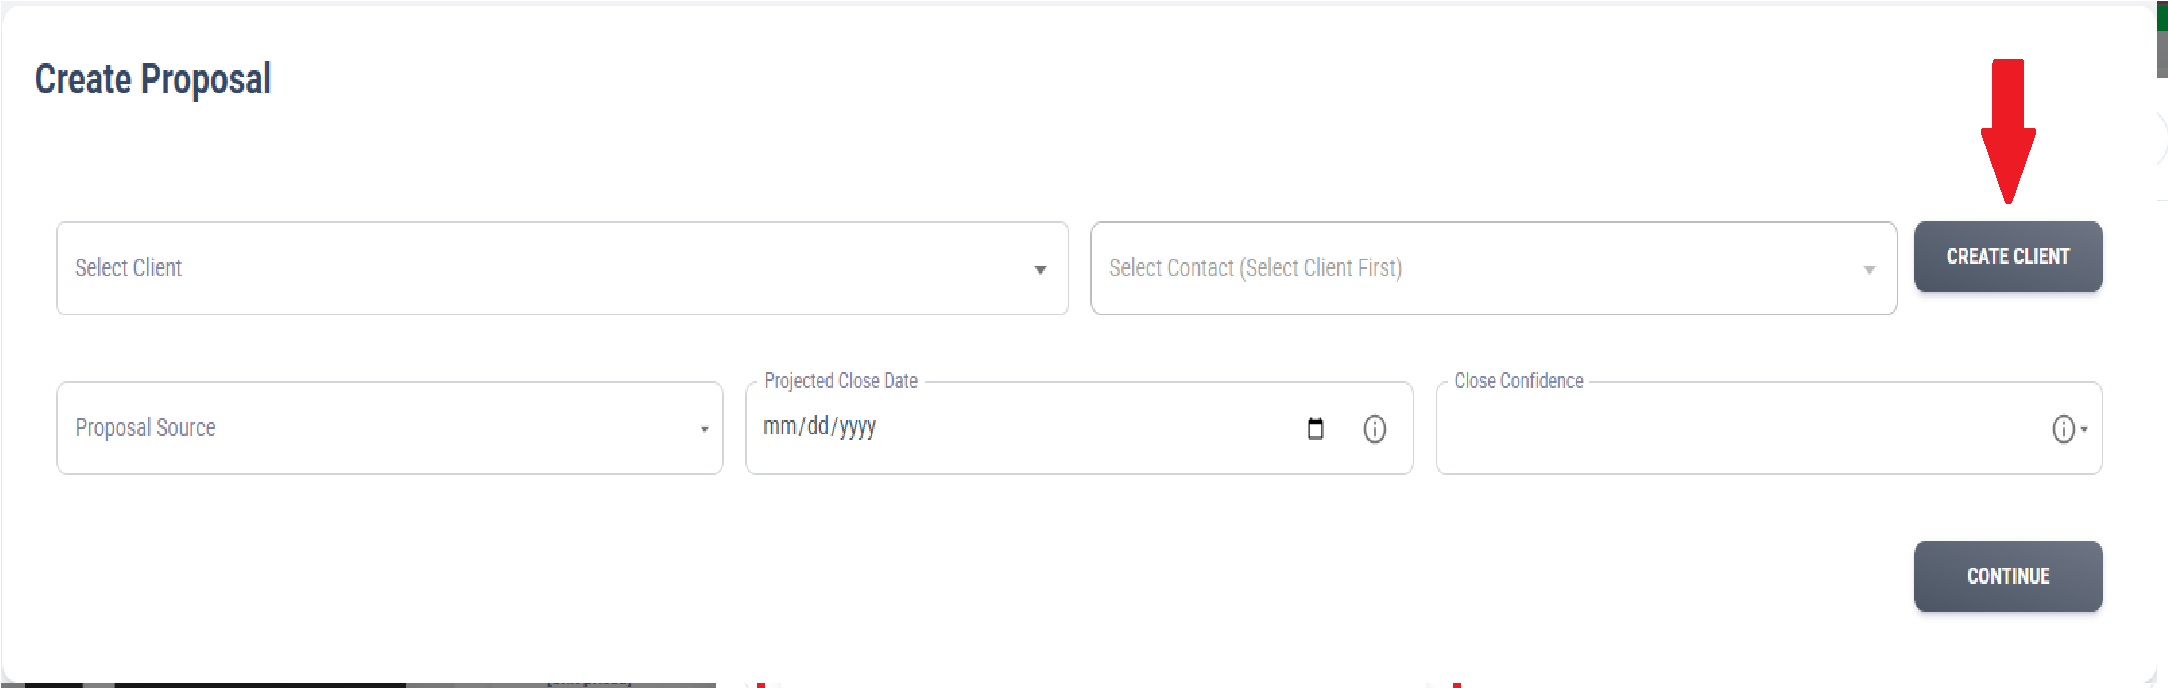
6. The highlighted section below we have included optional fields for increased marketing tracking.
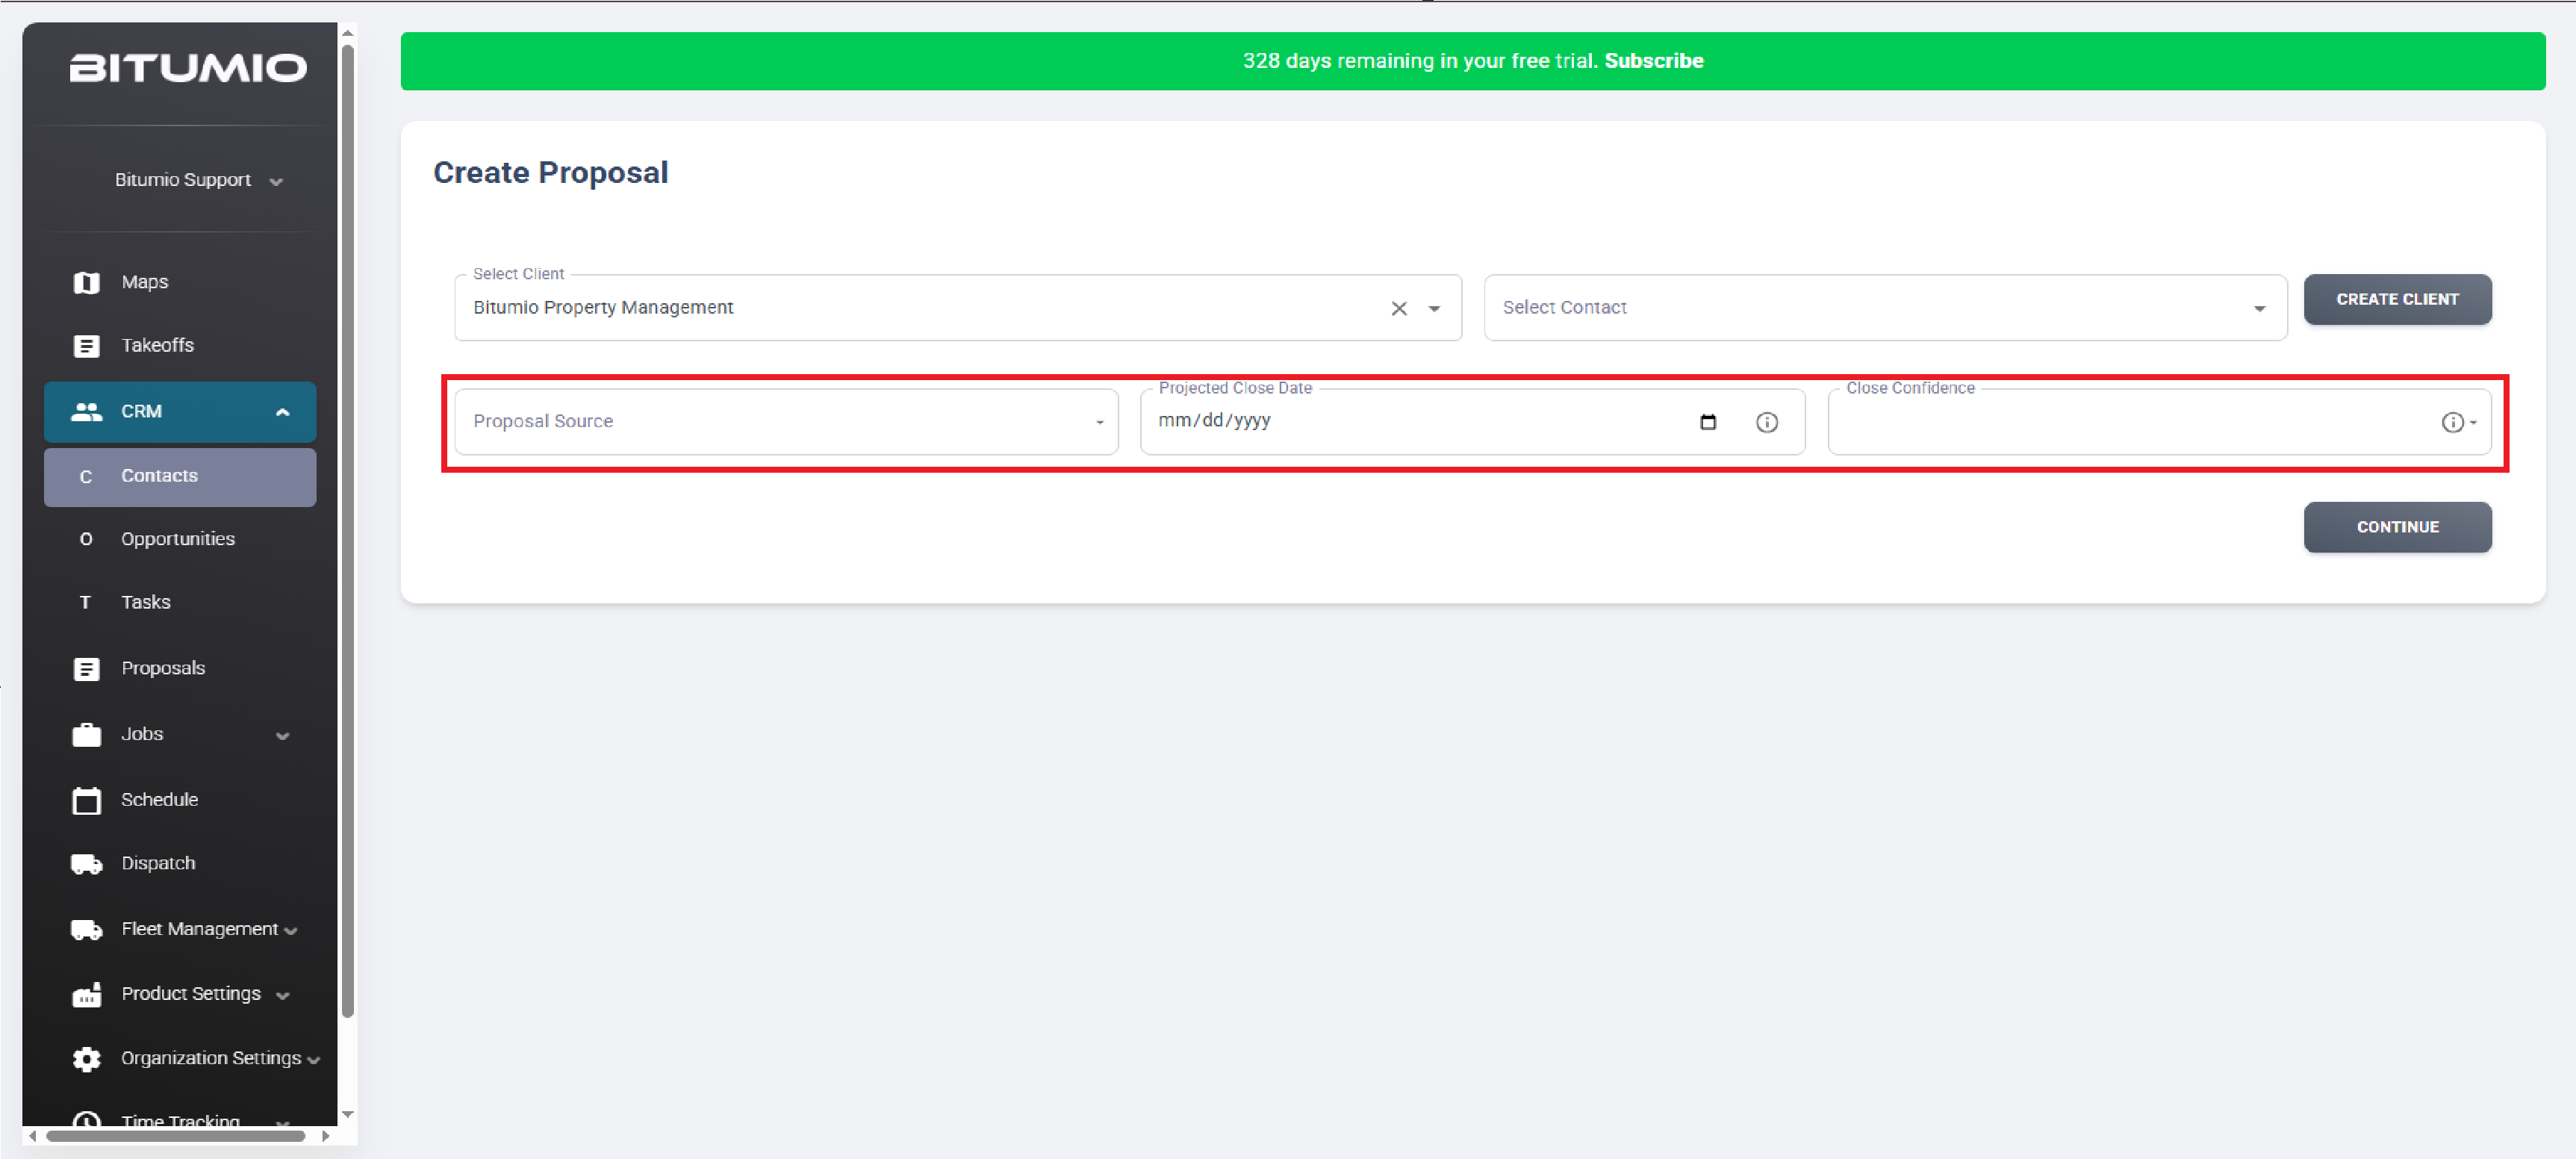
7. Once the required selections are made, click the  button.
Step 2: Create a Job
1. Here, enter a name for the Job using the Name field. This is a descriptive name for where the work will be performed. For information about what a Job/Stage is, see here.
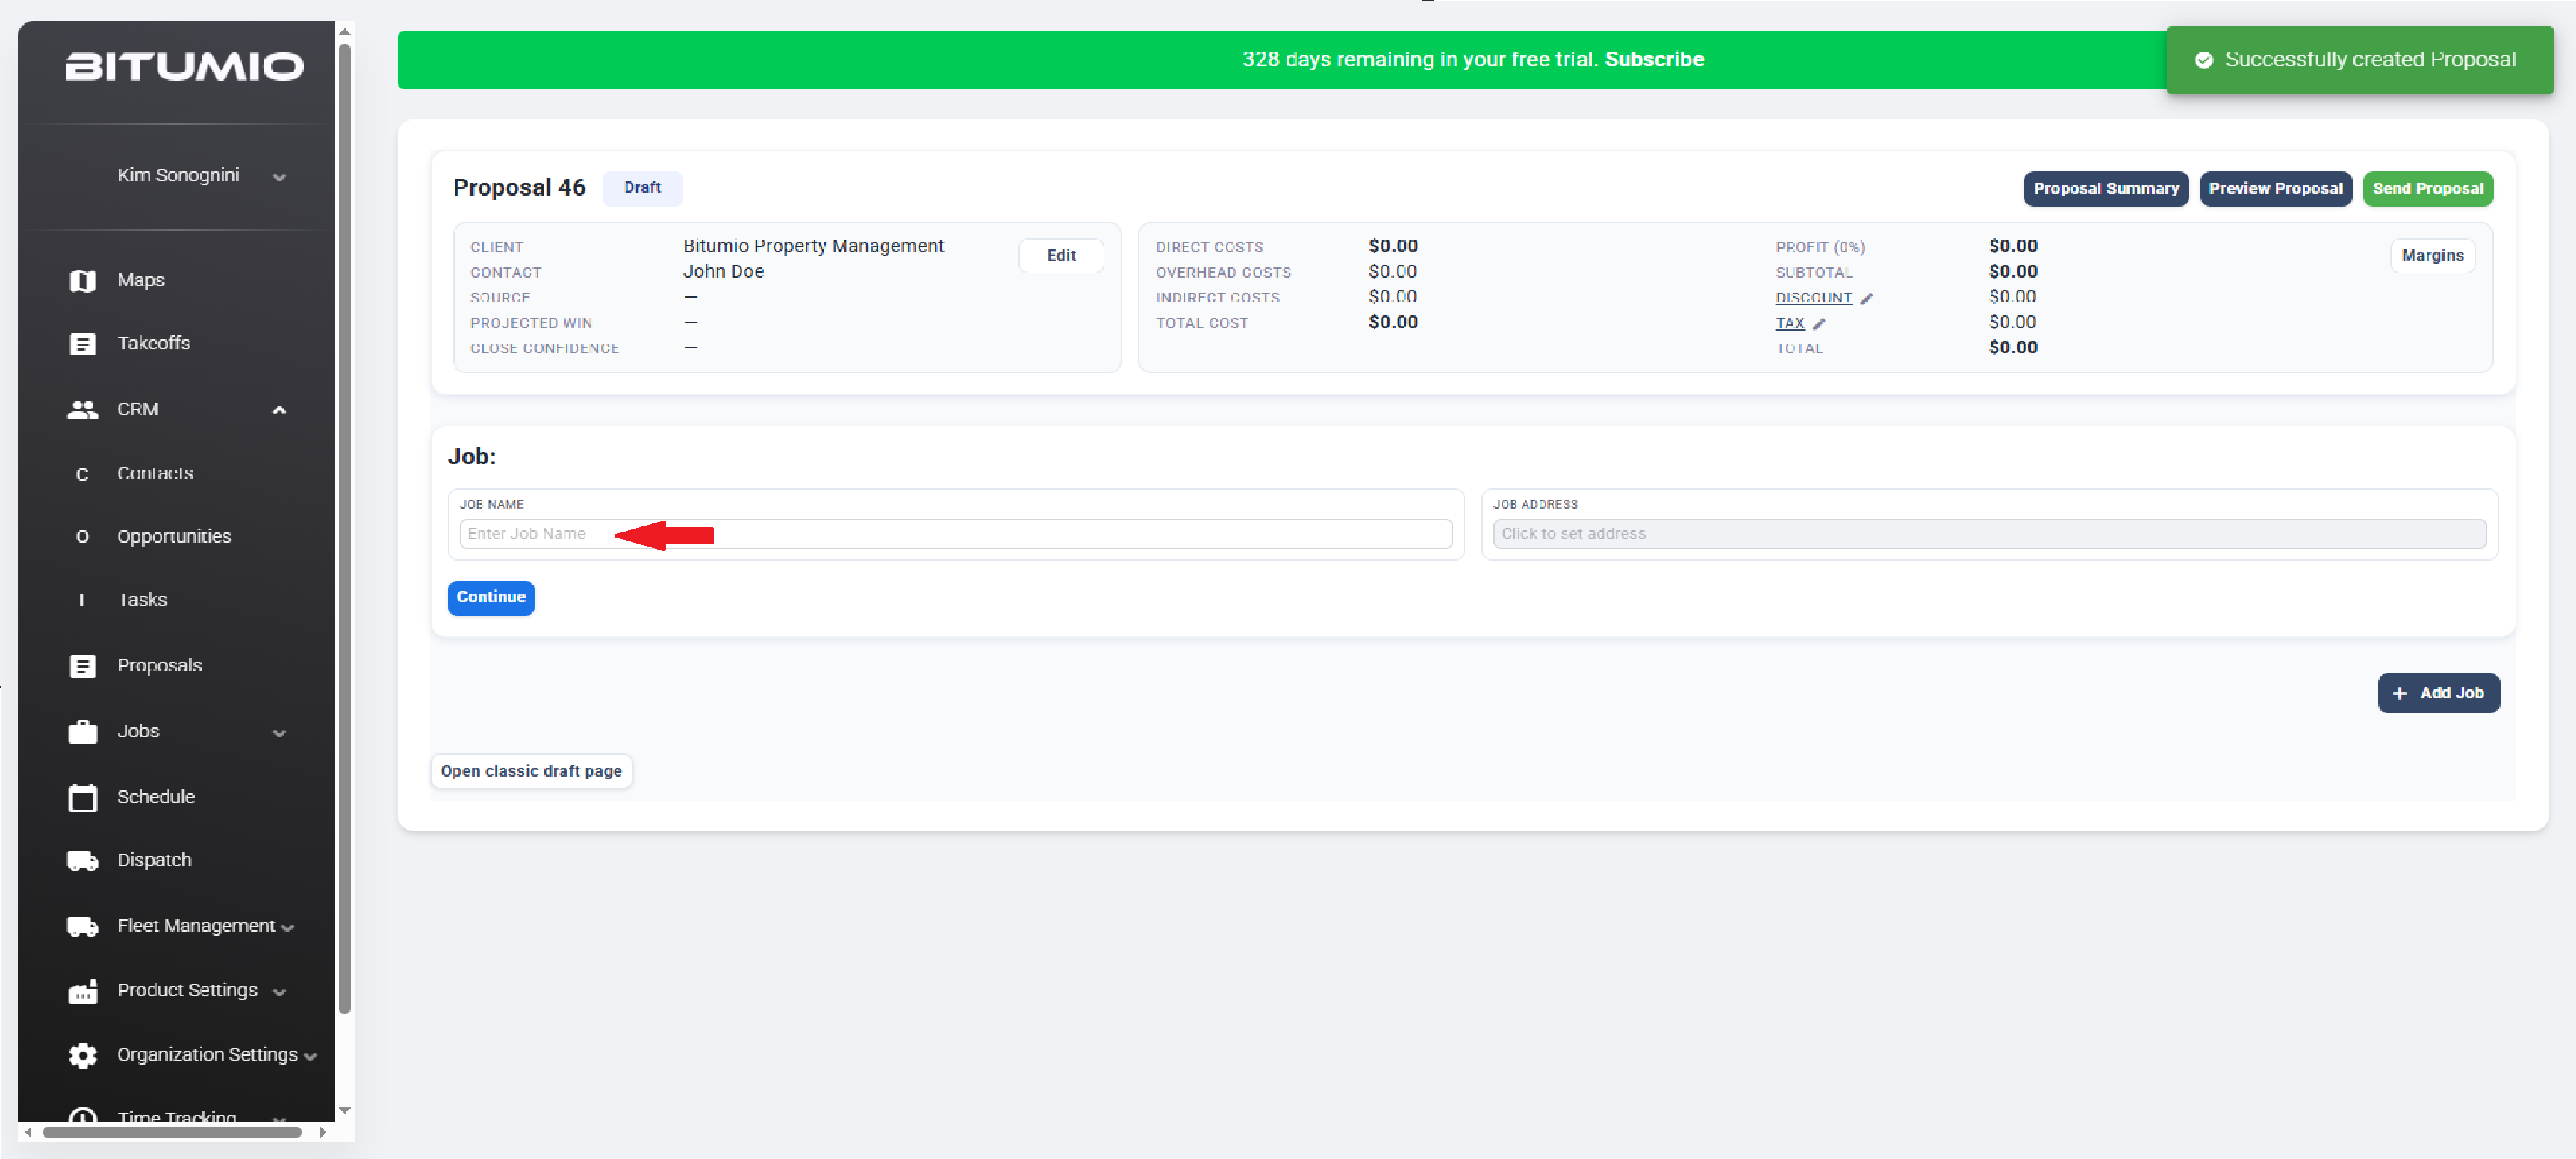
2. Define the job are by clicking the Enter Job Address field. This step is simply telling the map where to load on subsequent Products. Clicking the "Enter Job Address" box opens Bitumio Maps.
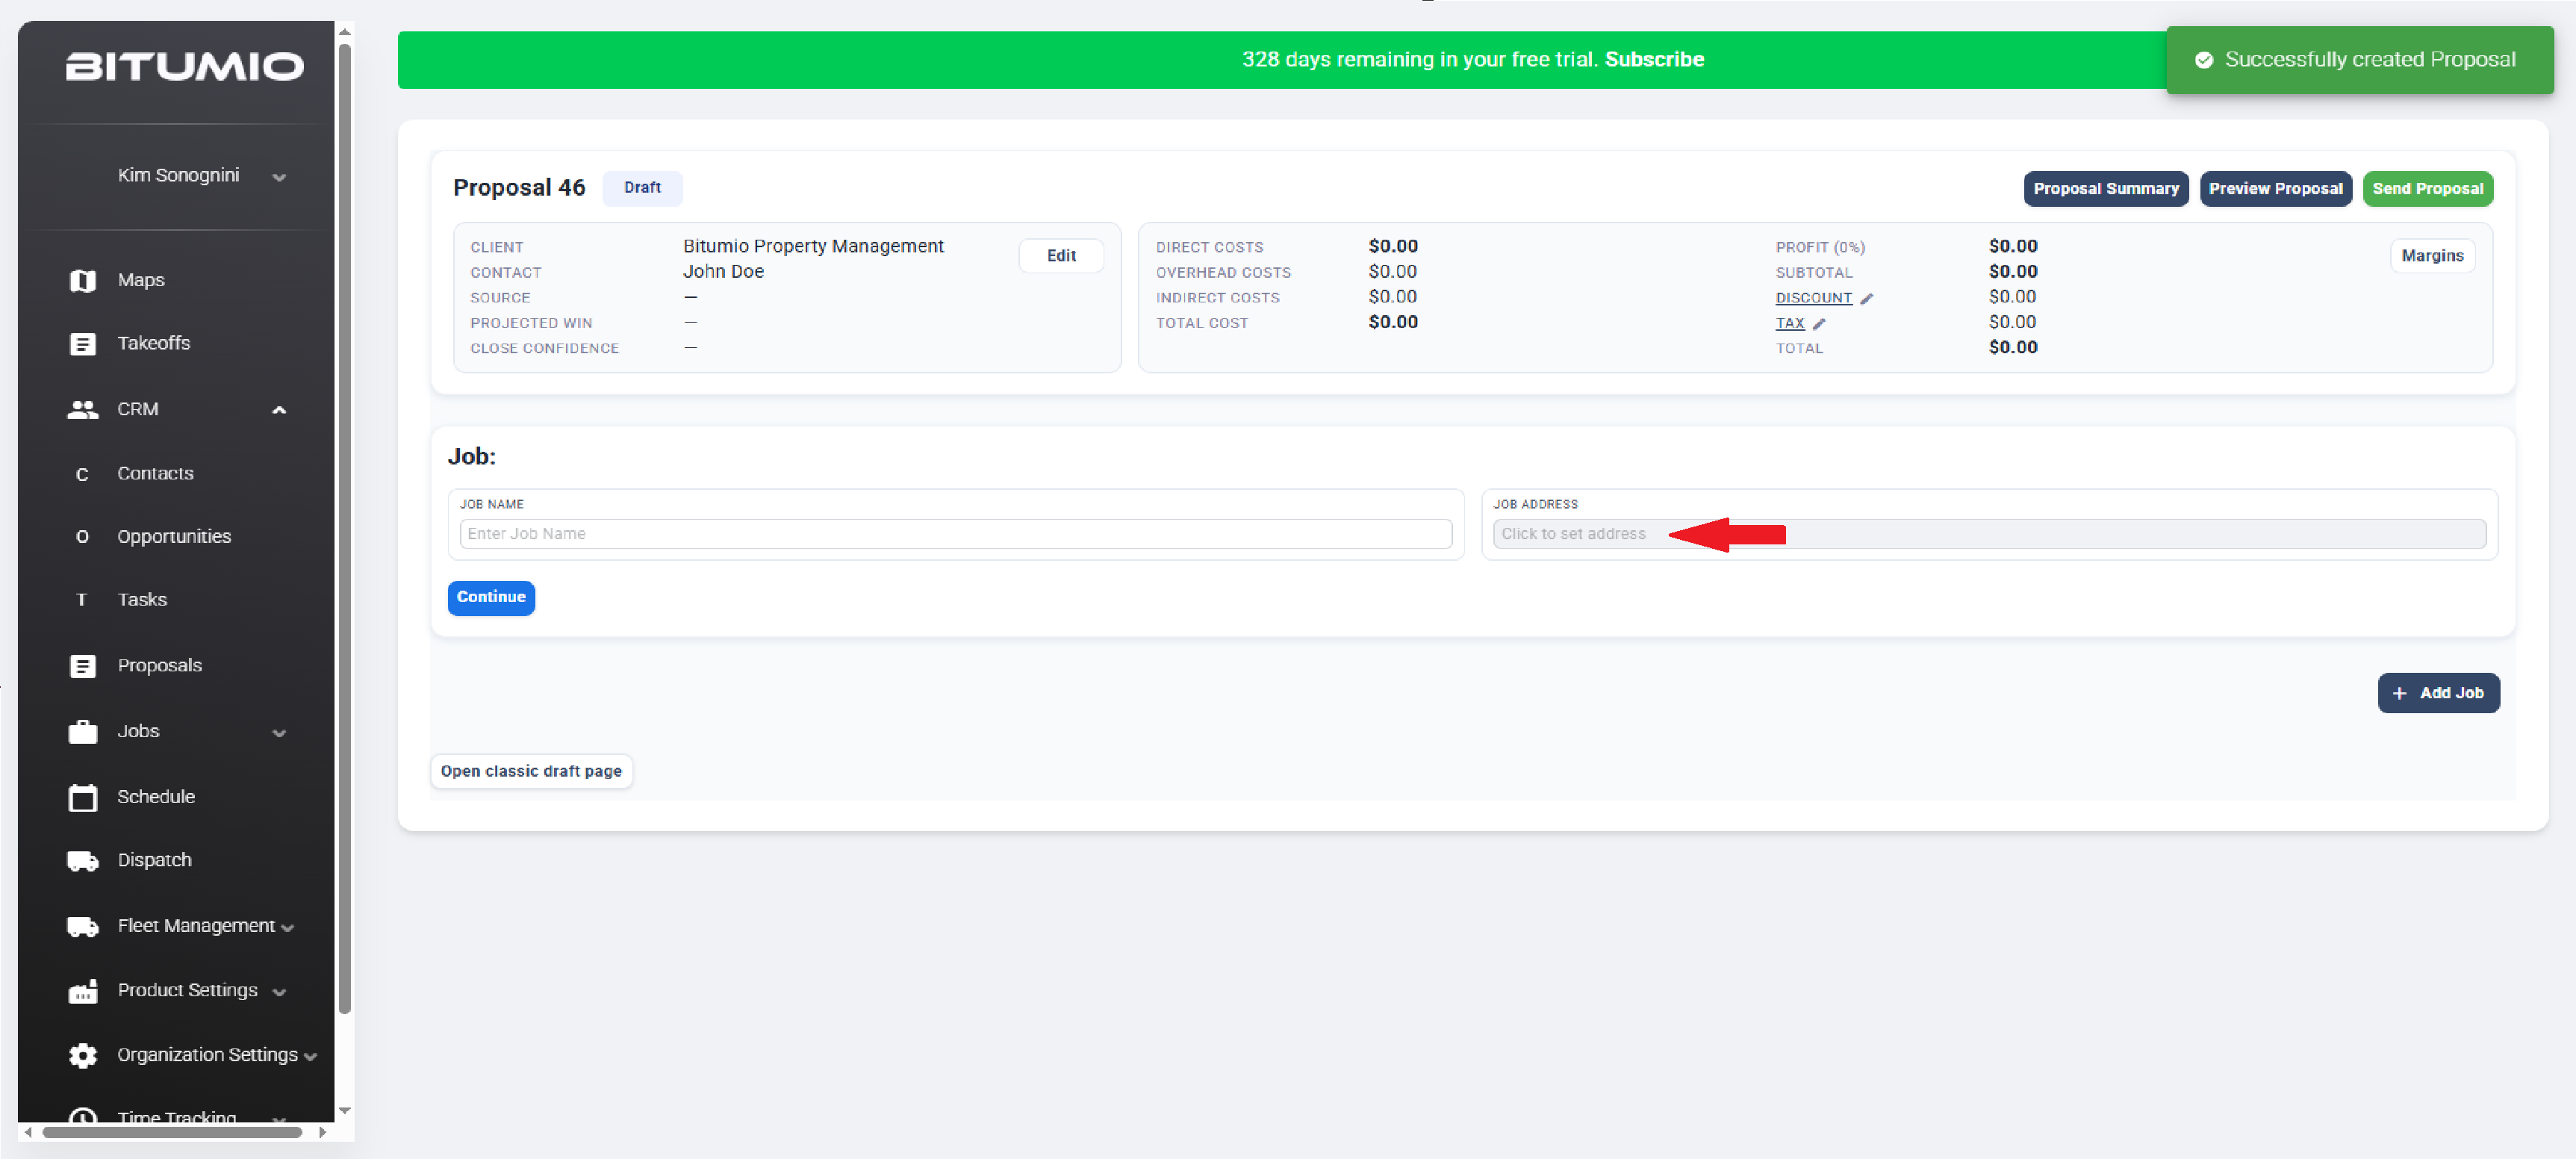
3. Enter the Job Address in the Street field. (i.e. 50 South Bear Lake Boulevard, Garden City, Utah 84028).
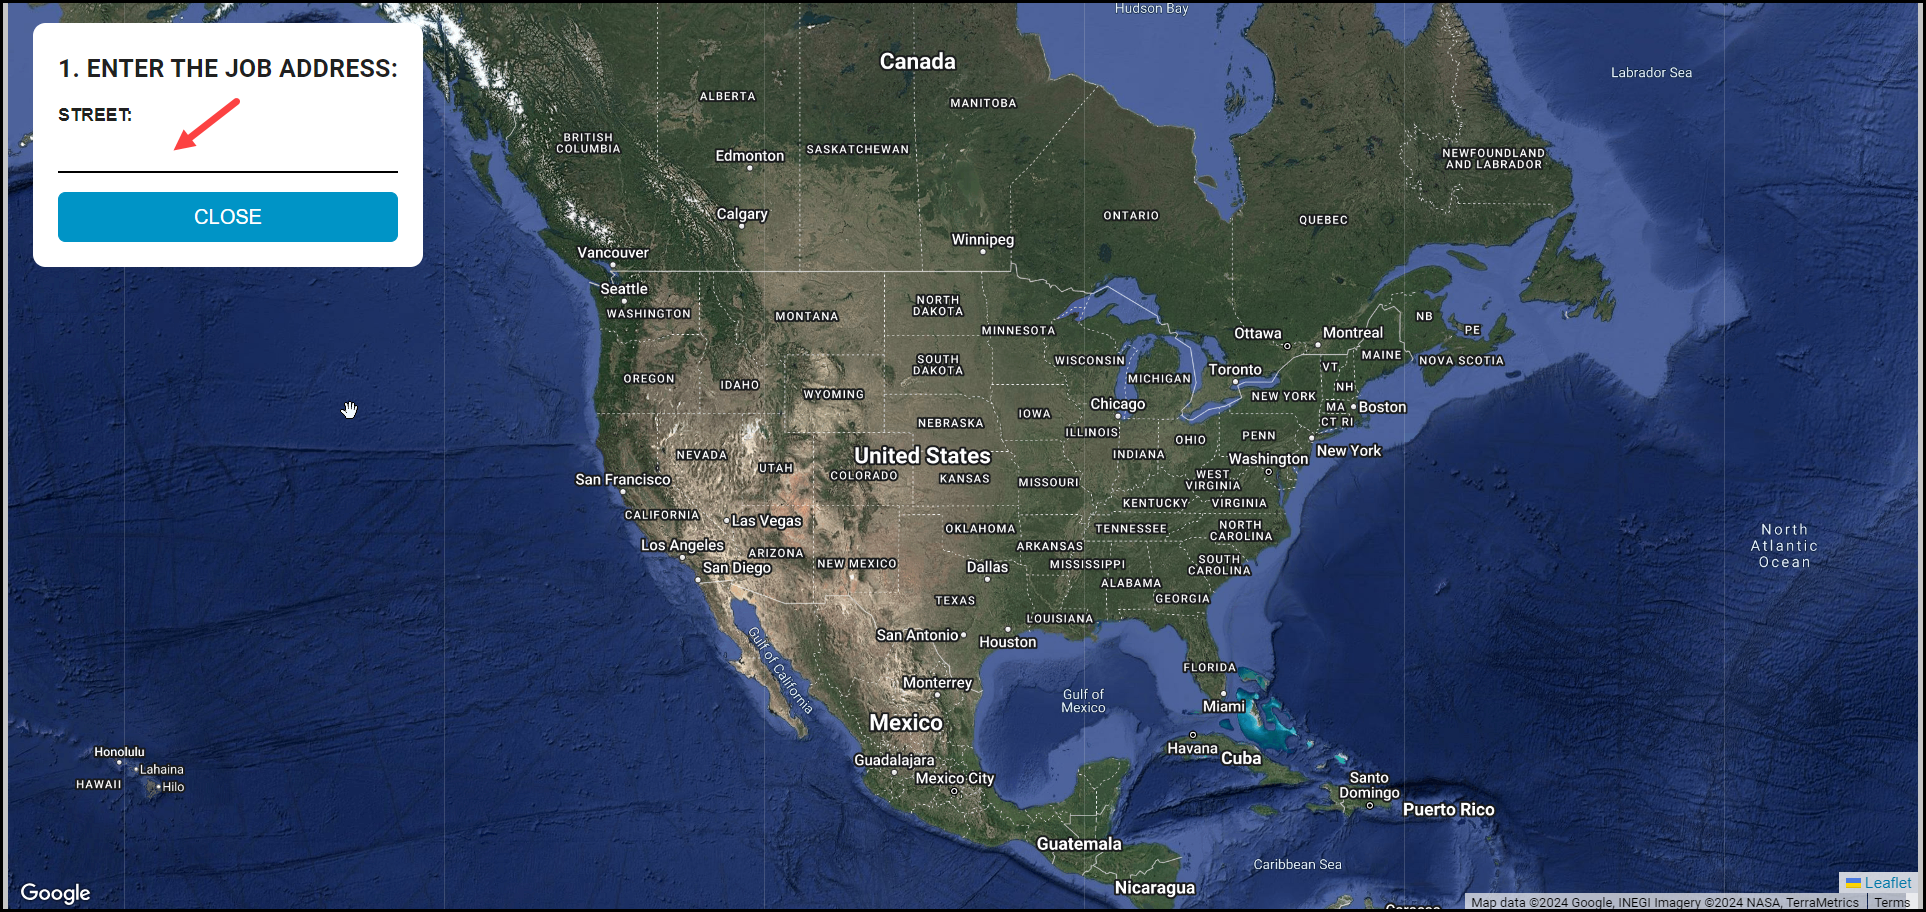
4. In this view, the location of the Job is defined. All other Products in the Stage use this same address. Also, when measuring areas for each Product, the Map opens to this exact location each time.
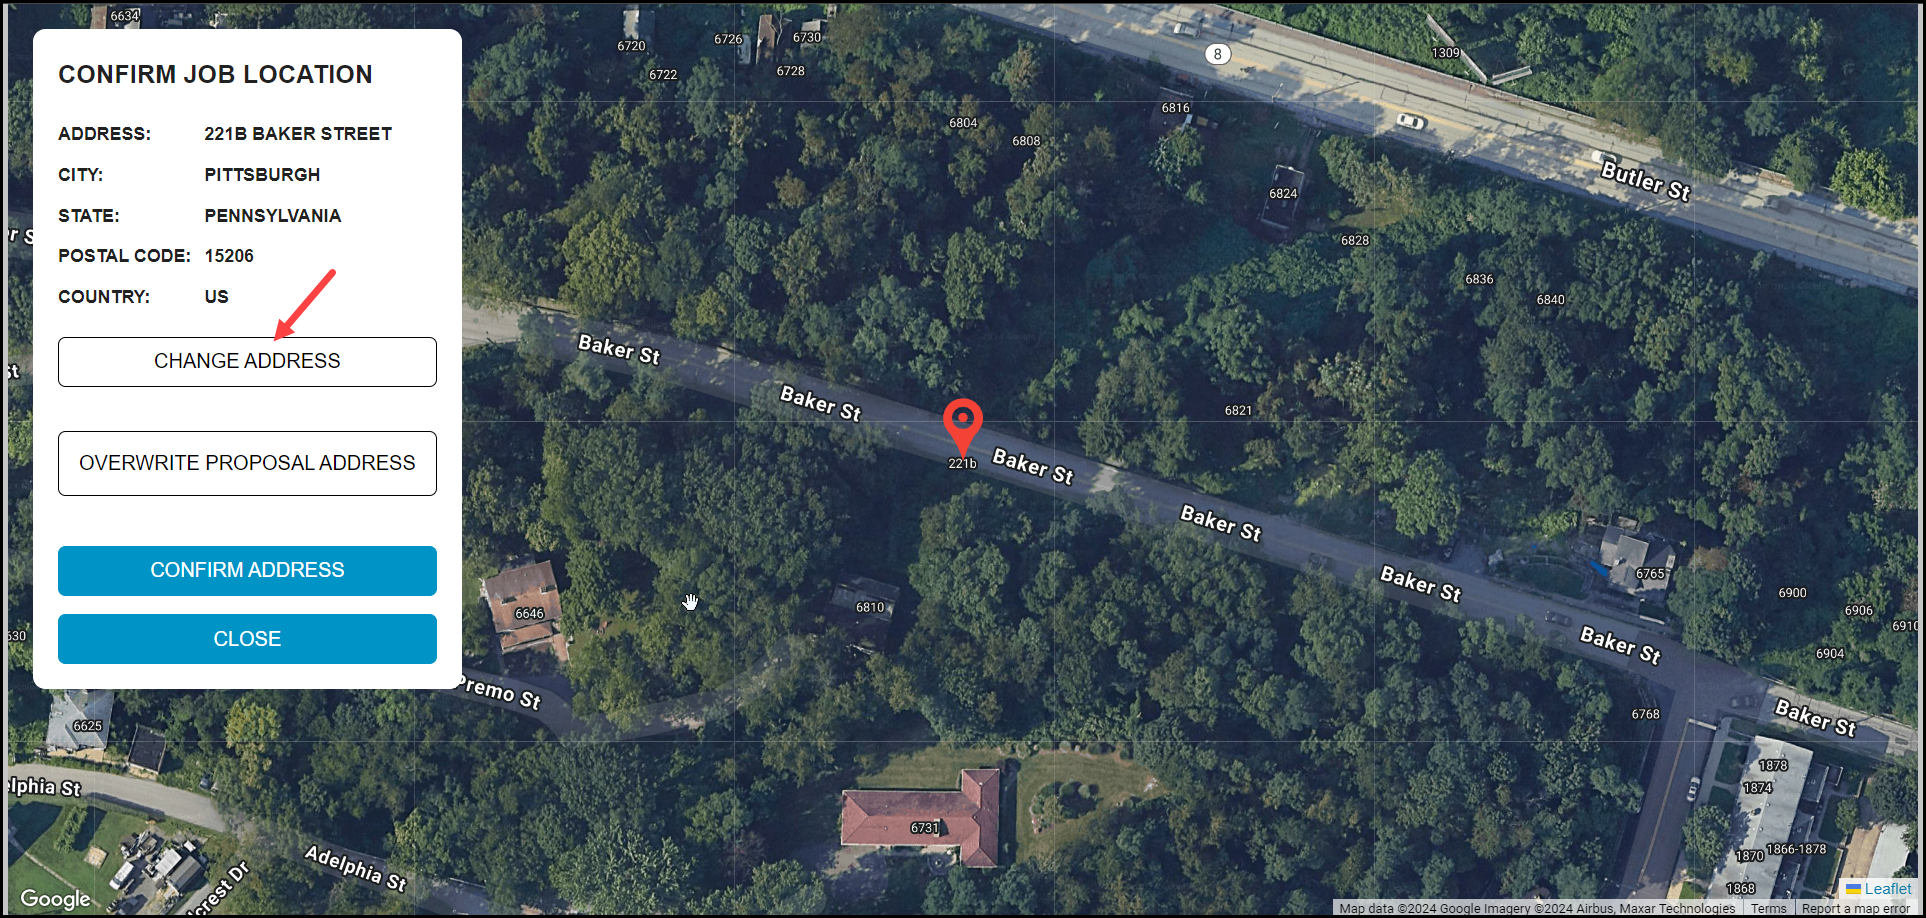
5. To change the address, click the  button.
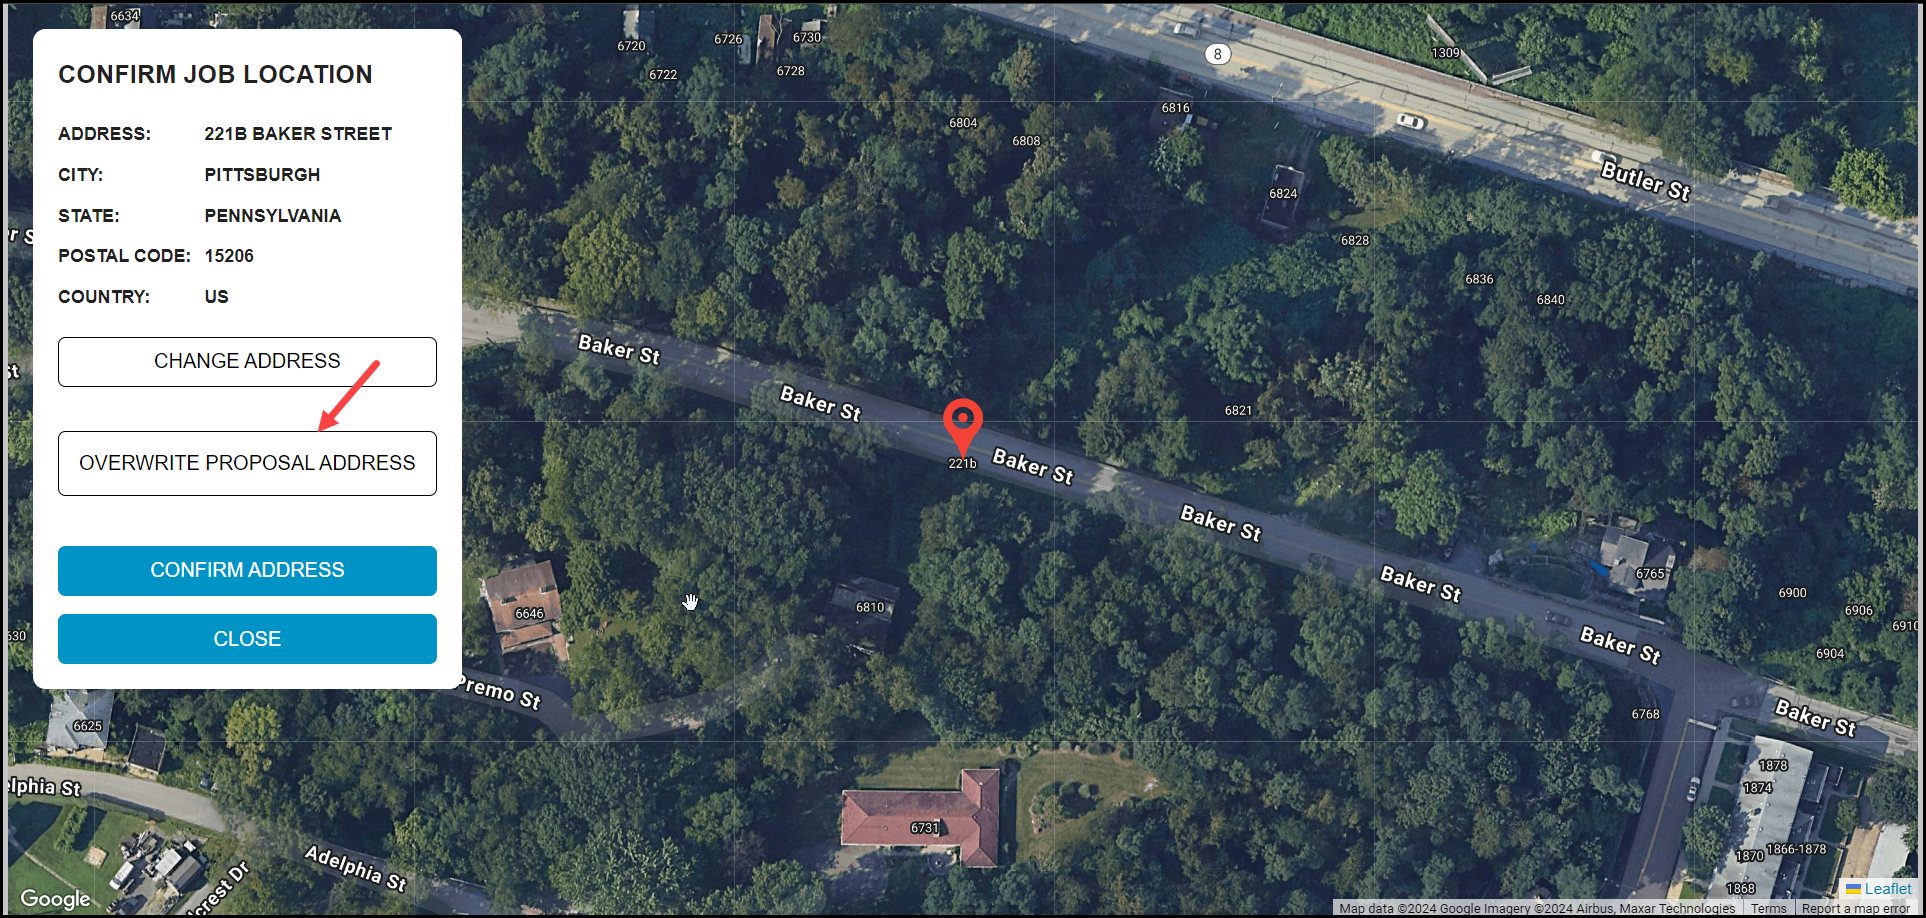
6. To overwrite proposal address, click the  button.
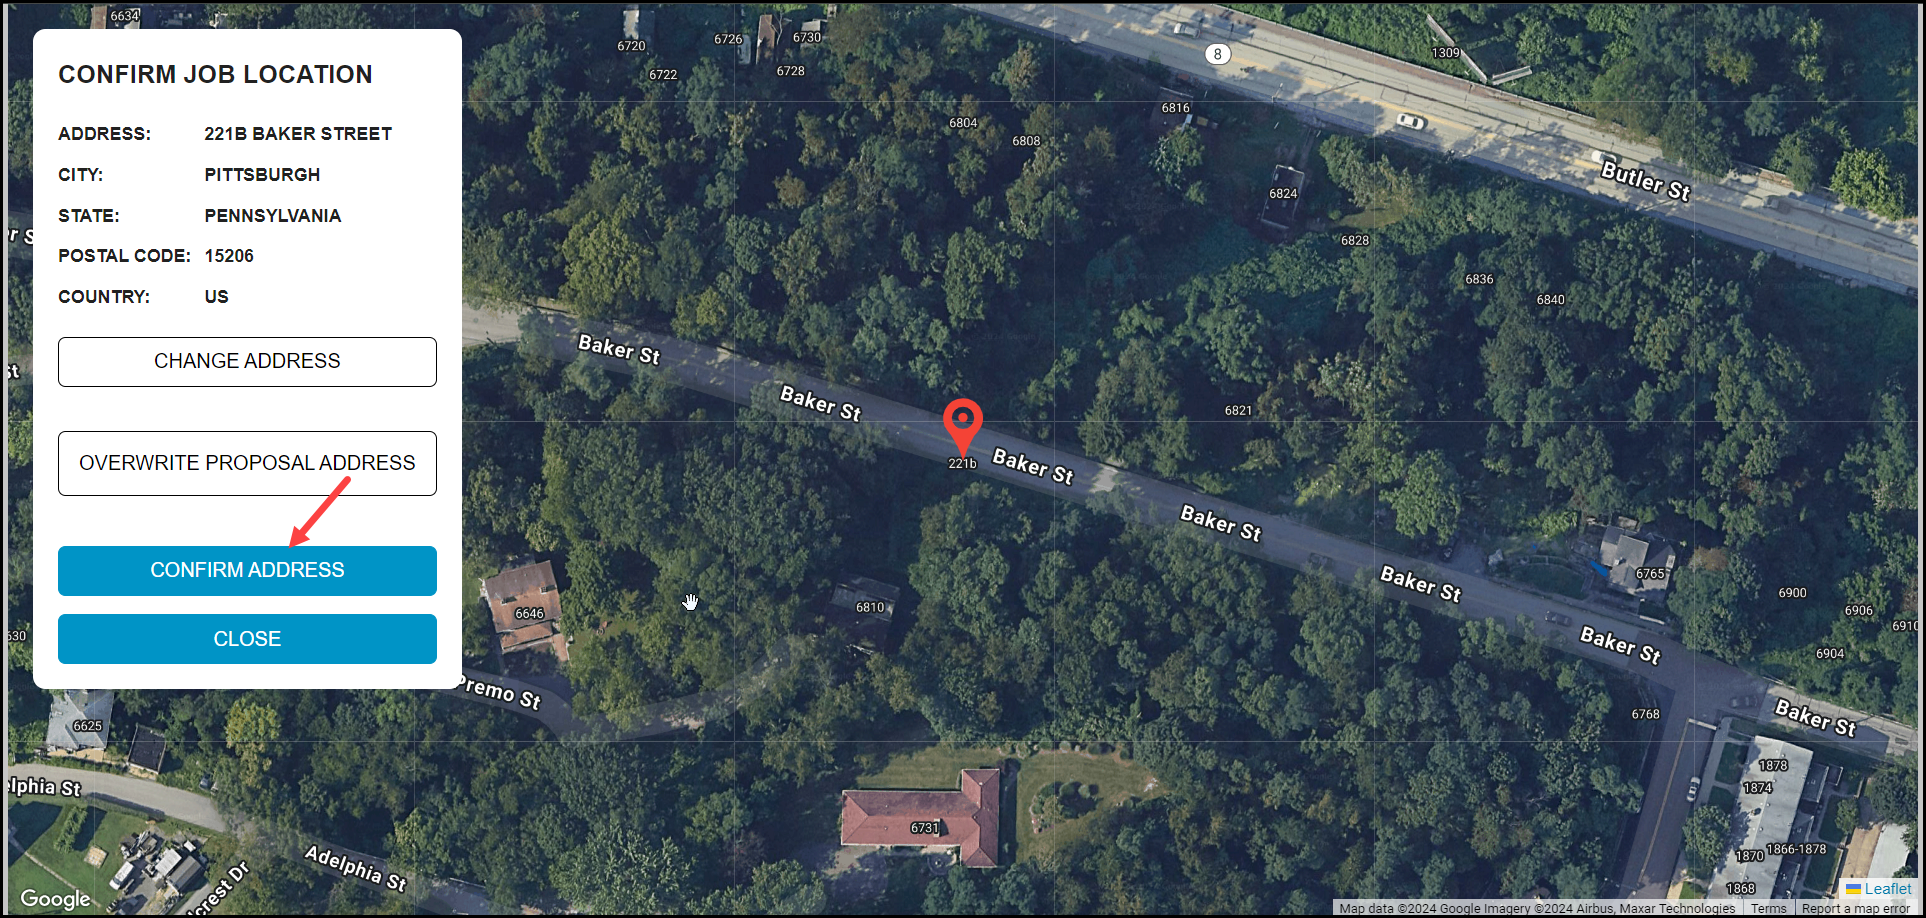
7. Once the required selections are made, click the  button.
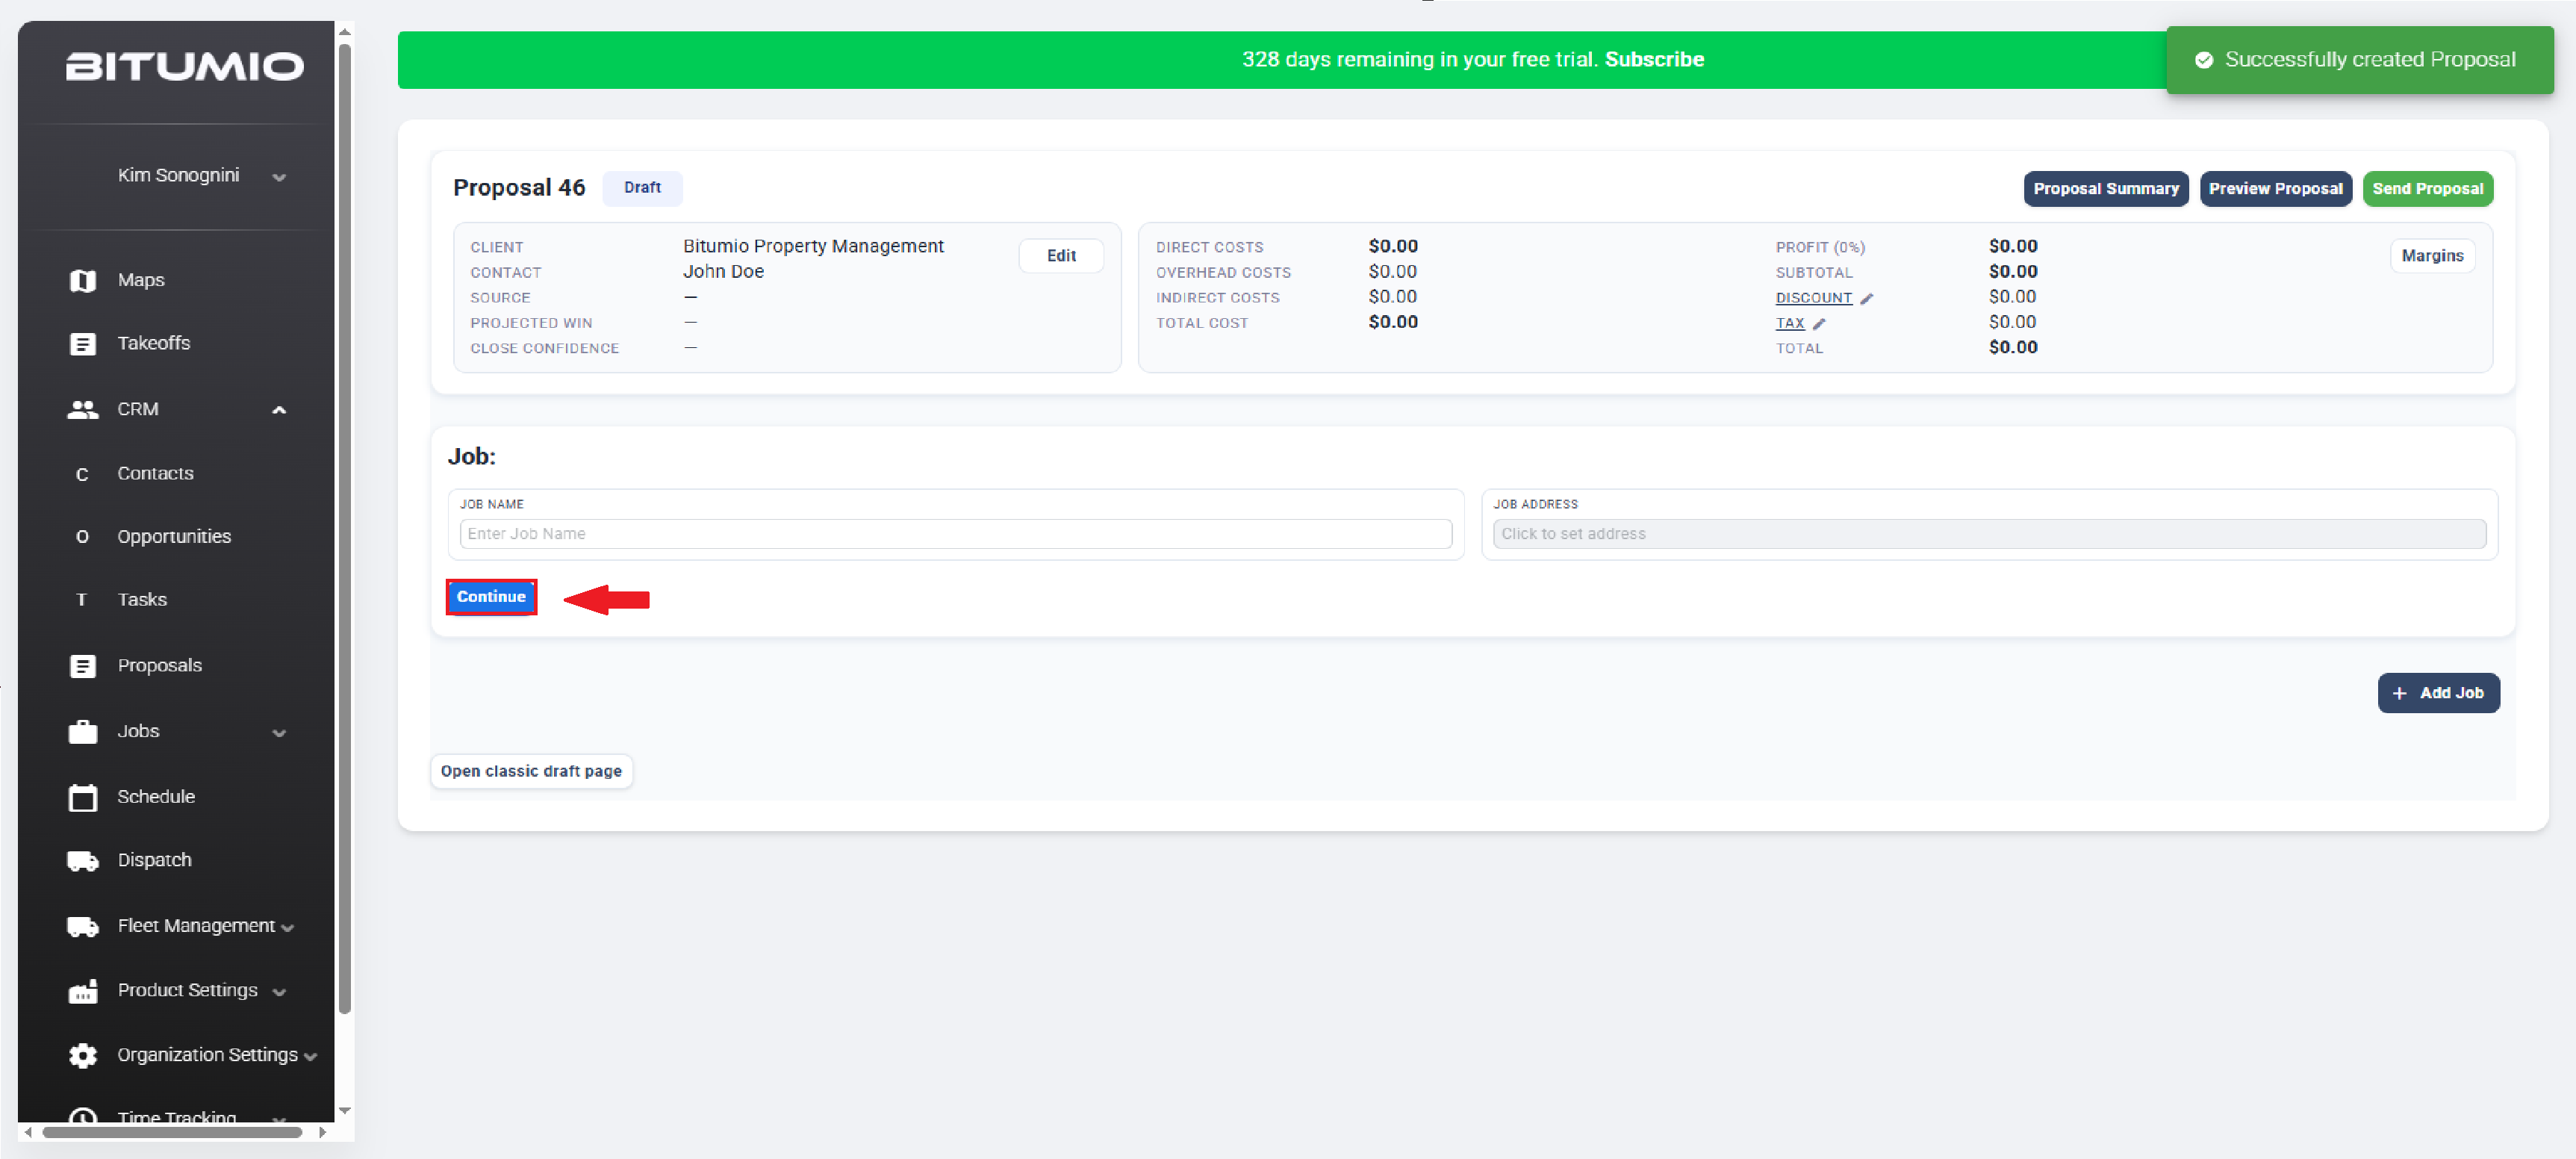
8. Once both details are recorded, click the  button. This creates the job and displays a success message.
Step 3: Add Product(s) to Job
1. Select the product(s) you want to add to the stage using the Select Product side drawer.
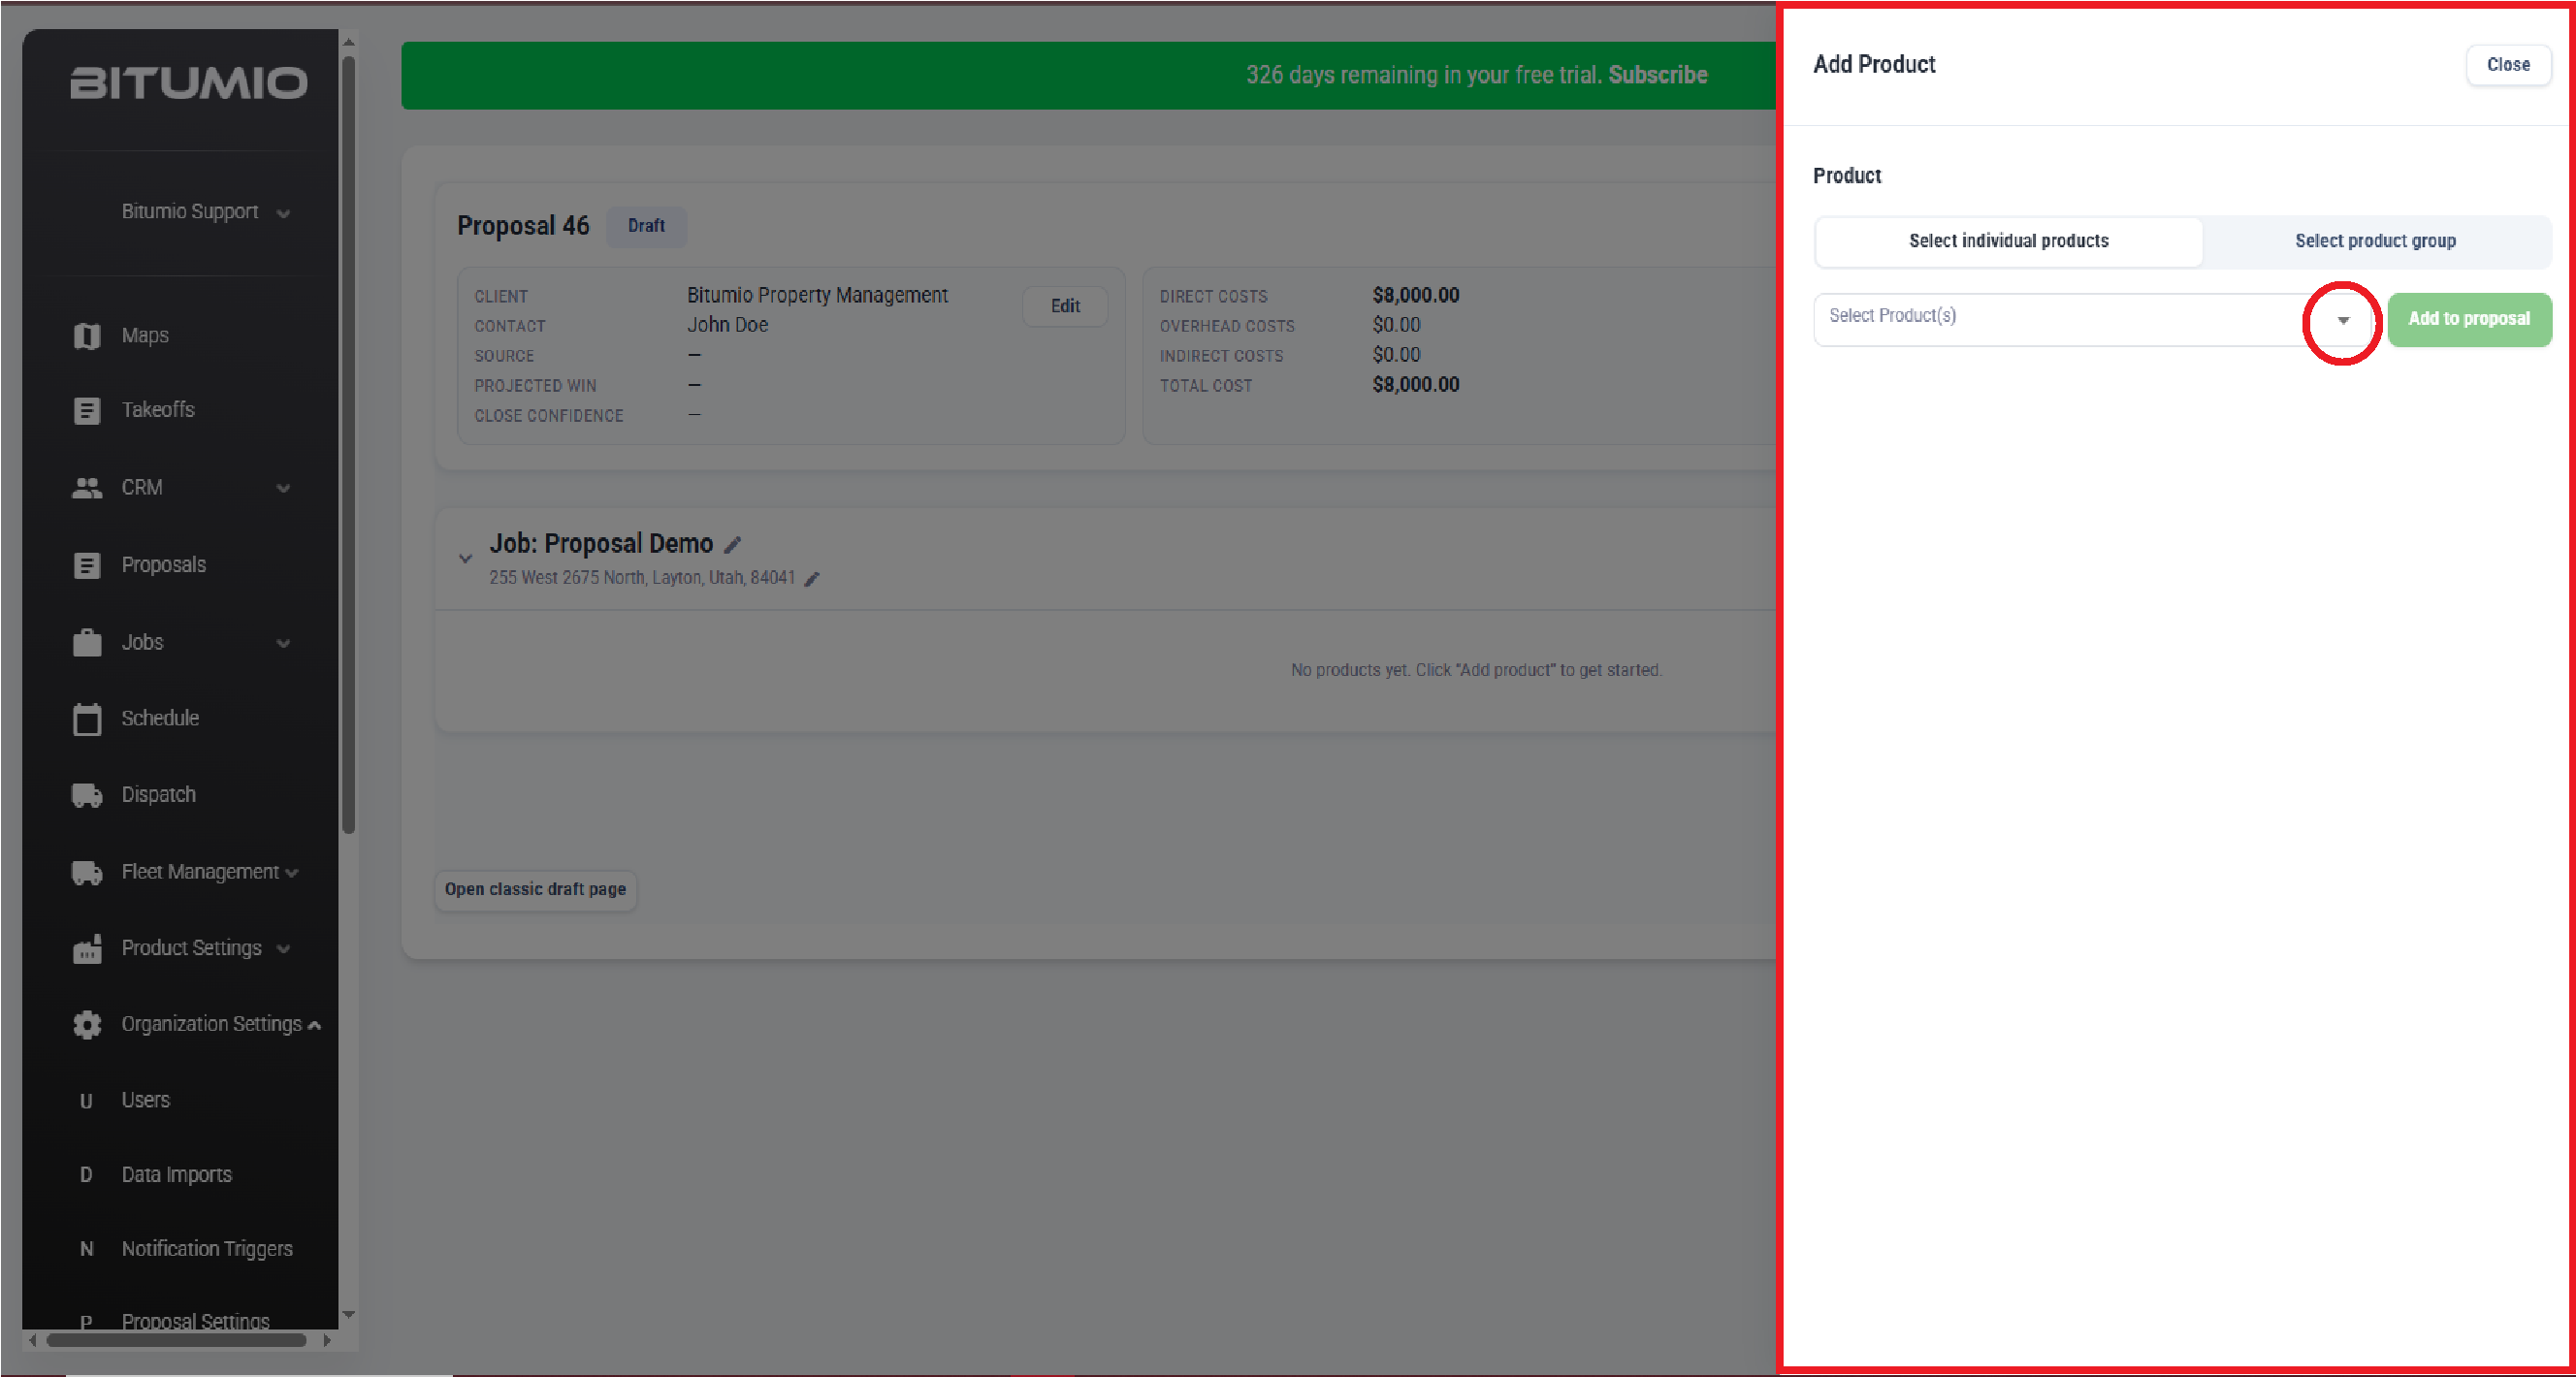
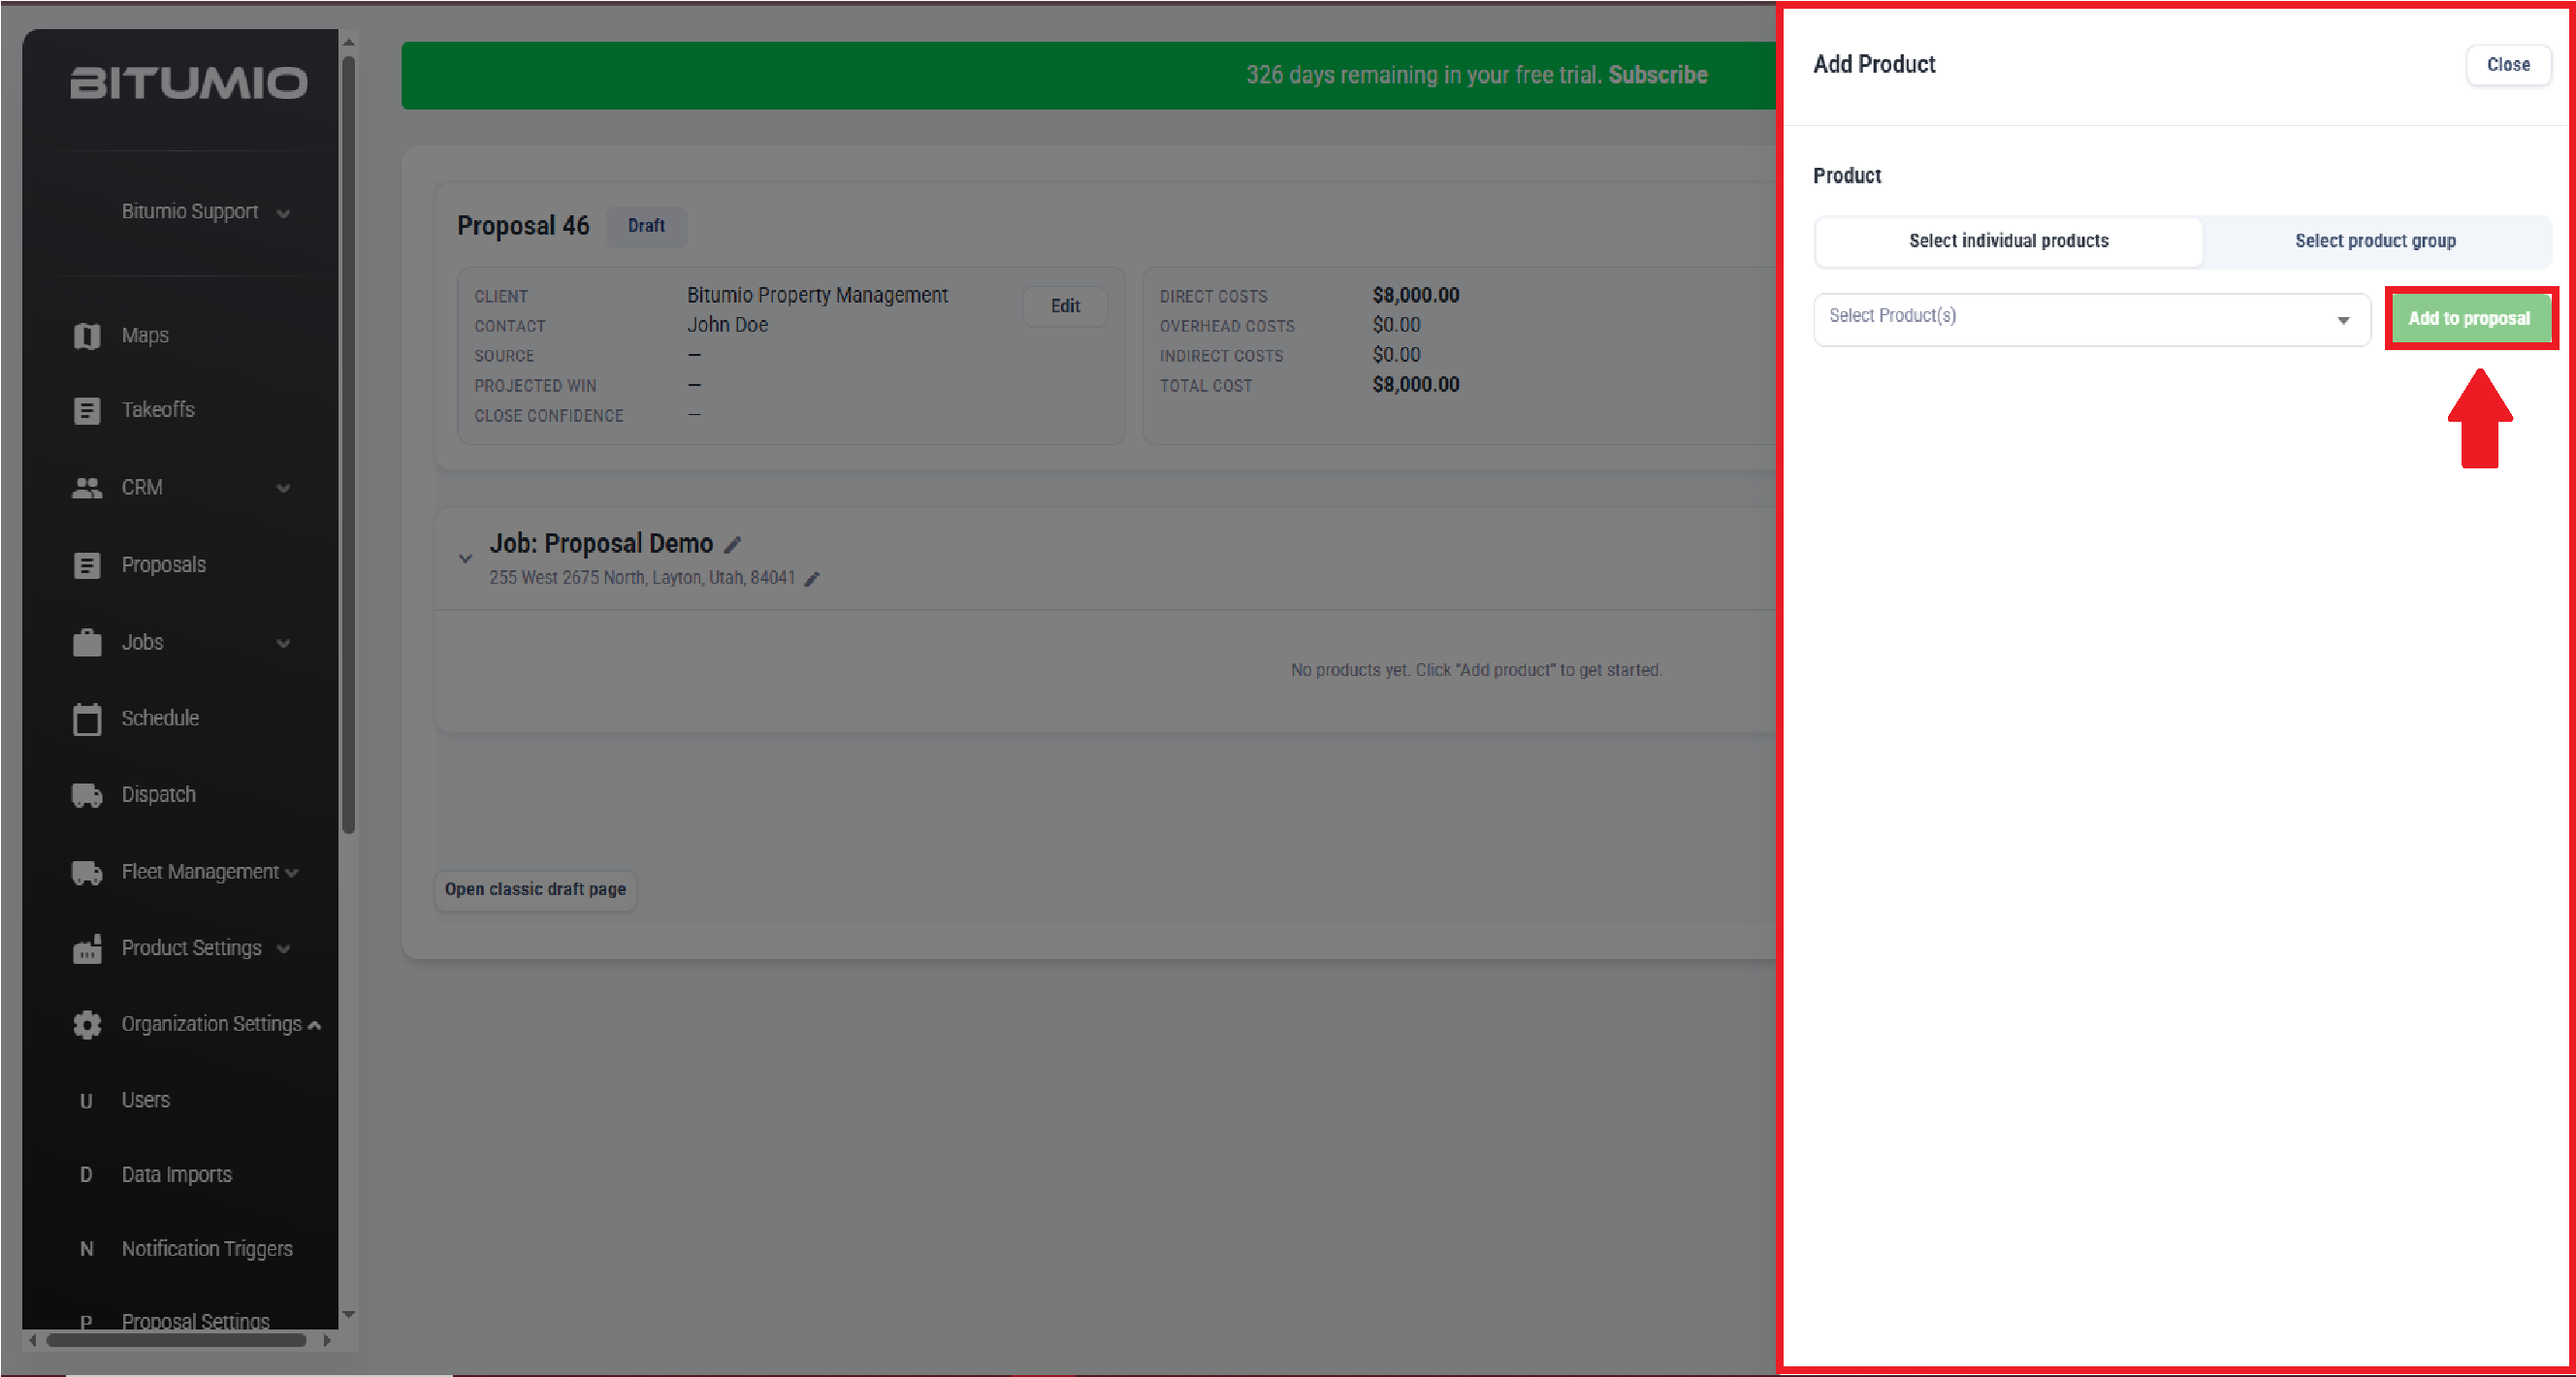
2. Once selected, click the  button. This adds the selected product(s) to the job.
Step 4: Measure Job Size
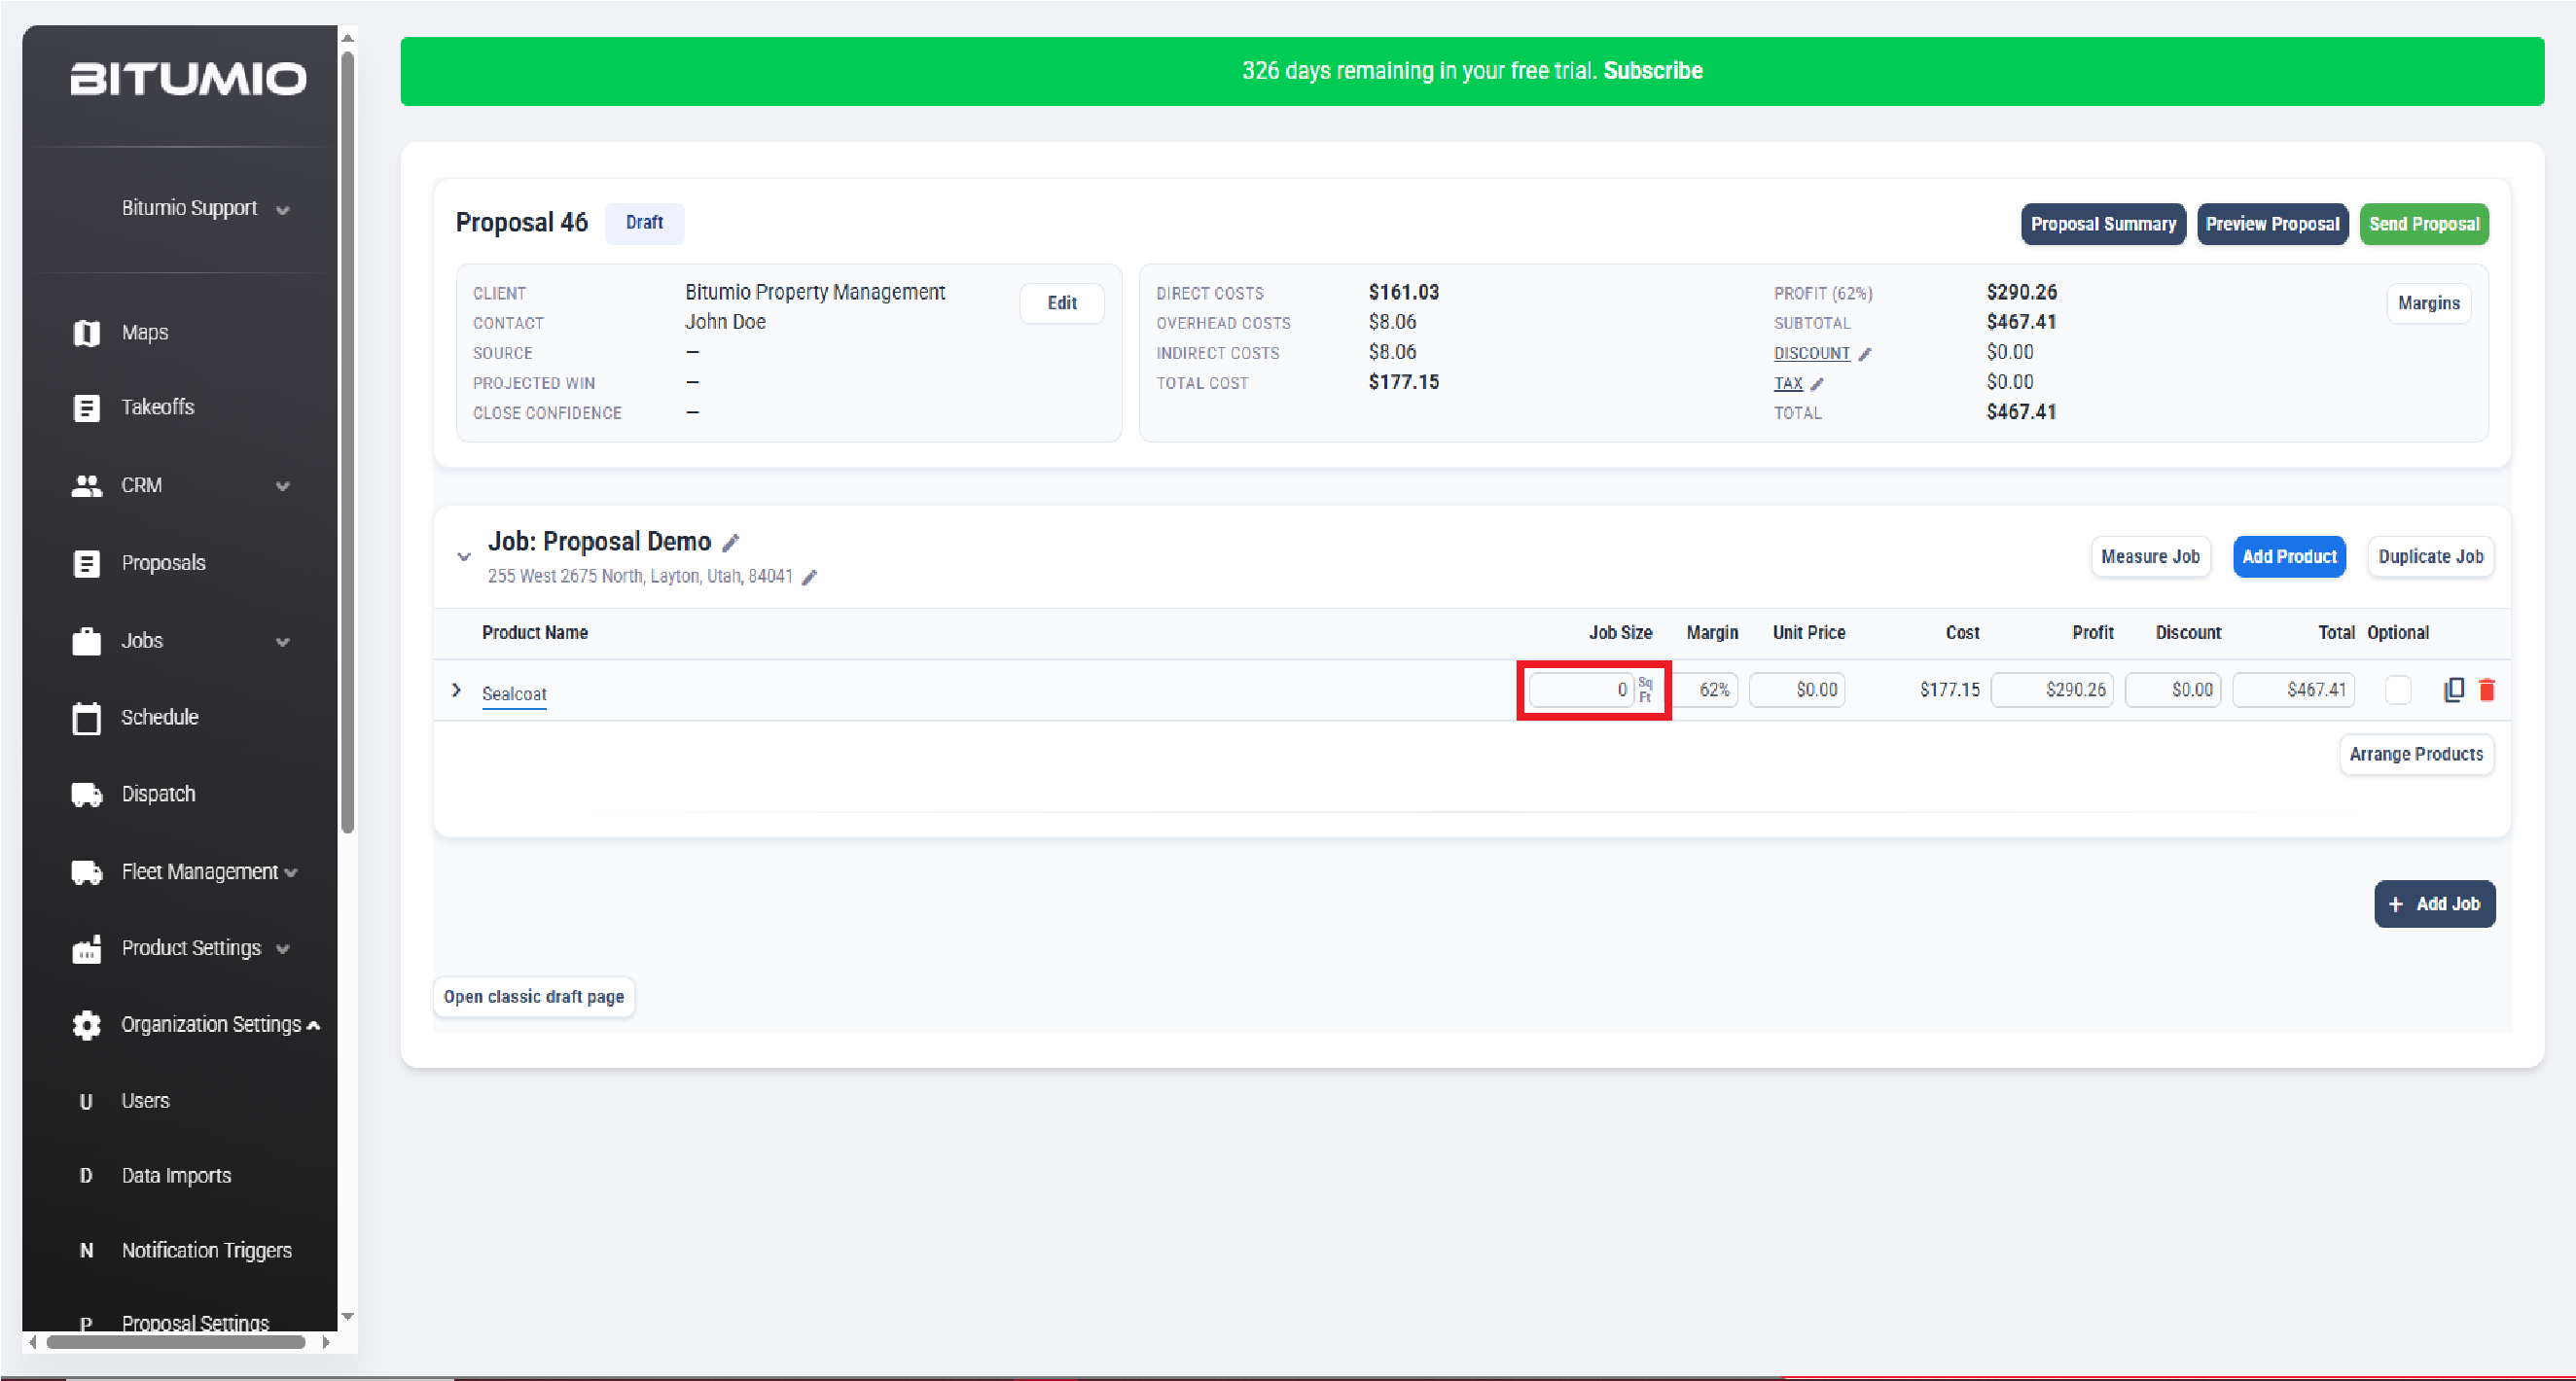
1. There are two options to entering the Job Size:
- Enter the Job Size manually into the input box or
- Measure the Job using Bitumio Maps.
2. Enter the Job Size Manually by simply typing a number into the "Enter Job Size" input box.
3. To measure job size using maps, click the  button. If you have more than one product, use the Measure Jobs button within the product itself. This takes you to the maps and you can follow the same steps as outlined in the How to Measure Area? and How to Add a Map Marker? articles.
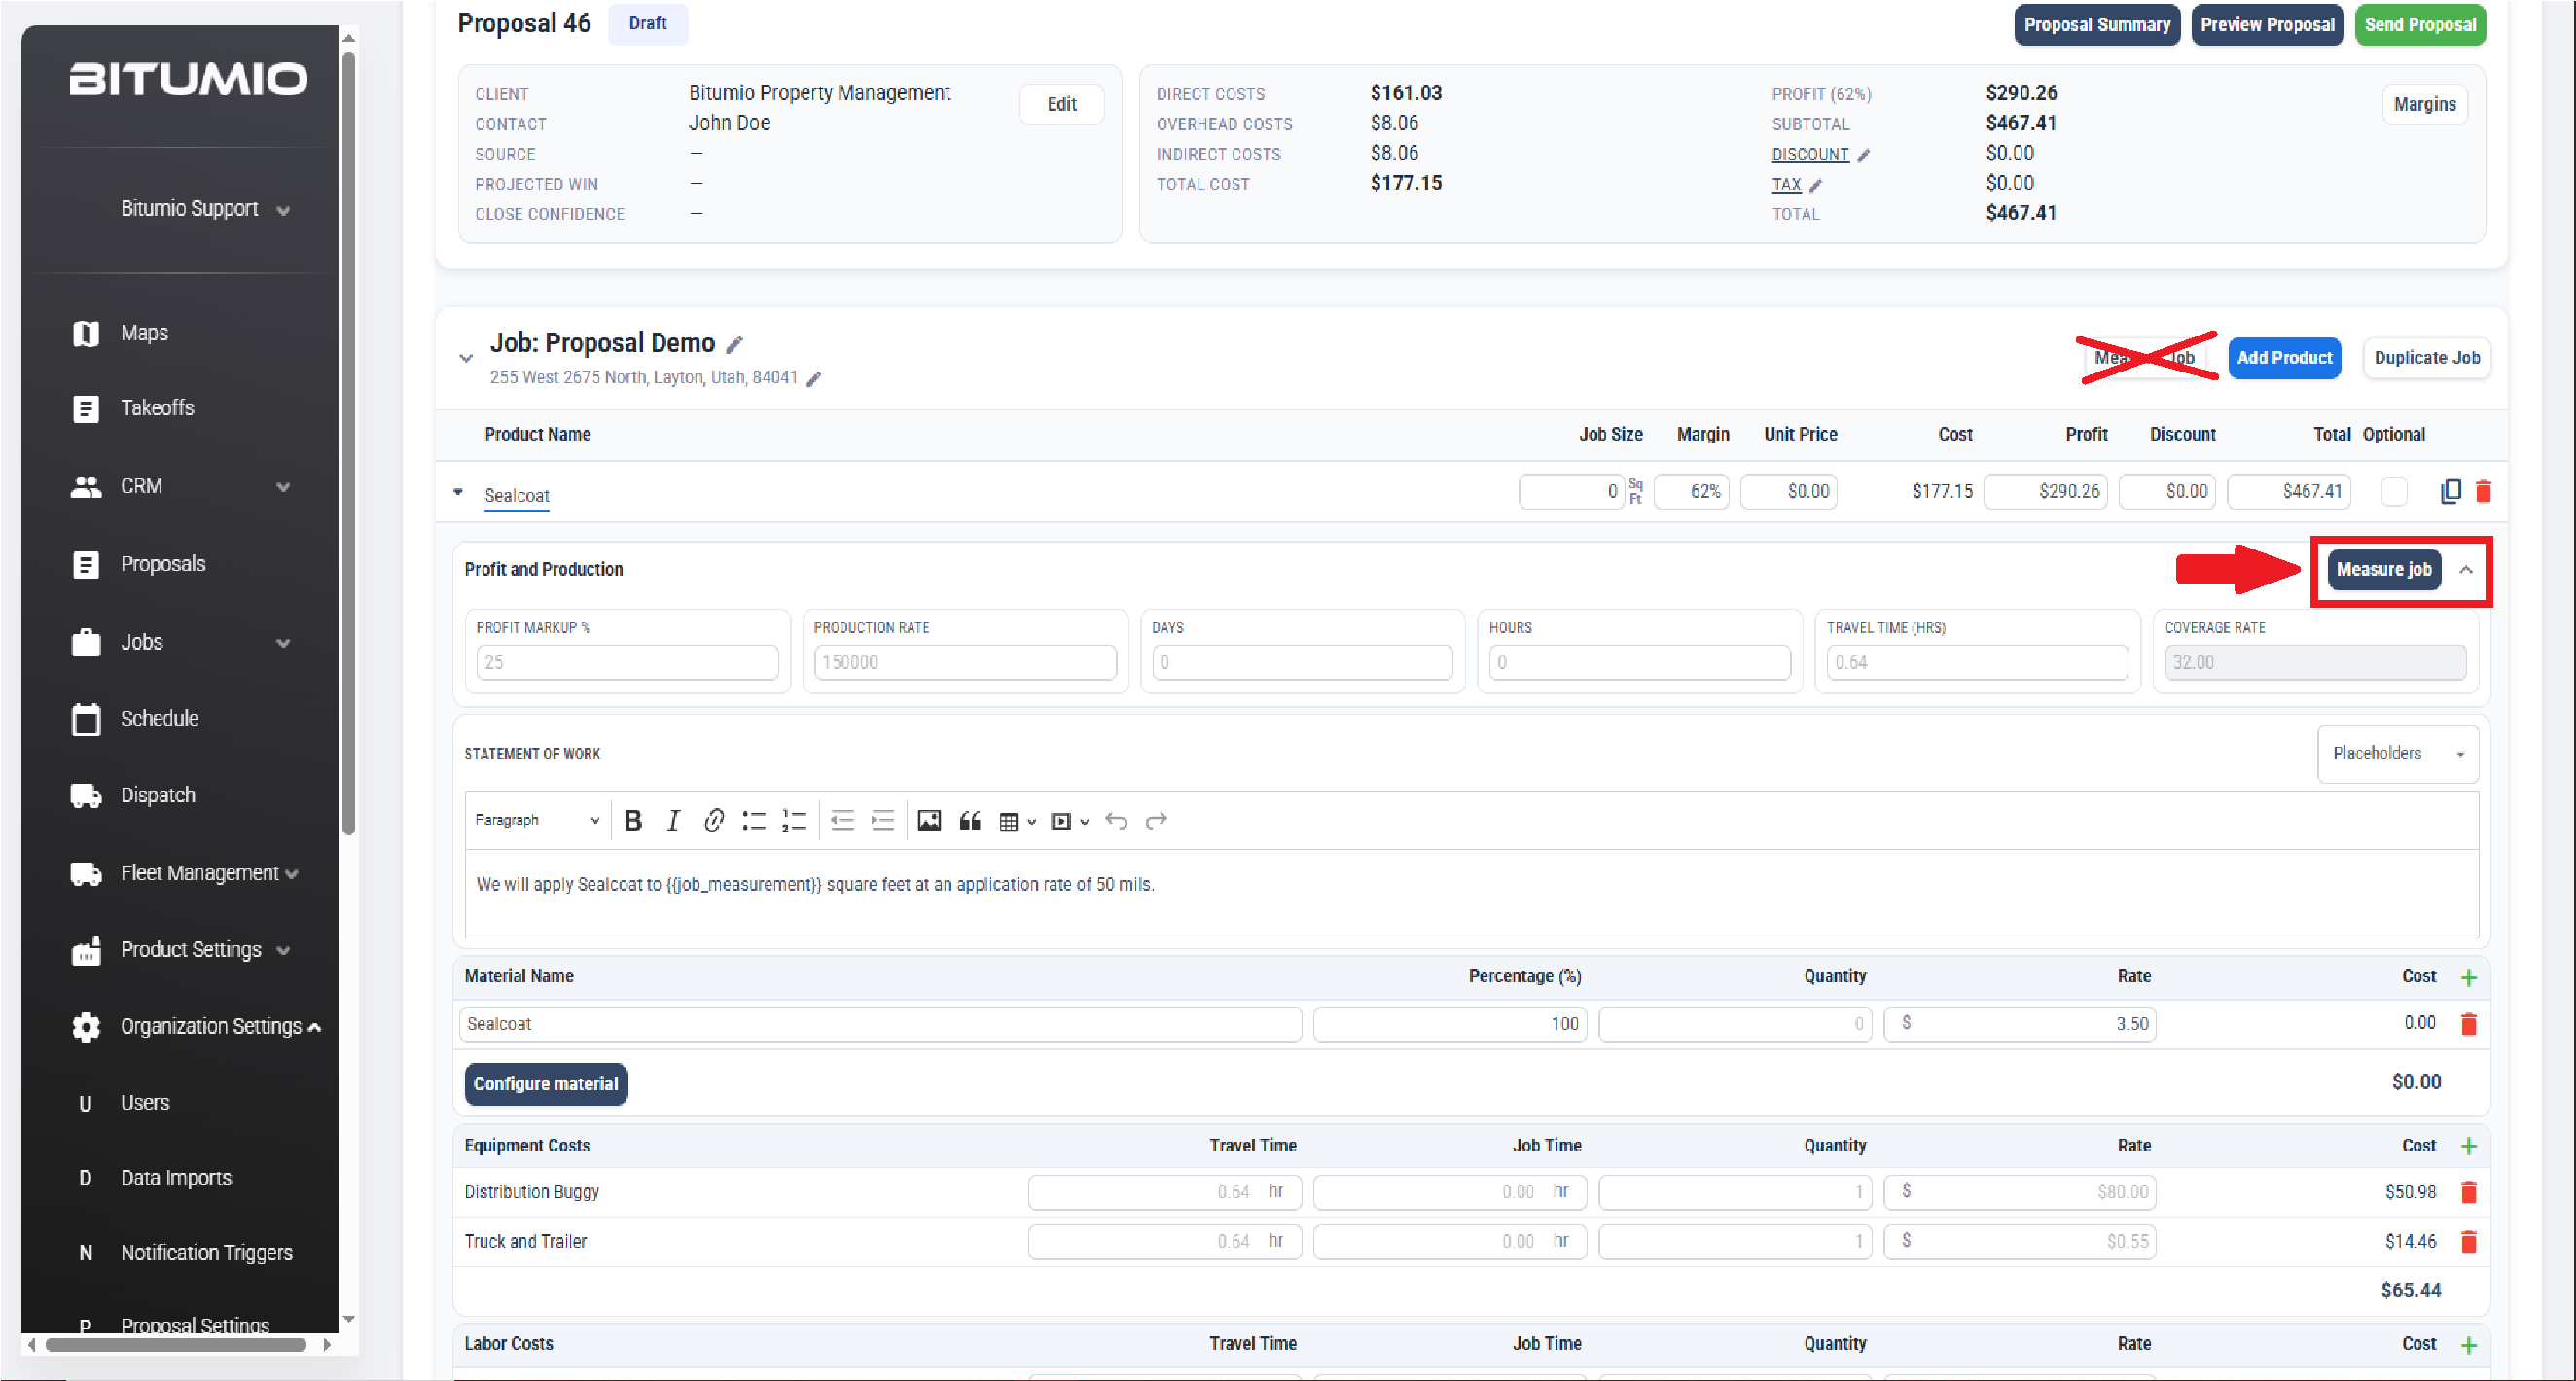
4. Upon clicking "Save" in the map, the Total Job Size from the map will be entered into the "Enter Job Size" box automatically. This also attaches a screenshot of the map to the product. The screenshot is included in the Proposal and the Work Order.

5. Once the Job Size is entered, Bitumio runs its magic and auto calculate the Proposal.
6. Once the Proposal has refreshed, simply verify the Cost amounts and Total Product Summary to ensure all looks accurate.
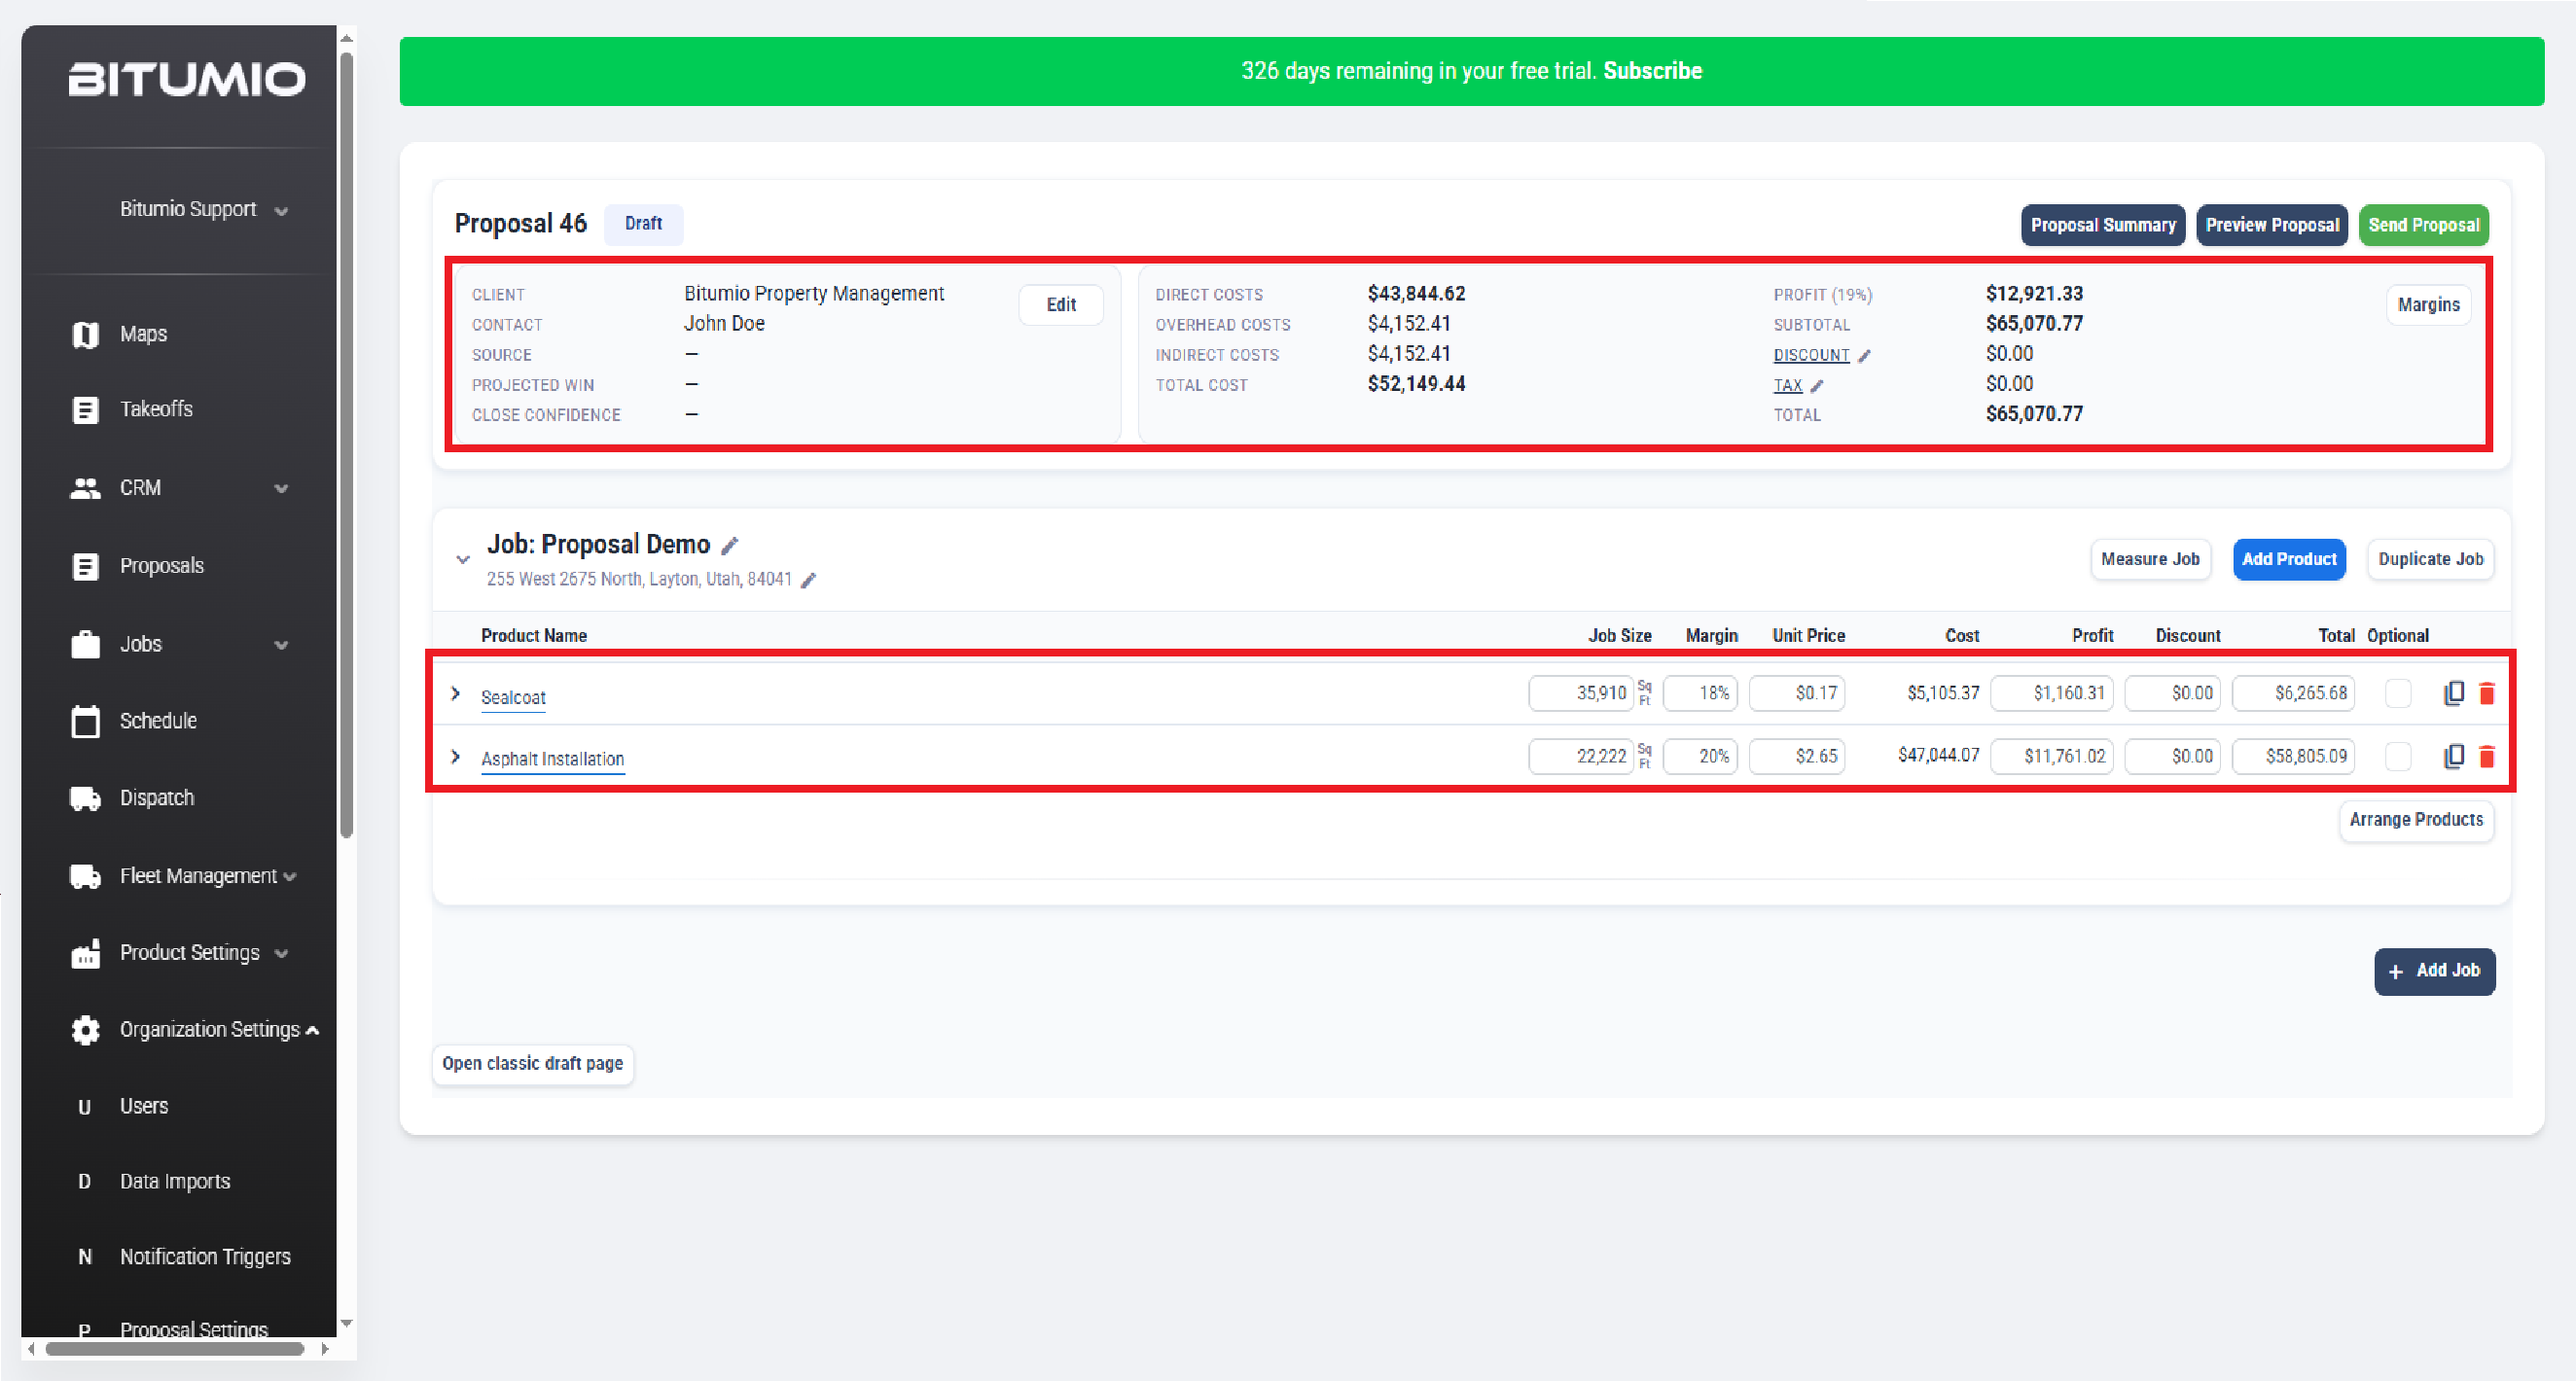
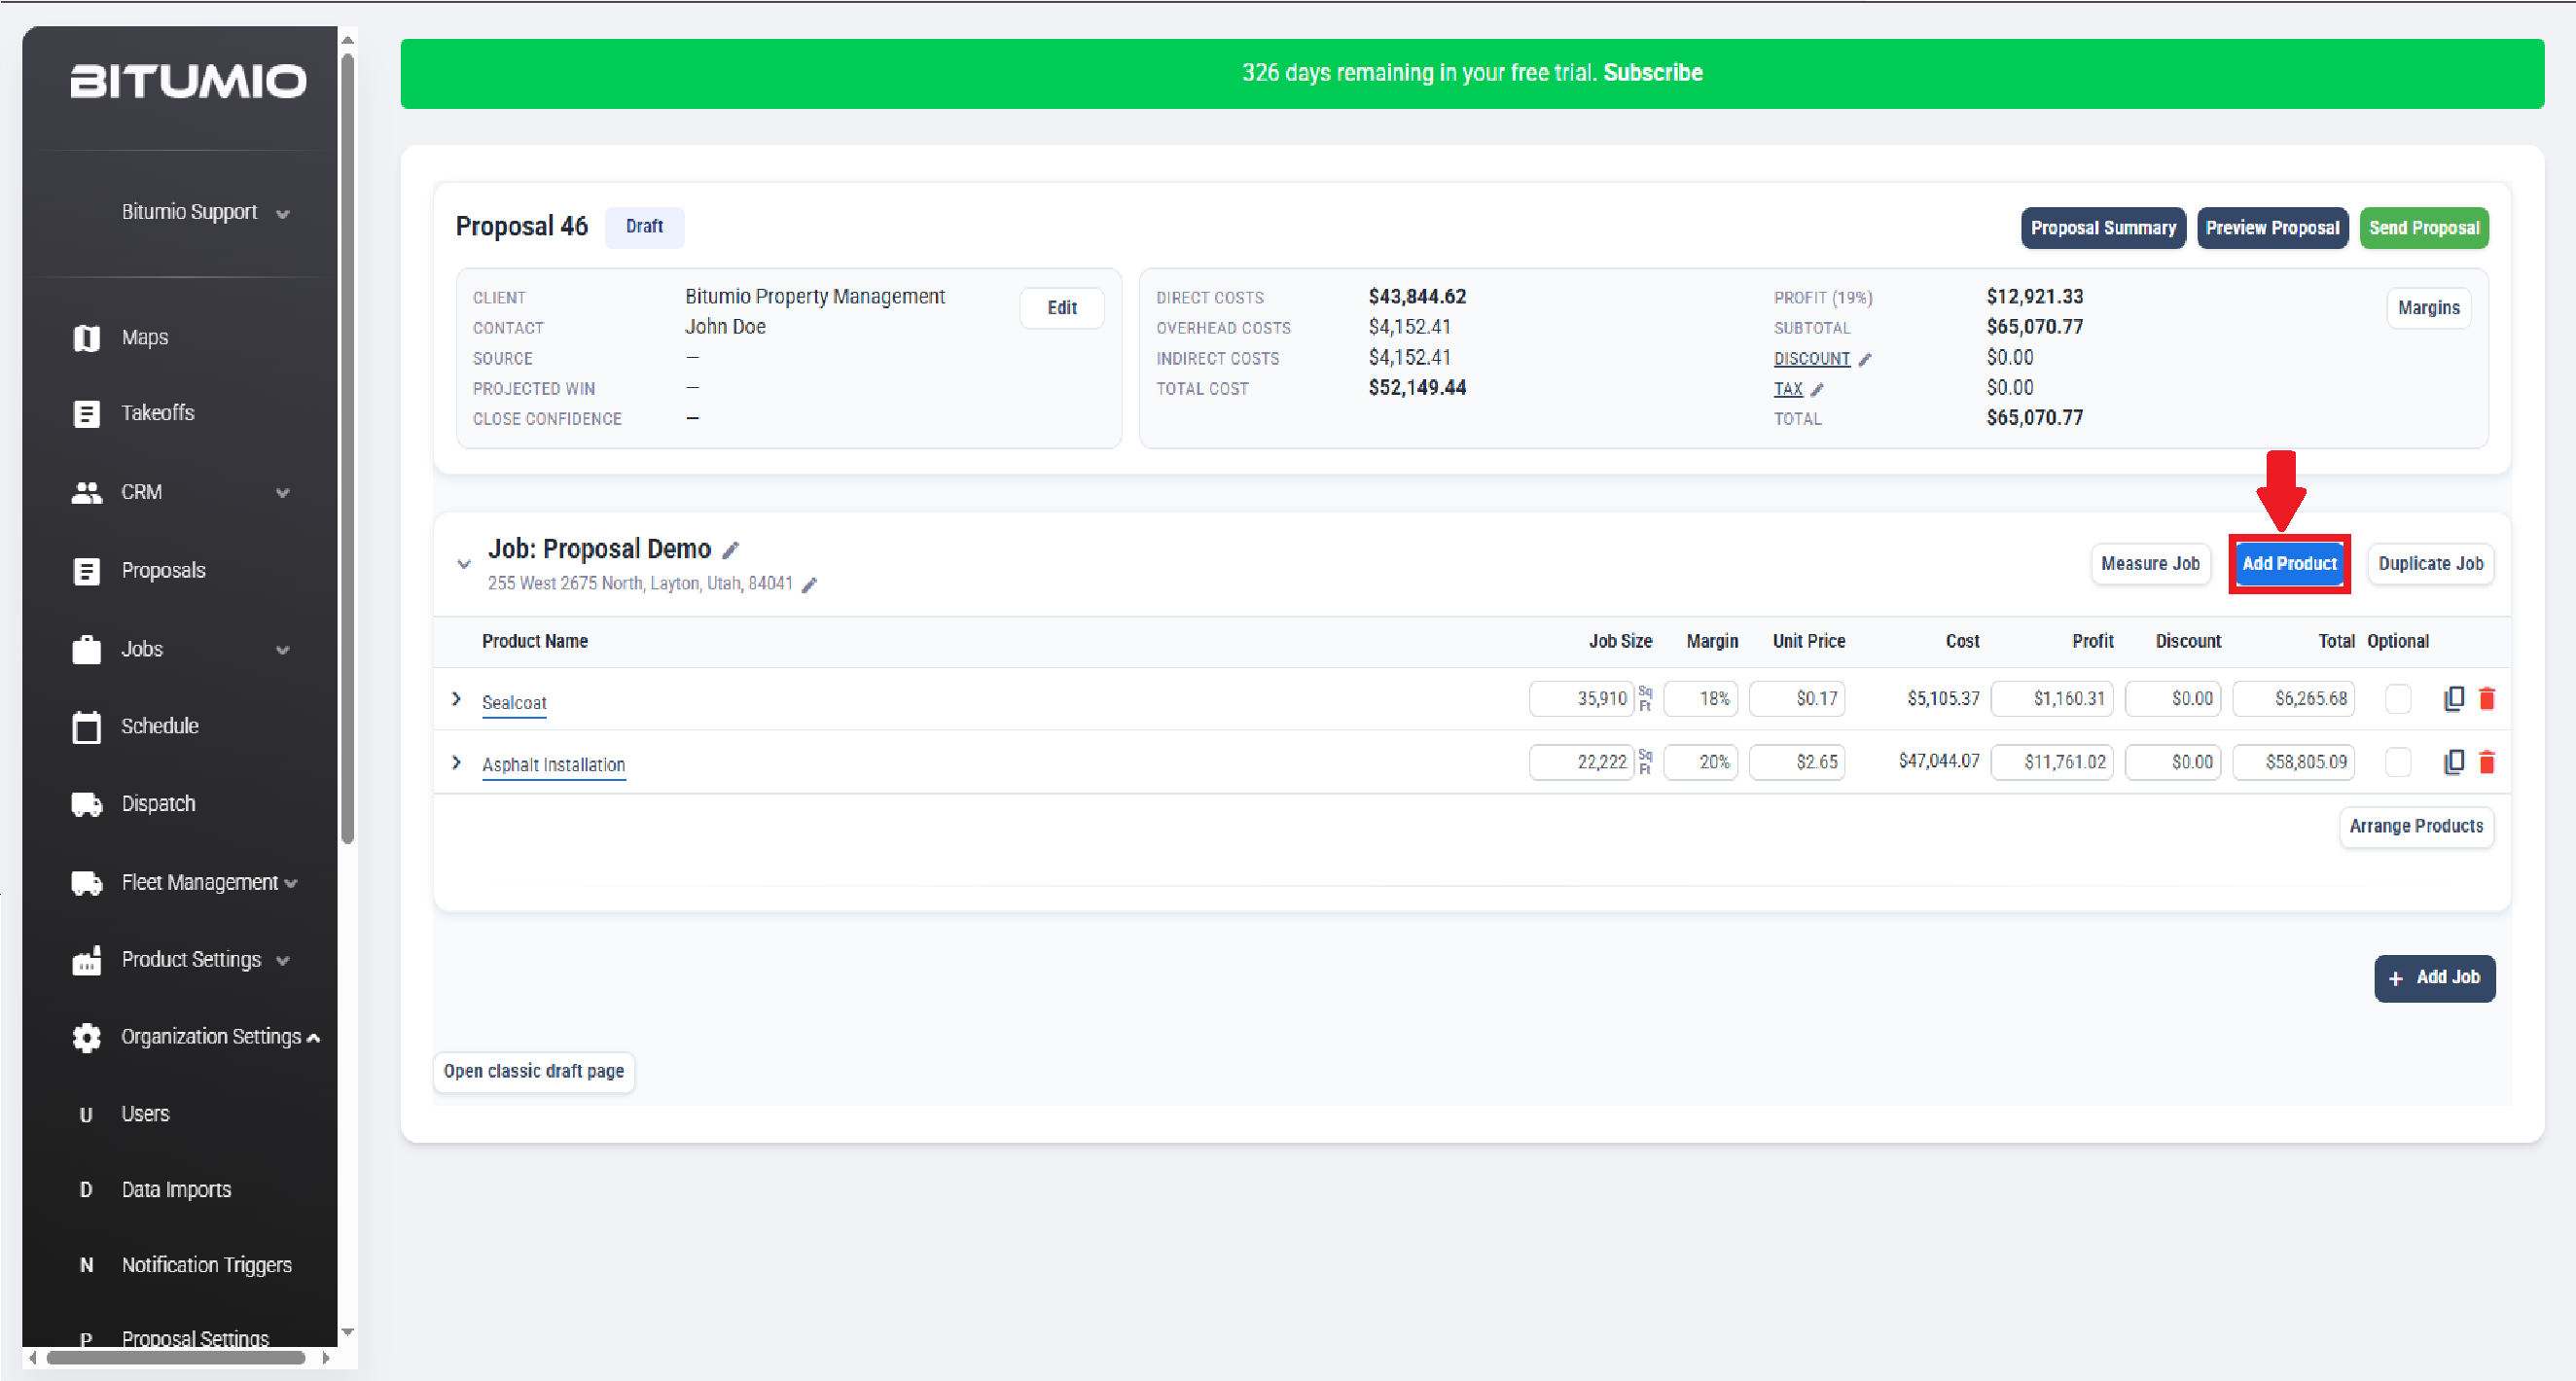
7. If additional Product line items are needed at the Job Location, click the  button. This will add another Product to the same Job Location.
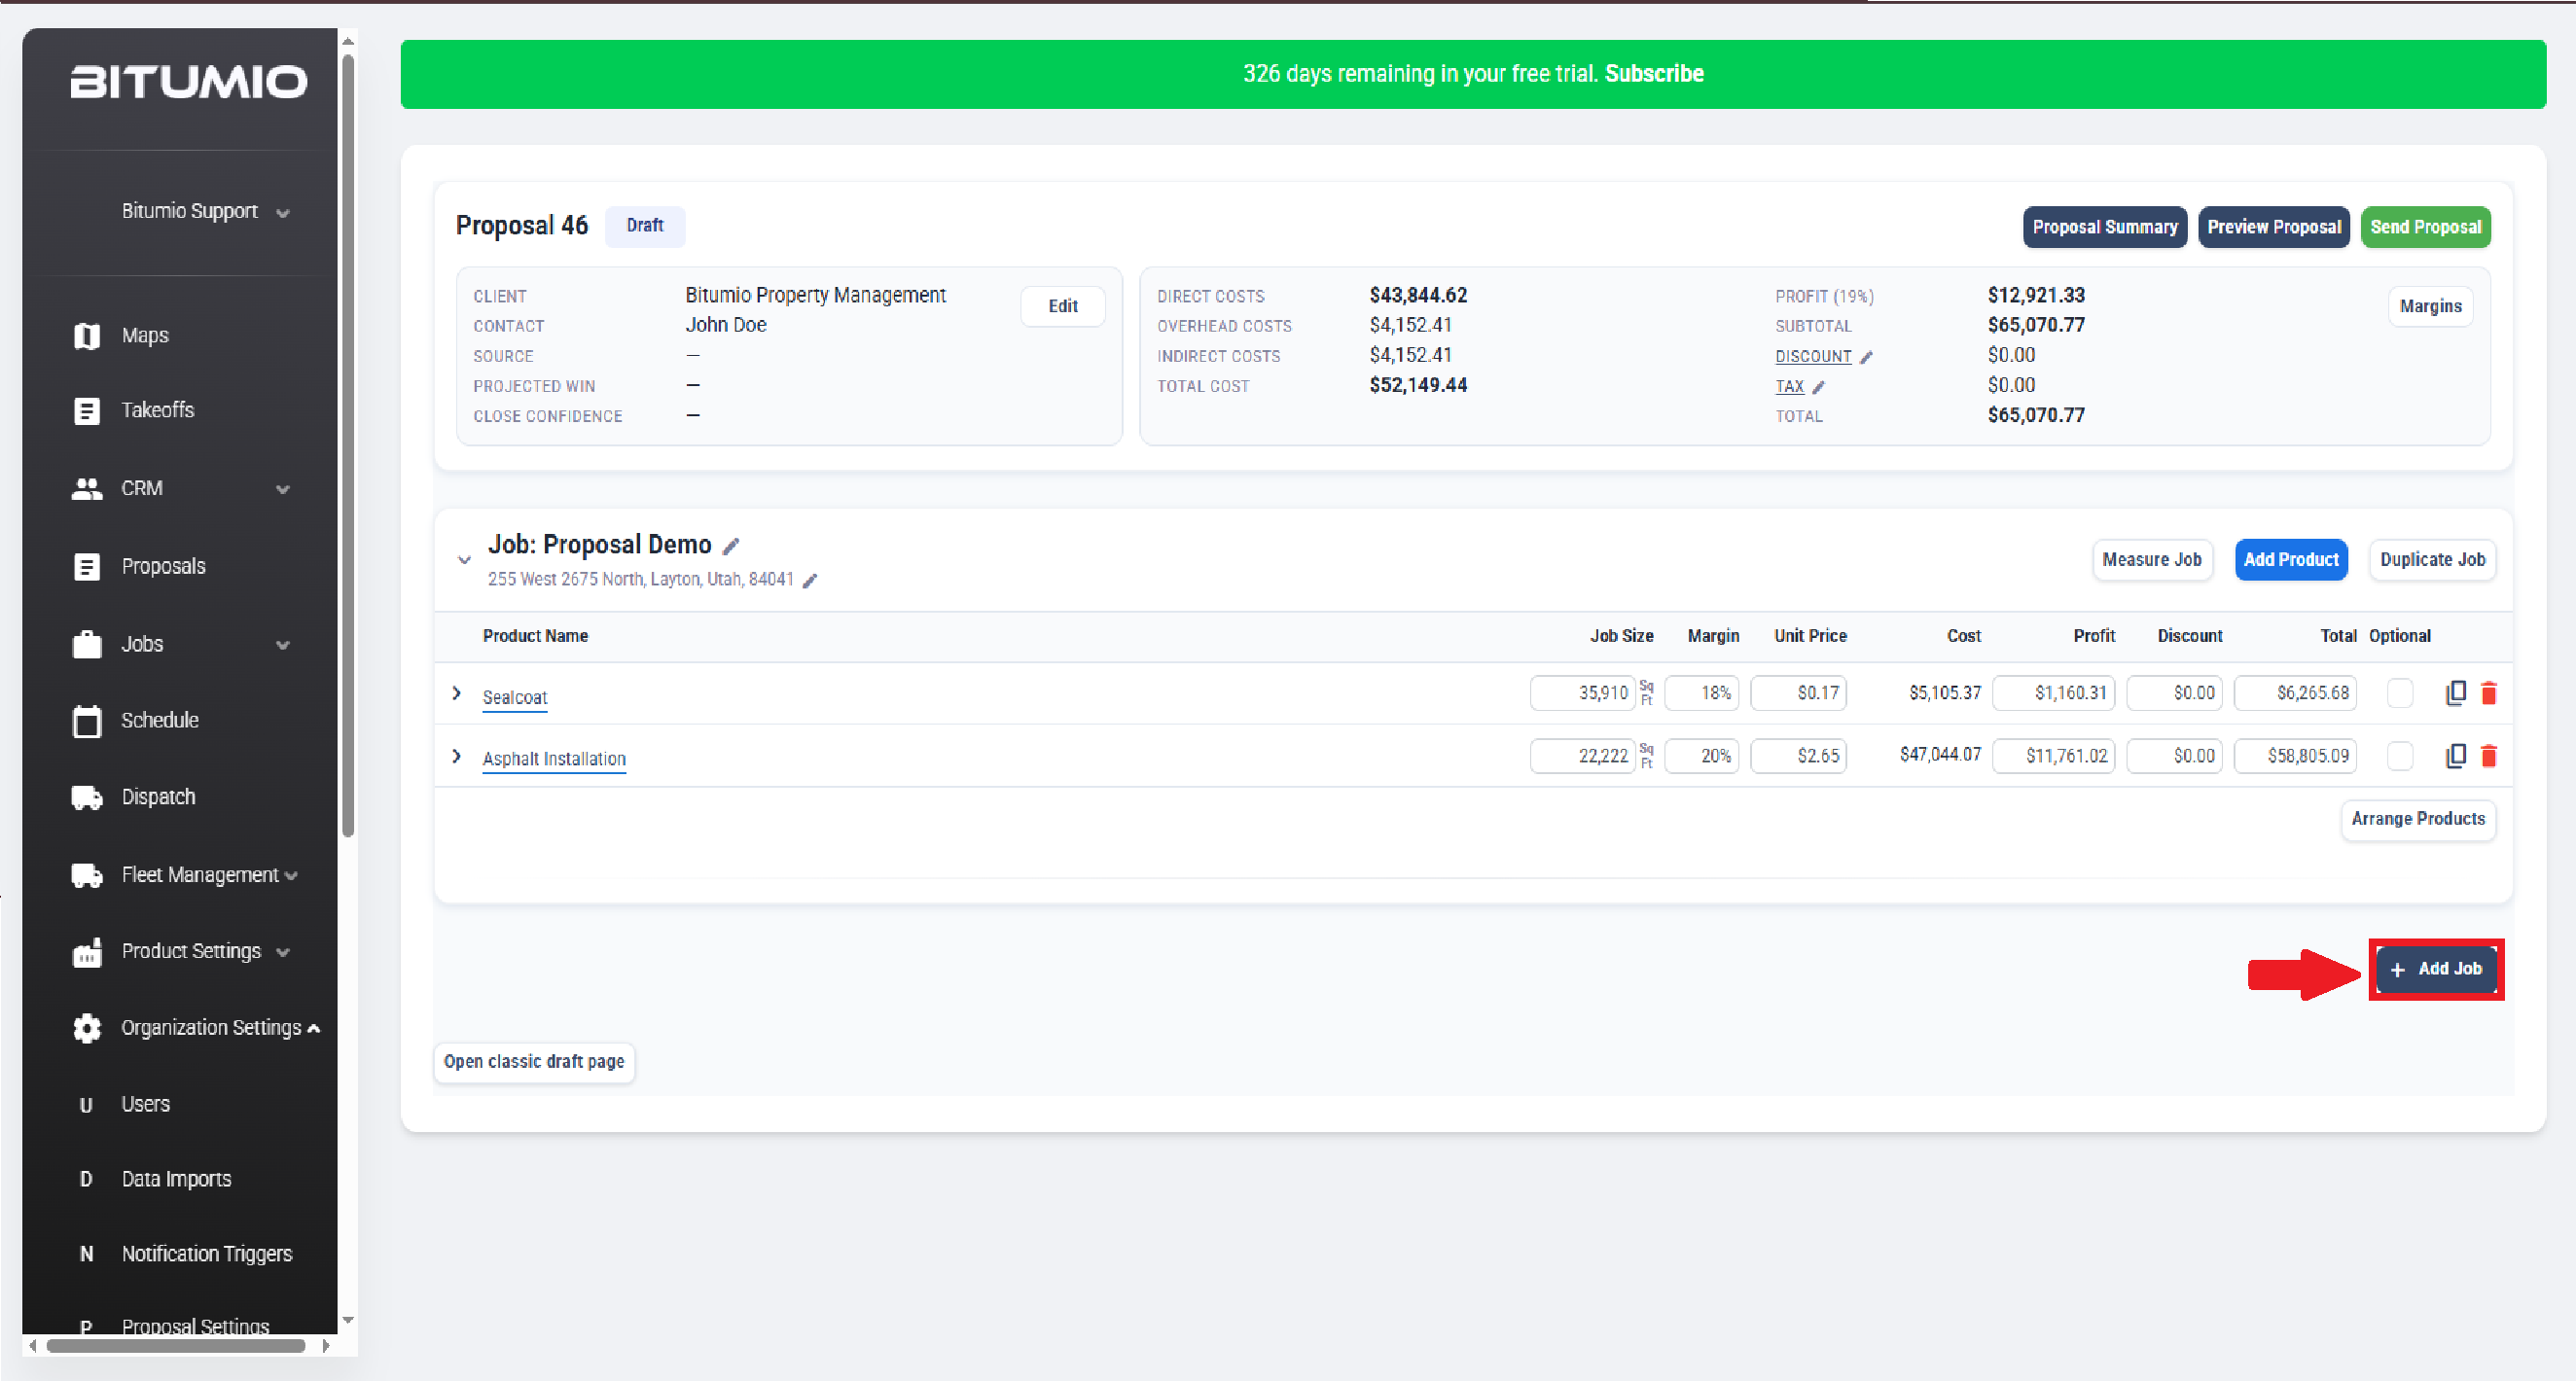
8. Once all the Products are added to a Job, additional Jobs can be added to the Proposal by clicking the  button.
Was this article helpful?
That’s Great!
Thank you for your feedback
Sorry! We couldn't be helpful
Thank you for your feedback
Feedback sent
We appreciate your effort and will try to fix the article