Plants are the physical locations where you source Materials like asphalt, base, rock, and stone, or where you return Materials like millings.
TABLE OF CONTENTS
View our Plants video on YouTube

Other helpful videos associated with Plants:
- Inputting Costs (beginning at 7:38)
Bitumio > Left Navigation Bar > Product Settings > PlantsWithin the Organization Plants screen, each Plant is displayed and their information tabulated via various columns that include Plant Name, Address Line 1, and ZIP.

You can search for a specific plant using the search bar at the top-right corner of the grid.

By default, 10 records are displayed per page. However, you can set it to 25, 50, or 100 using the dropdown at the top-left corner.

Creating a Plant
Step 1: Click the  button located at the top-right corner of the grid.

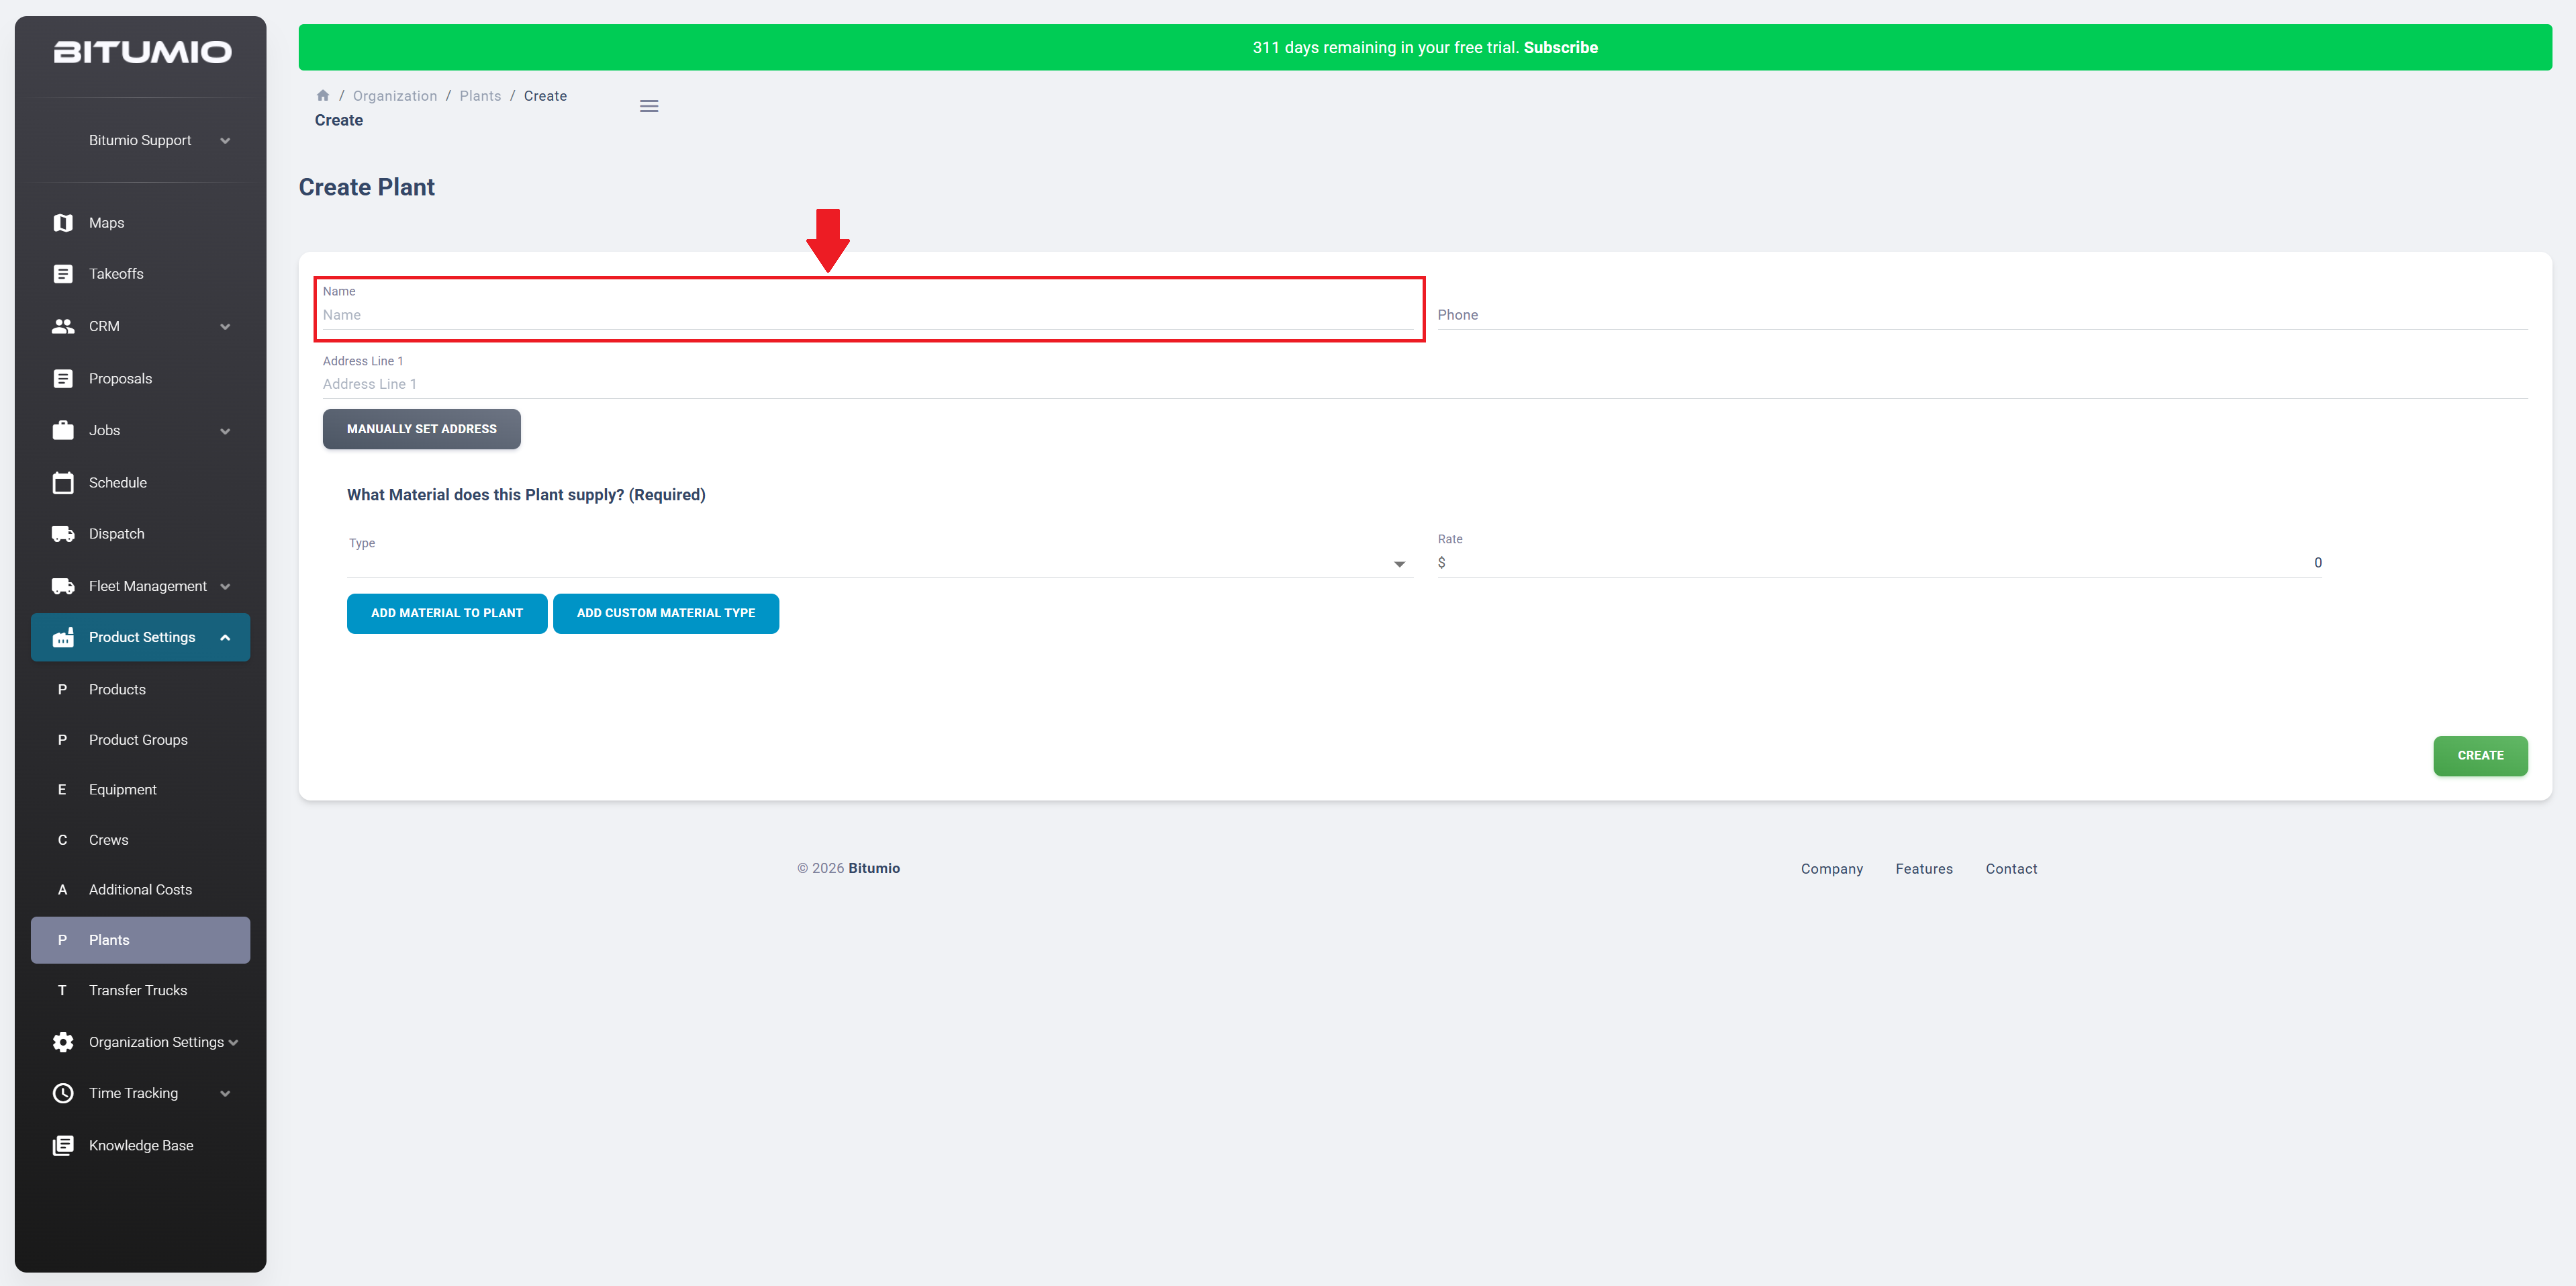
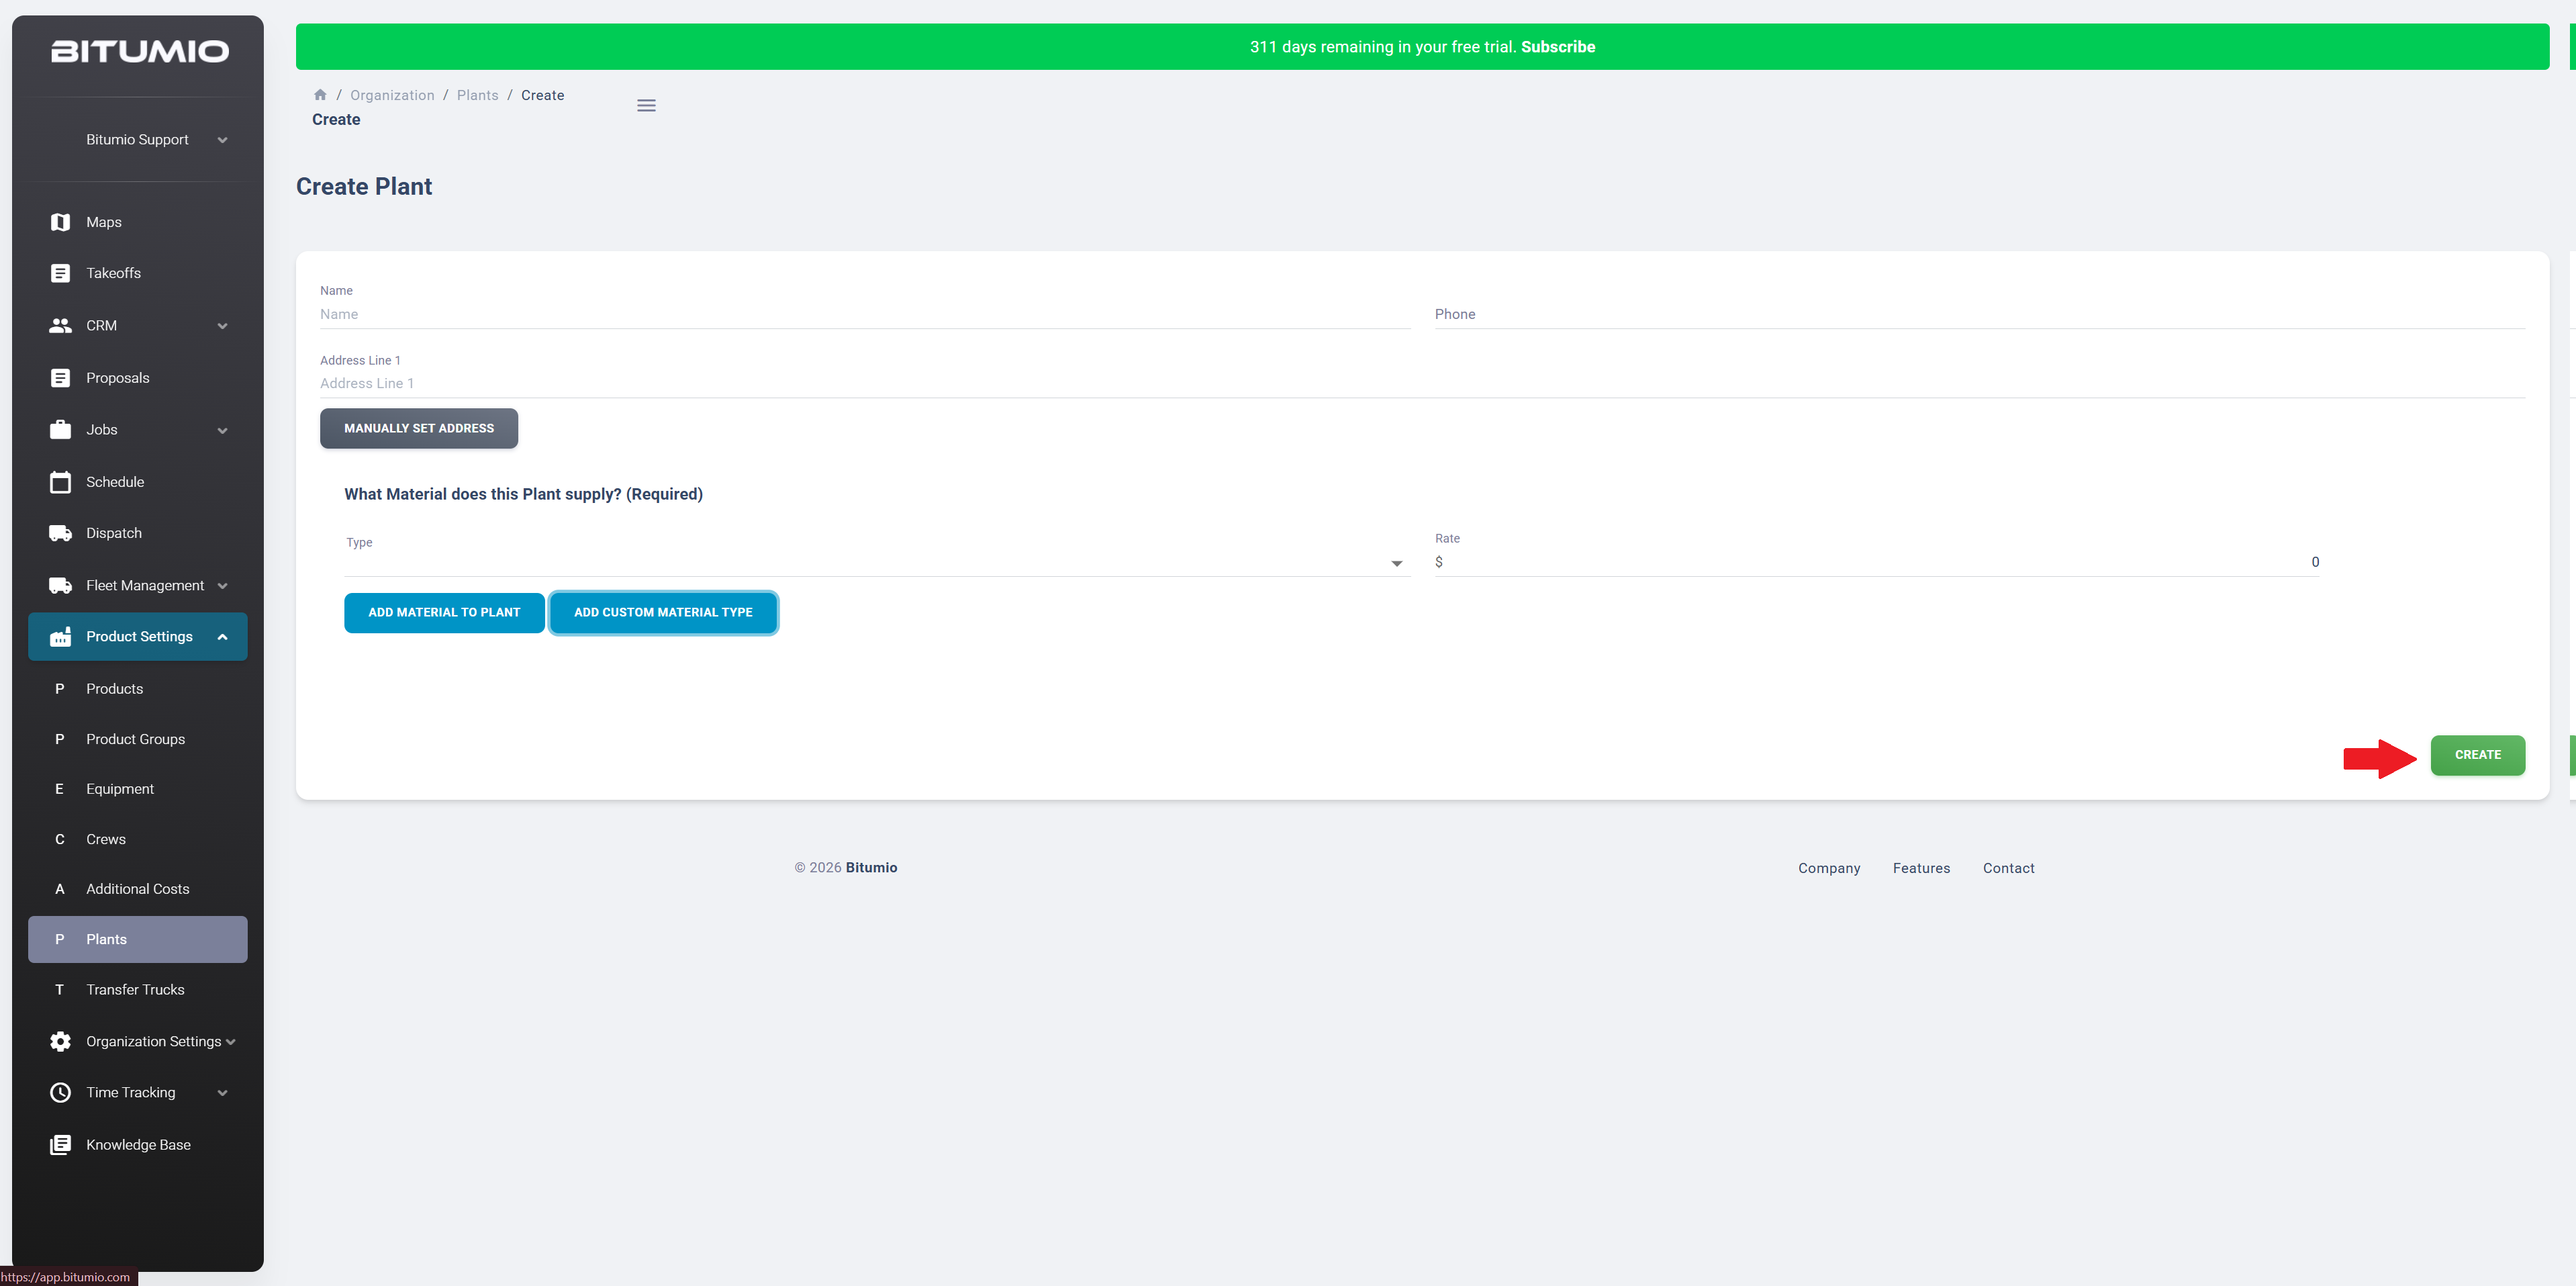
Step 2: Upon landing on the Create Plant screen, enter the name of the Plant using the Name field.
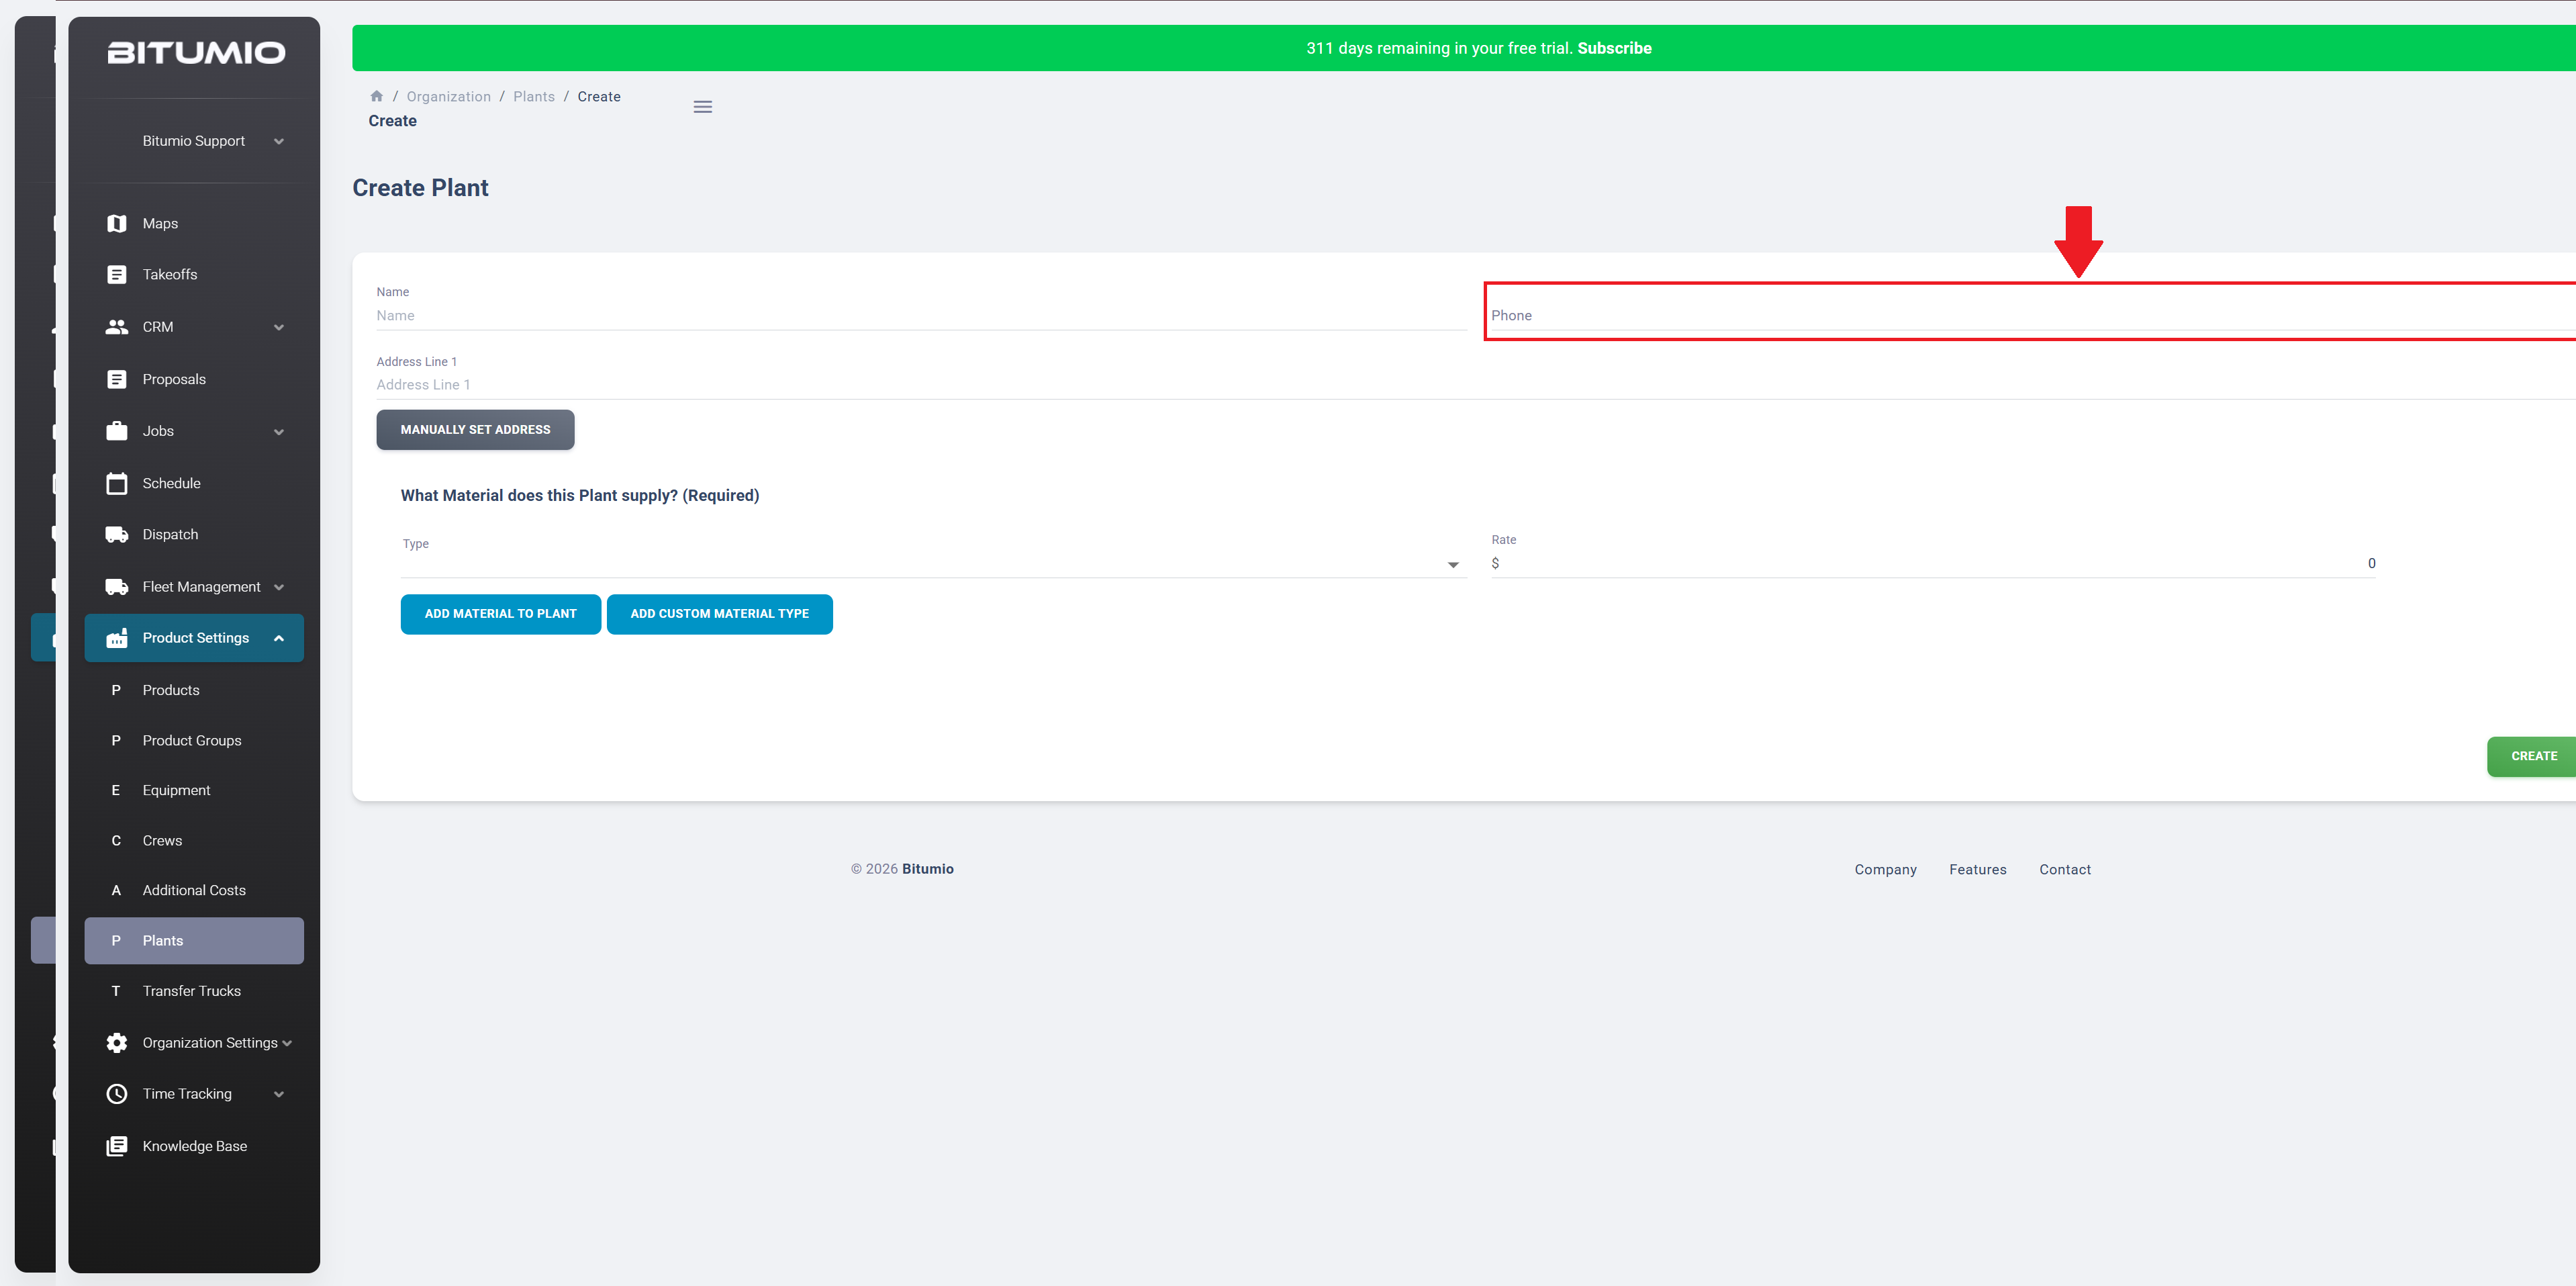
Step 3: Enter the contact number of the plant in the Phone field.
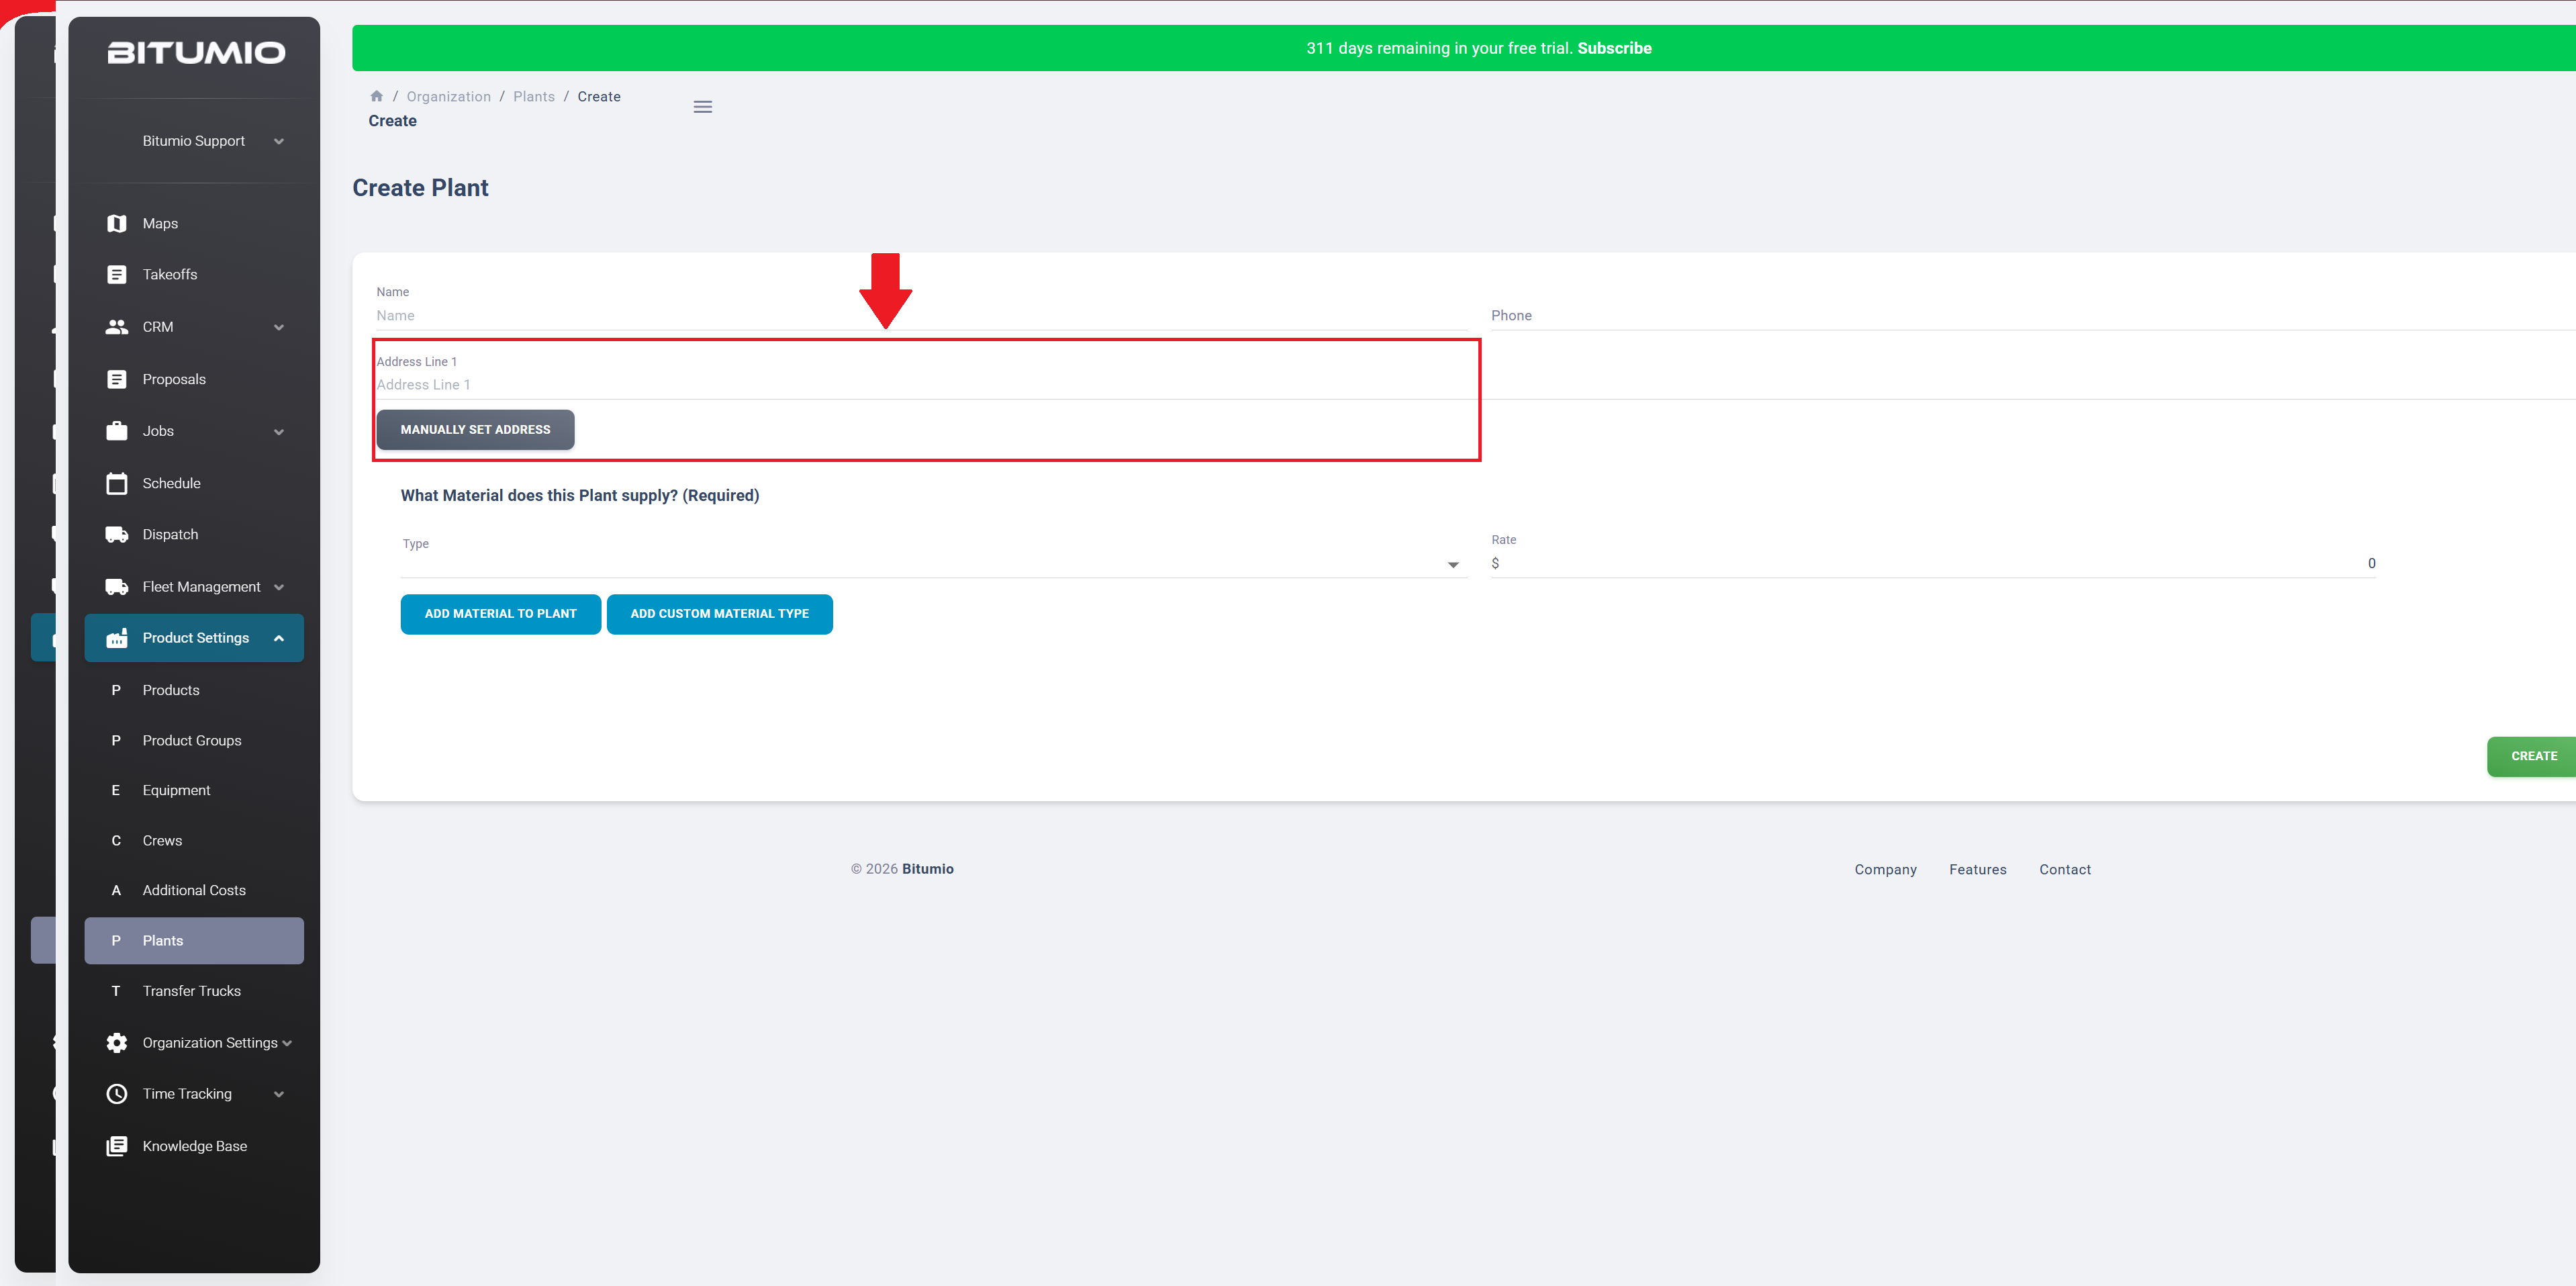
Step 4: Use the Address Line 1 to record the physical address of the plant.
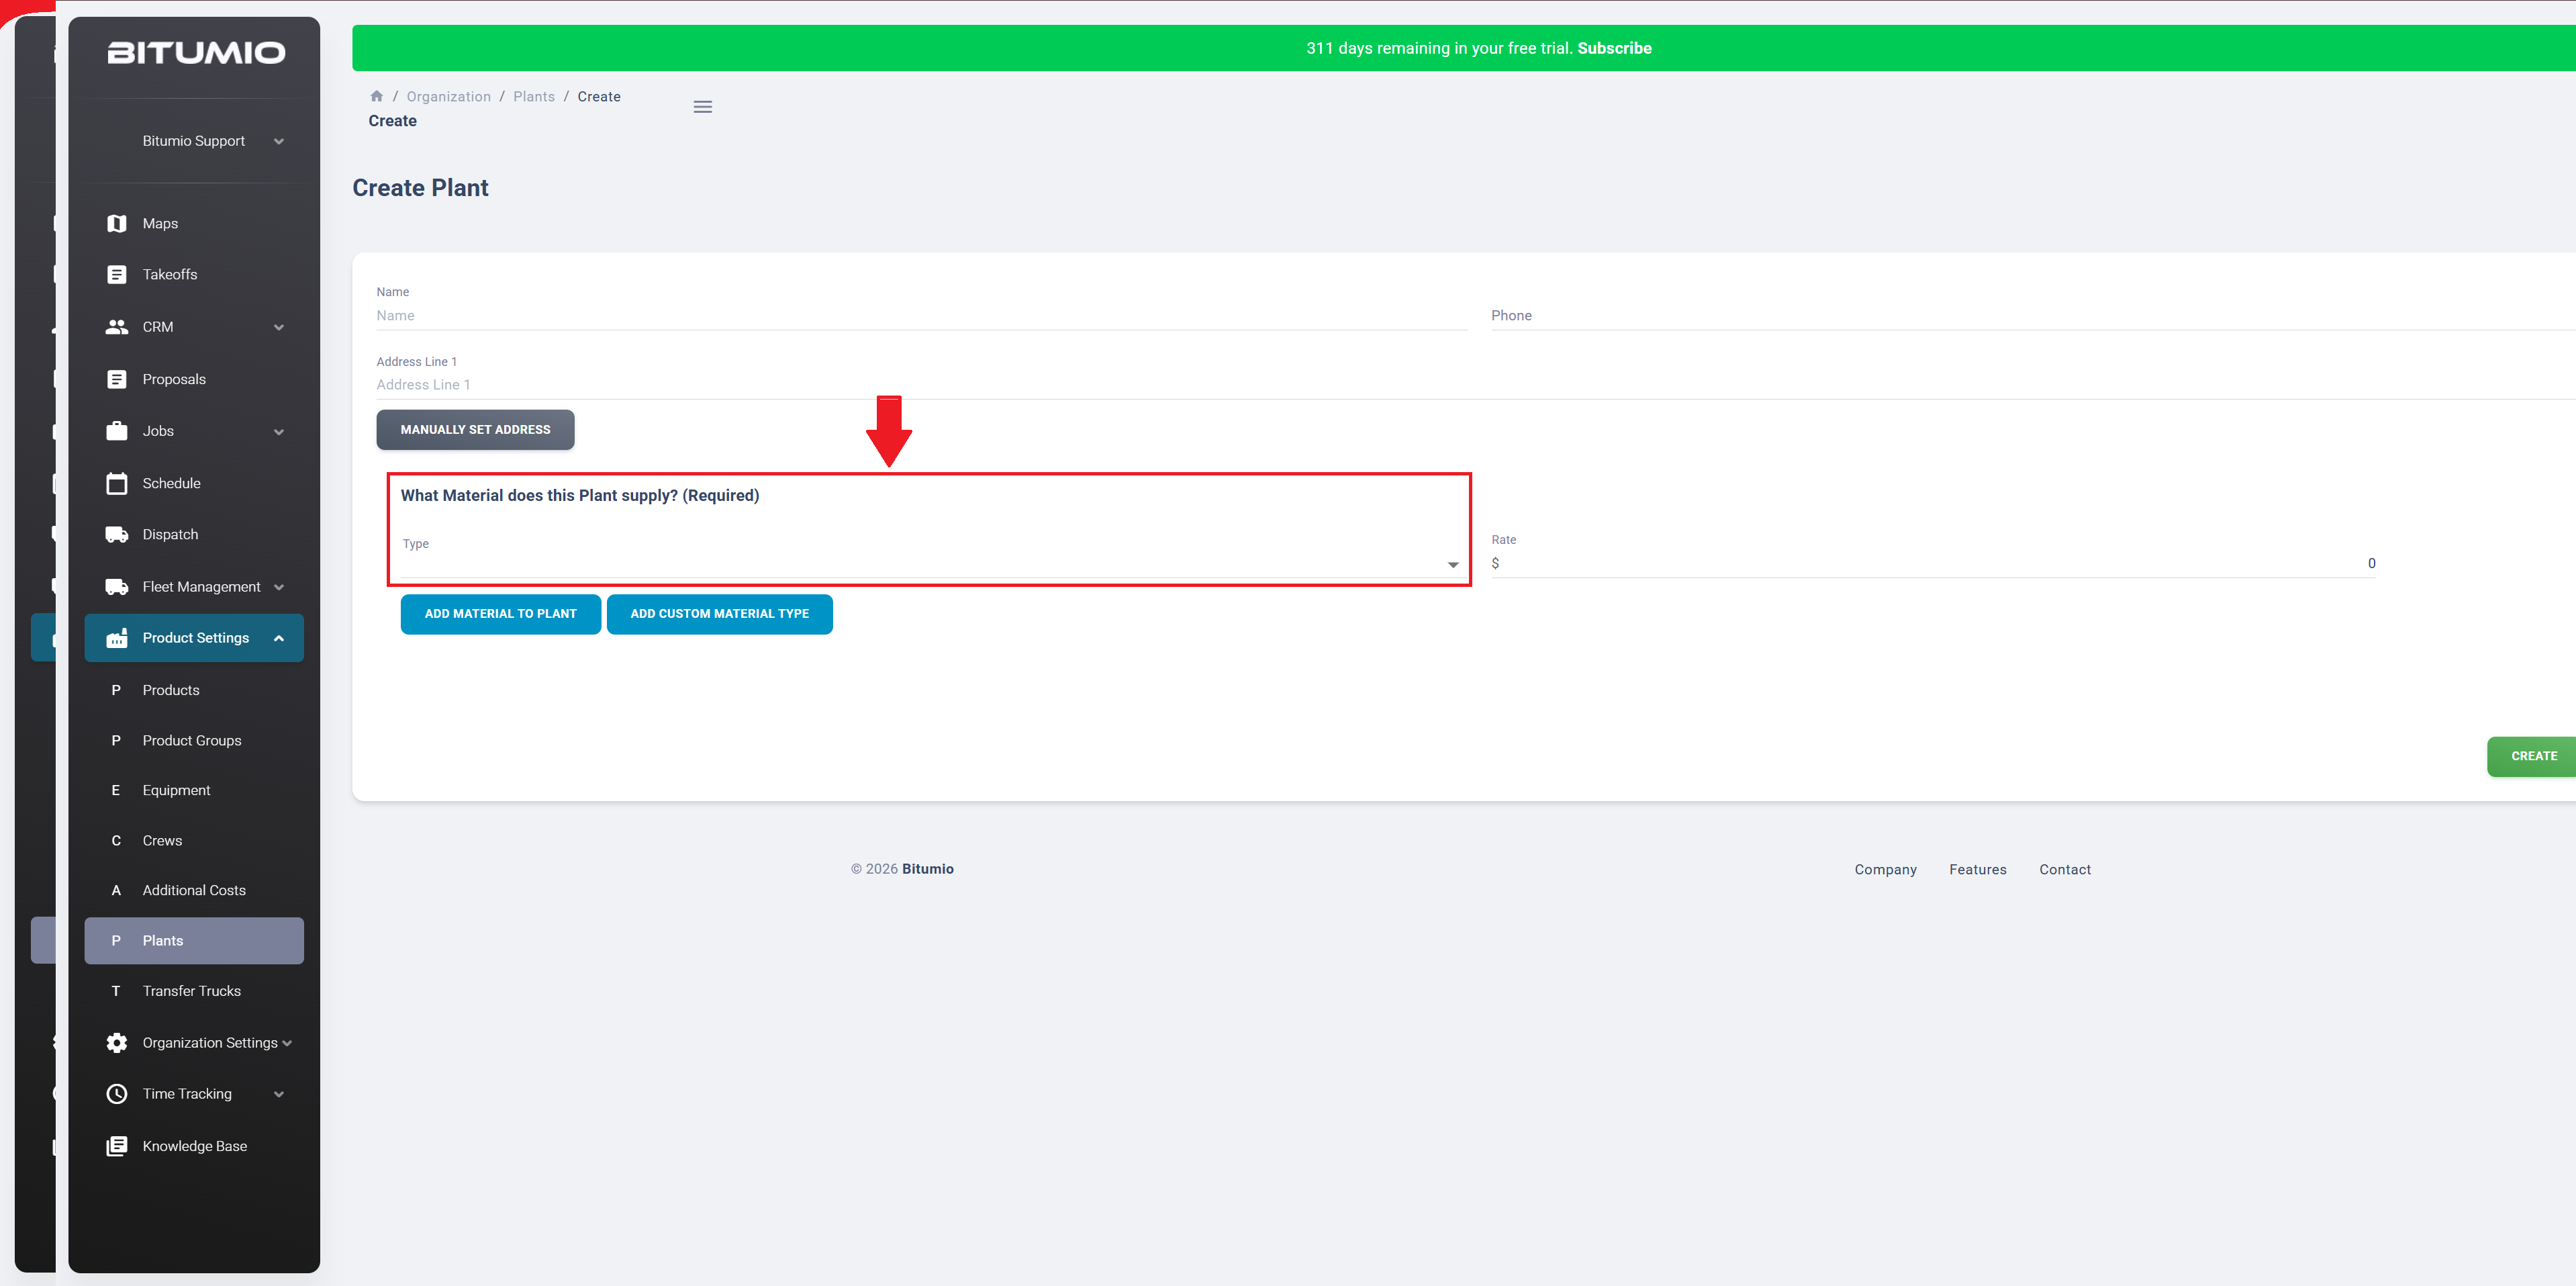
Step 5: Select the type of Material this Plant supplies using the Type dropdown under the 'What Material does this Plant supply? (Required)' heading.
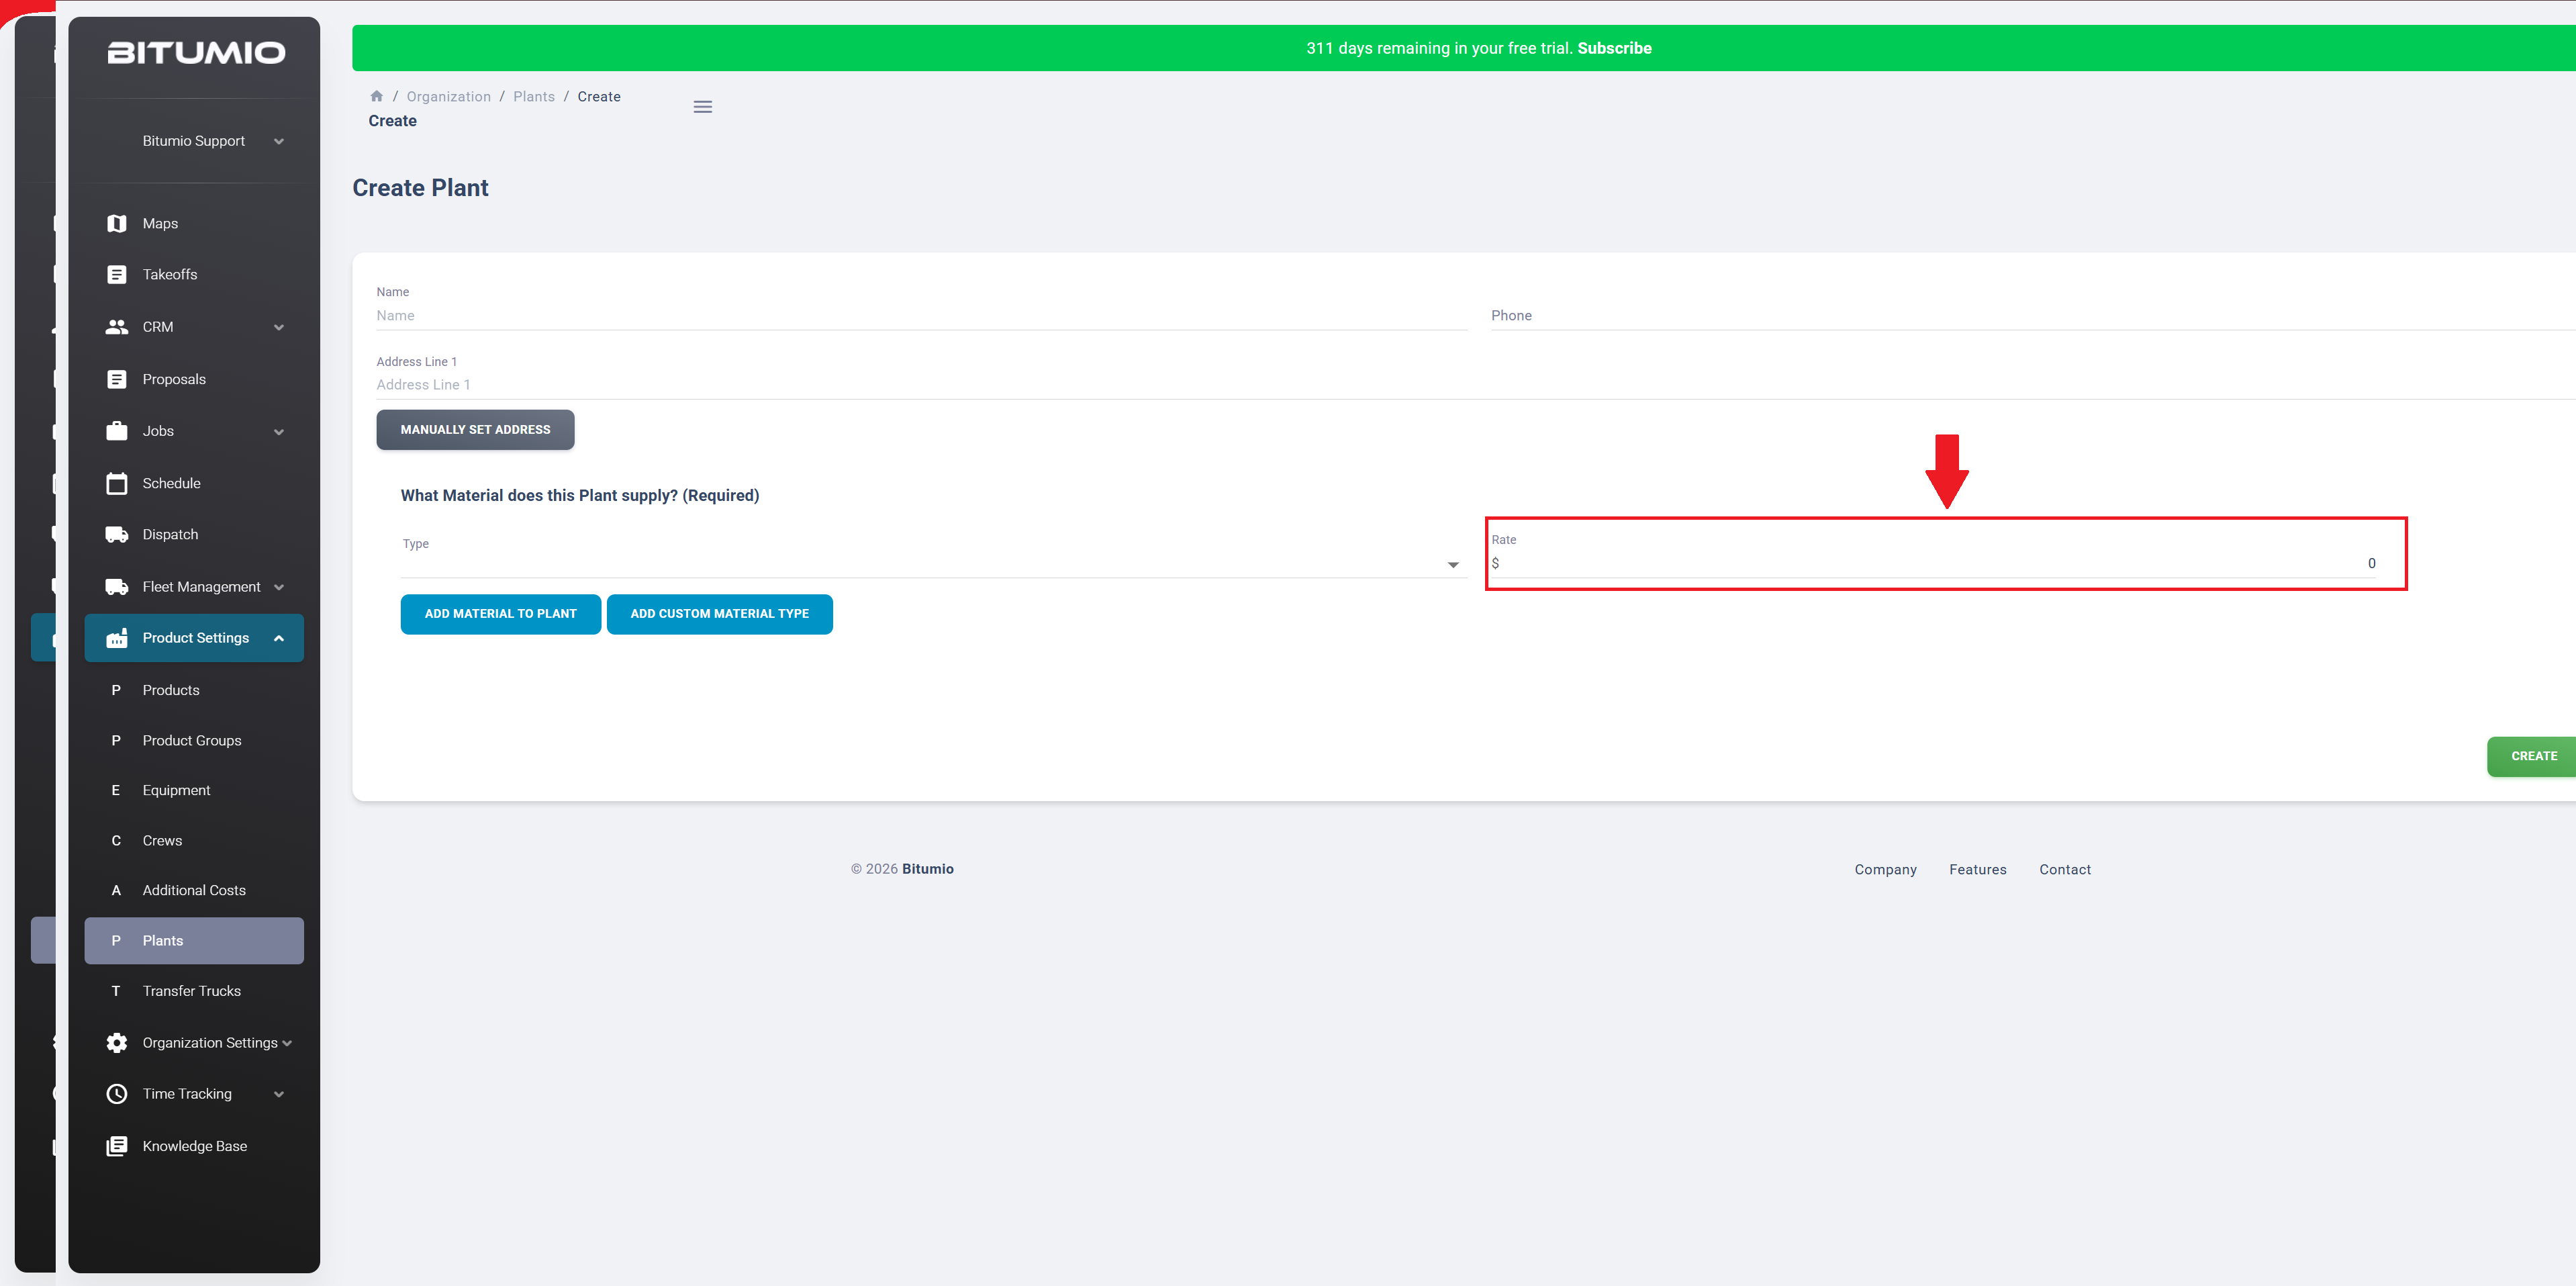
Step 6: Enter the cost of the Material to buy from the Plant using the Rate field.
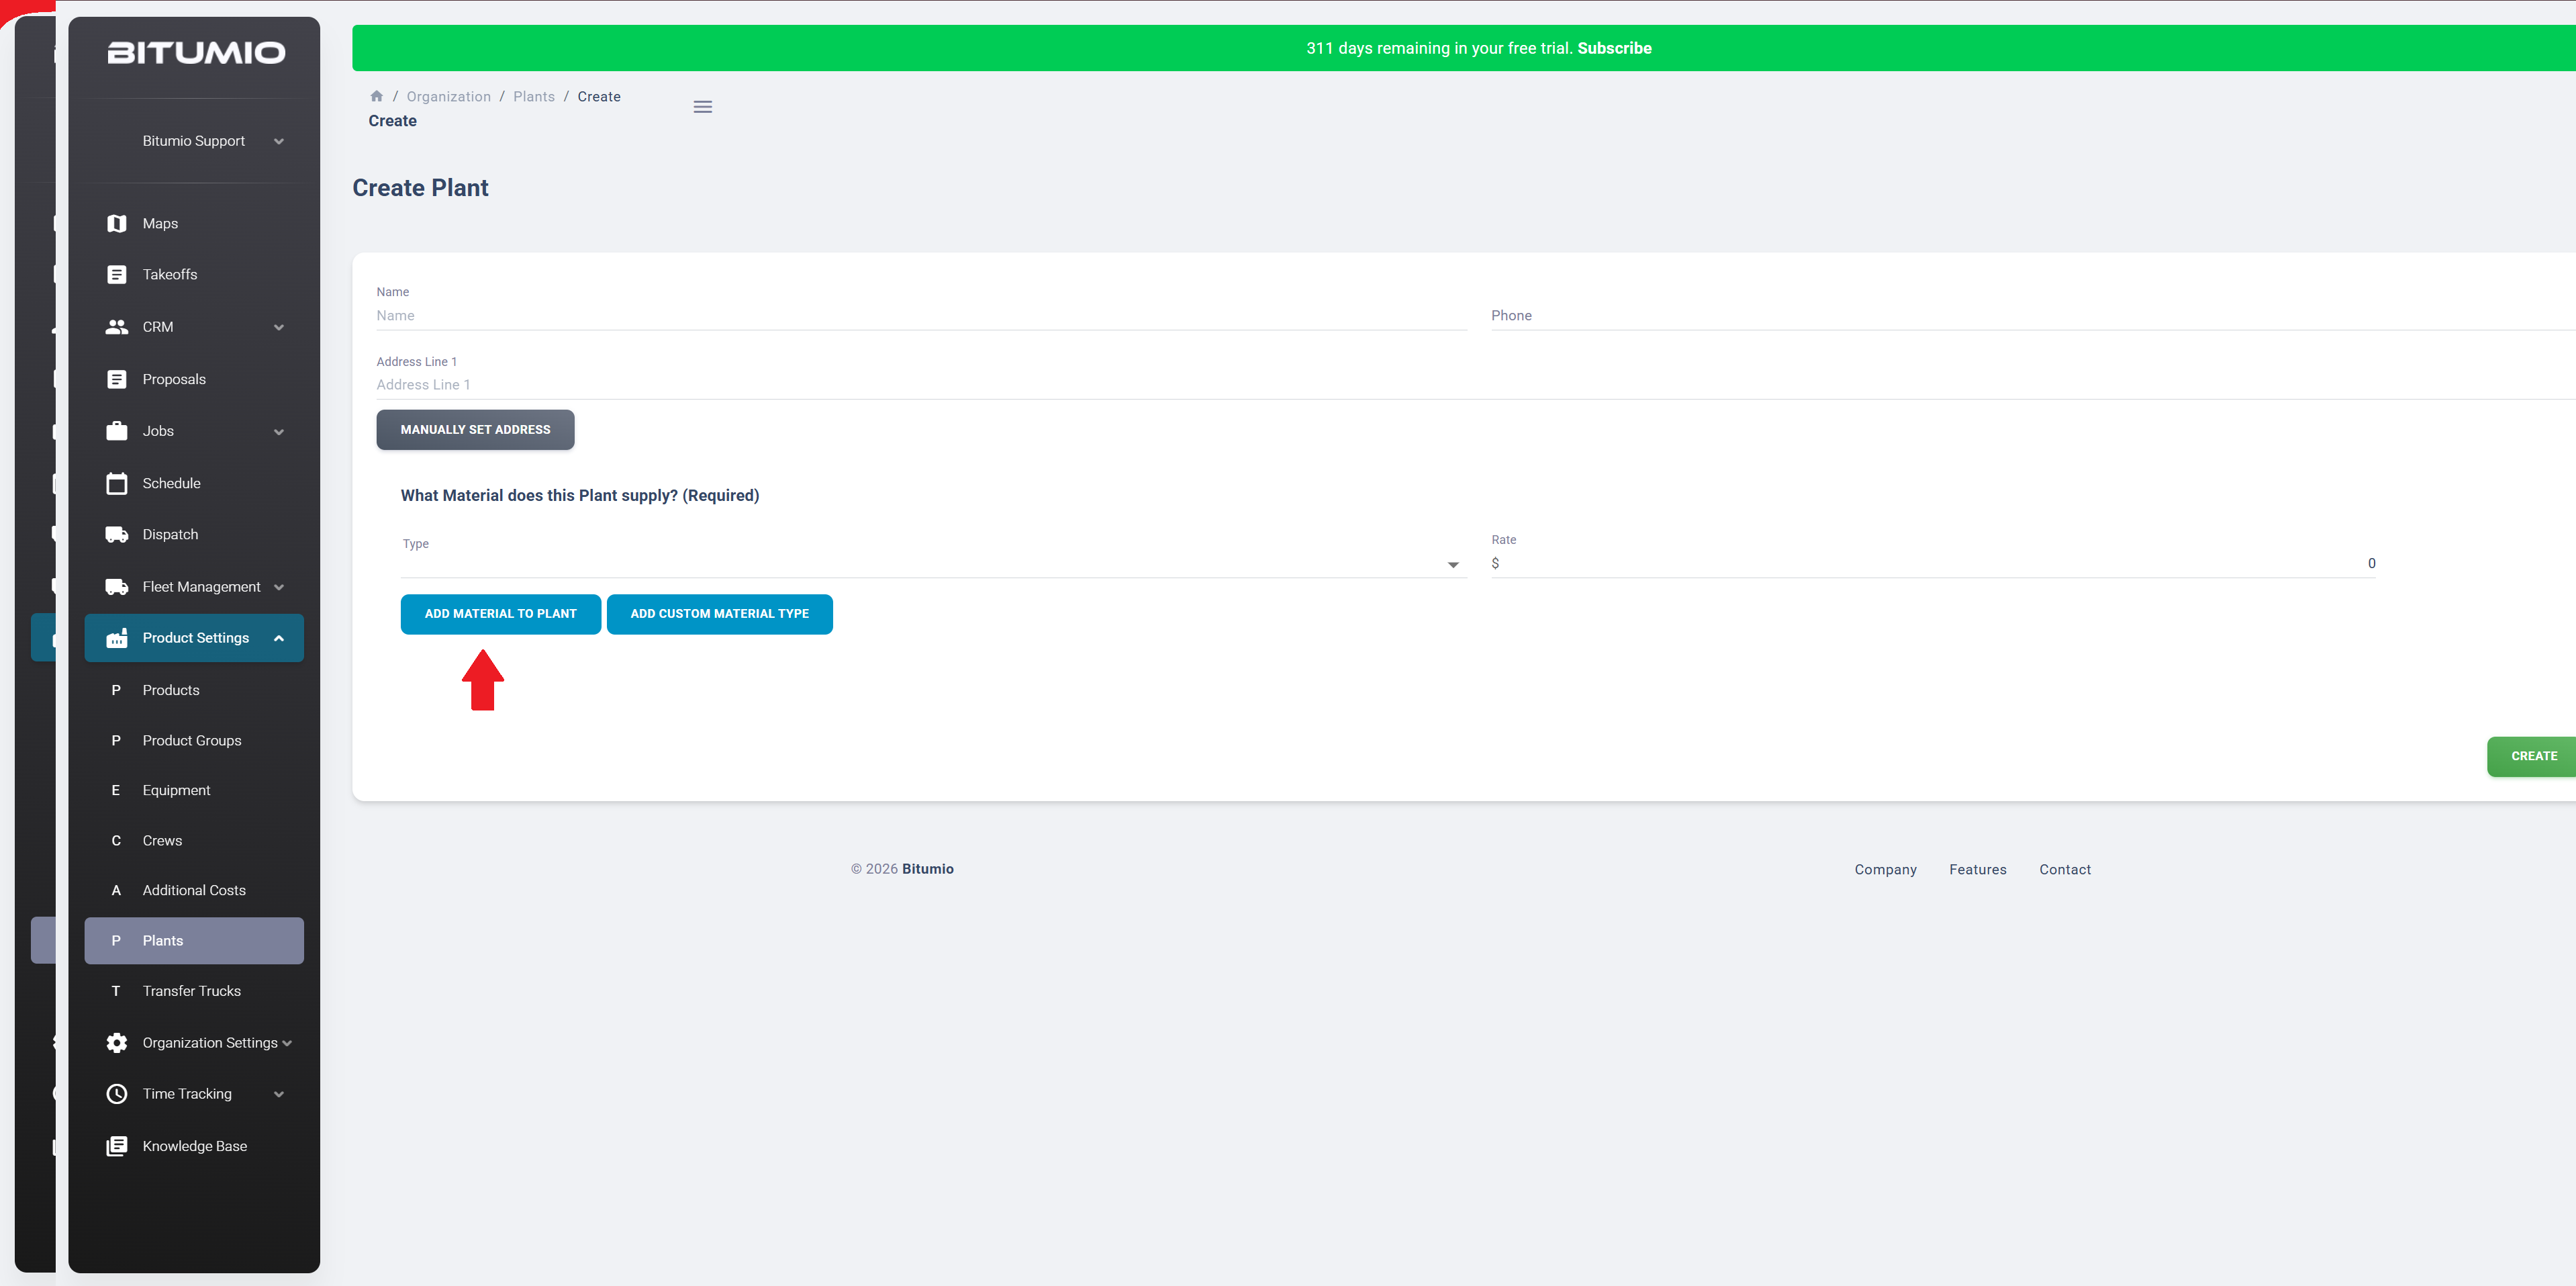
Step 7: If you want to add another Material the Plant supplies, click the  button. This adds another row having the Type dropdown and Rate field.
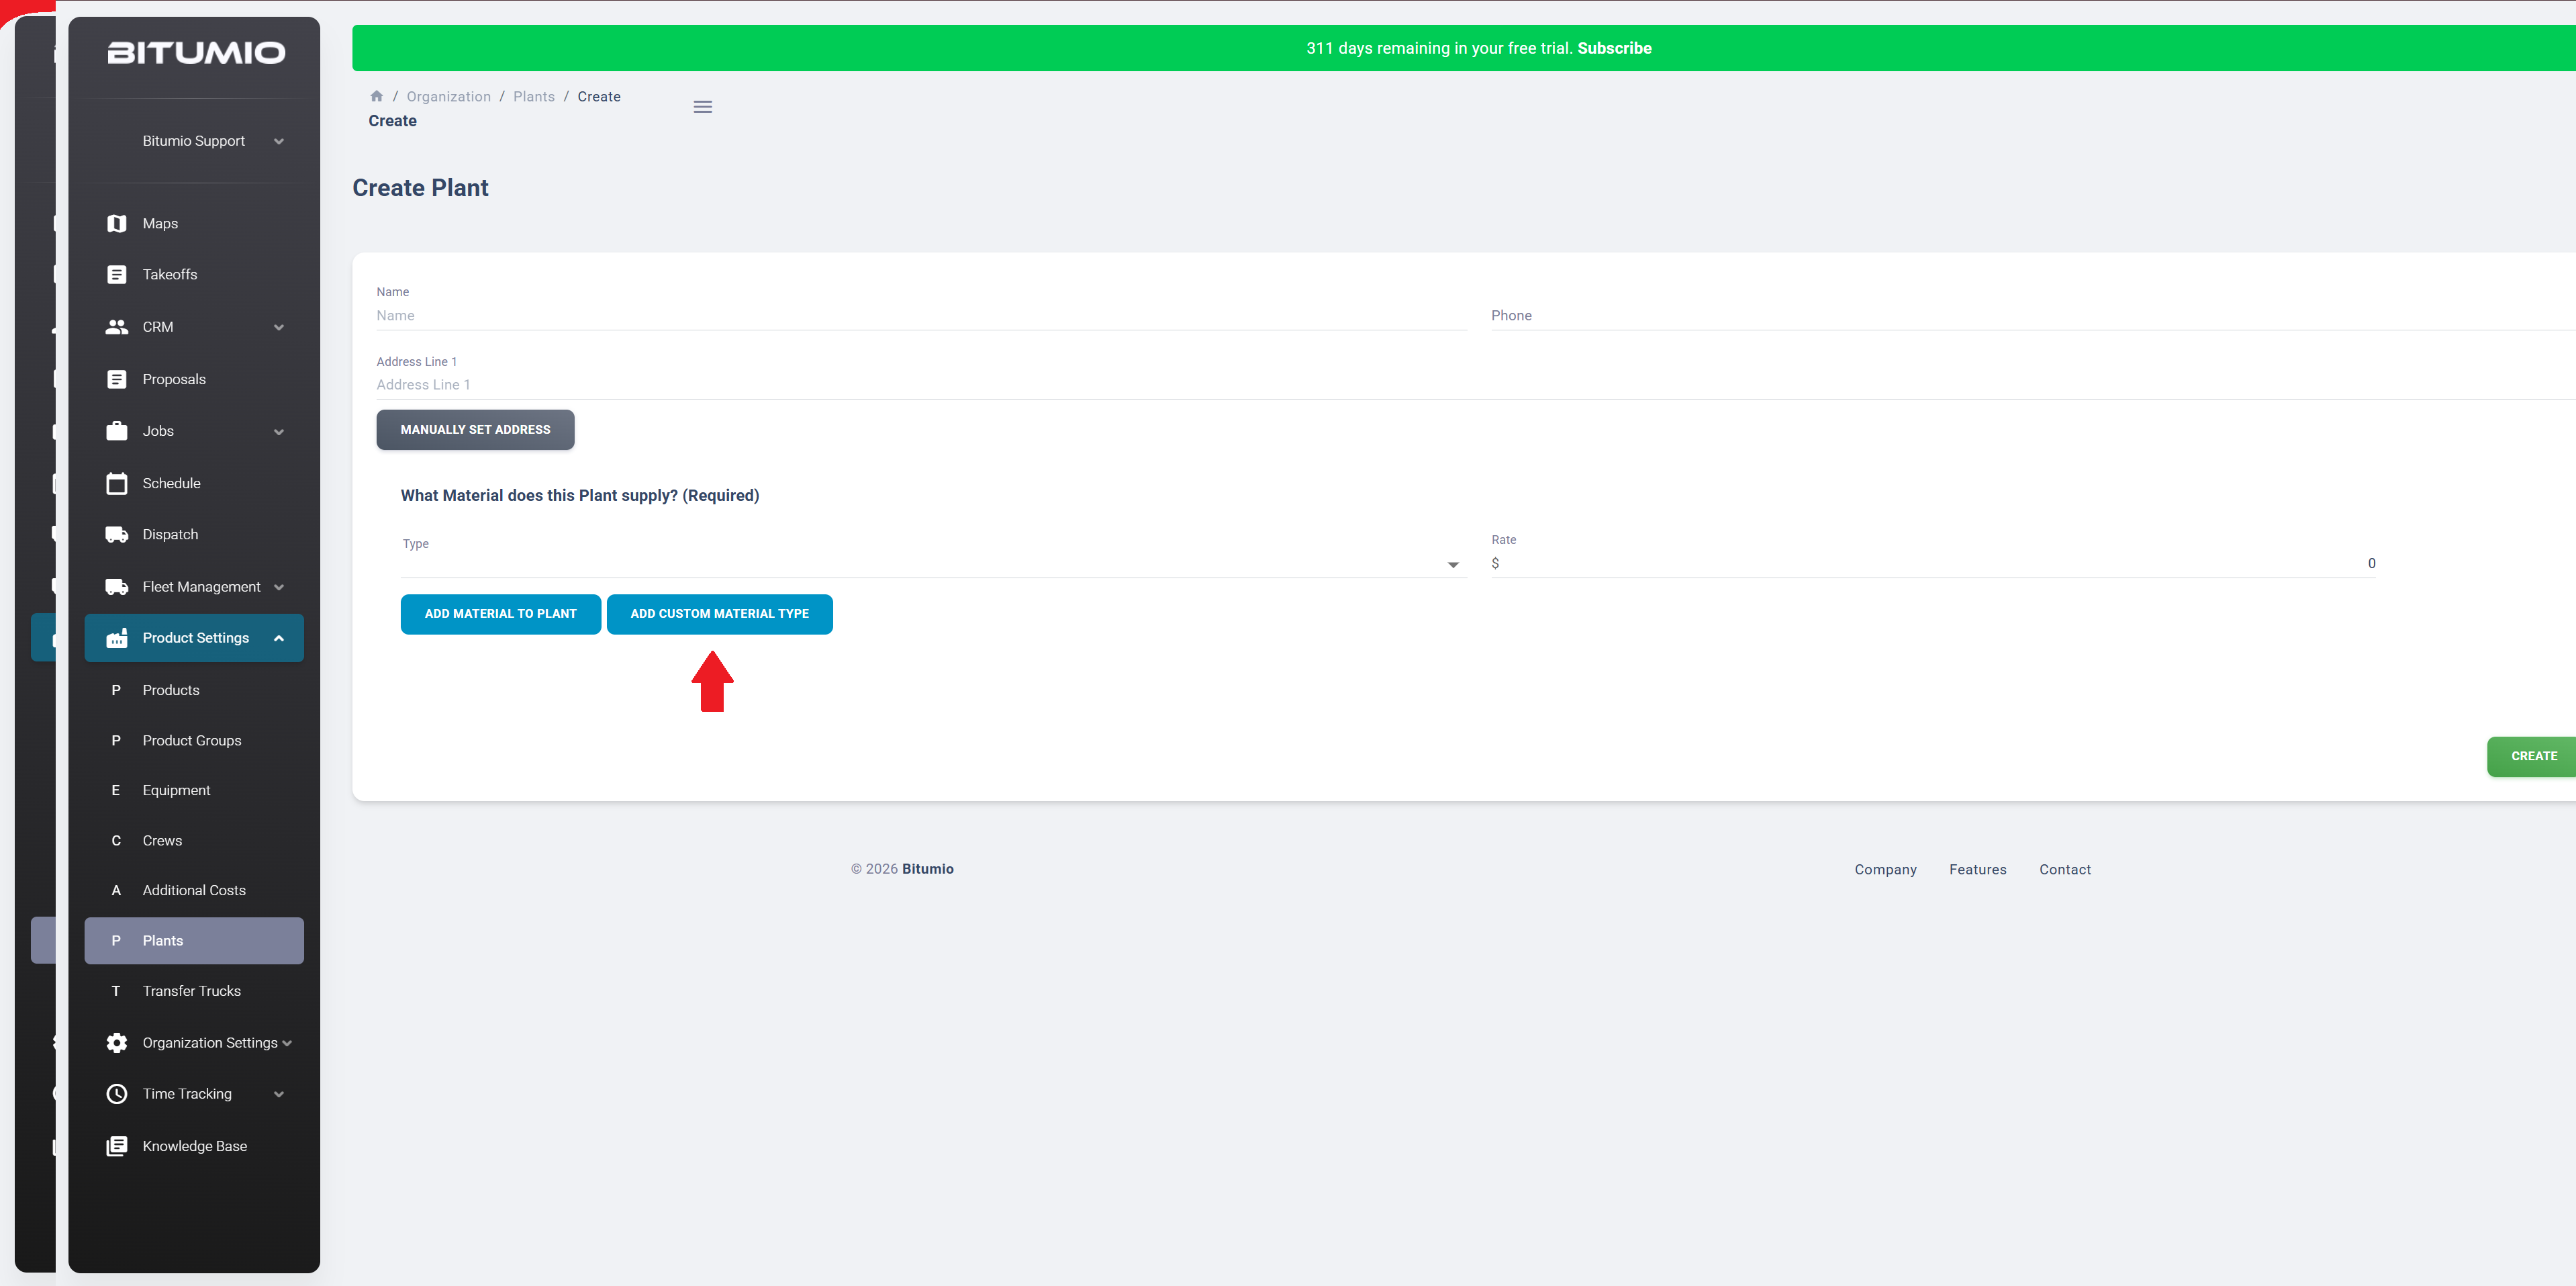
Step 8: If you do not see the desired Material in the dropdown list, you may add a Custom Material Type. Click the  button to open the Add Custom Material Type popup.
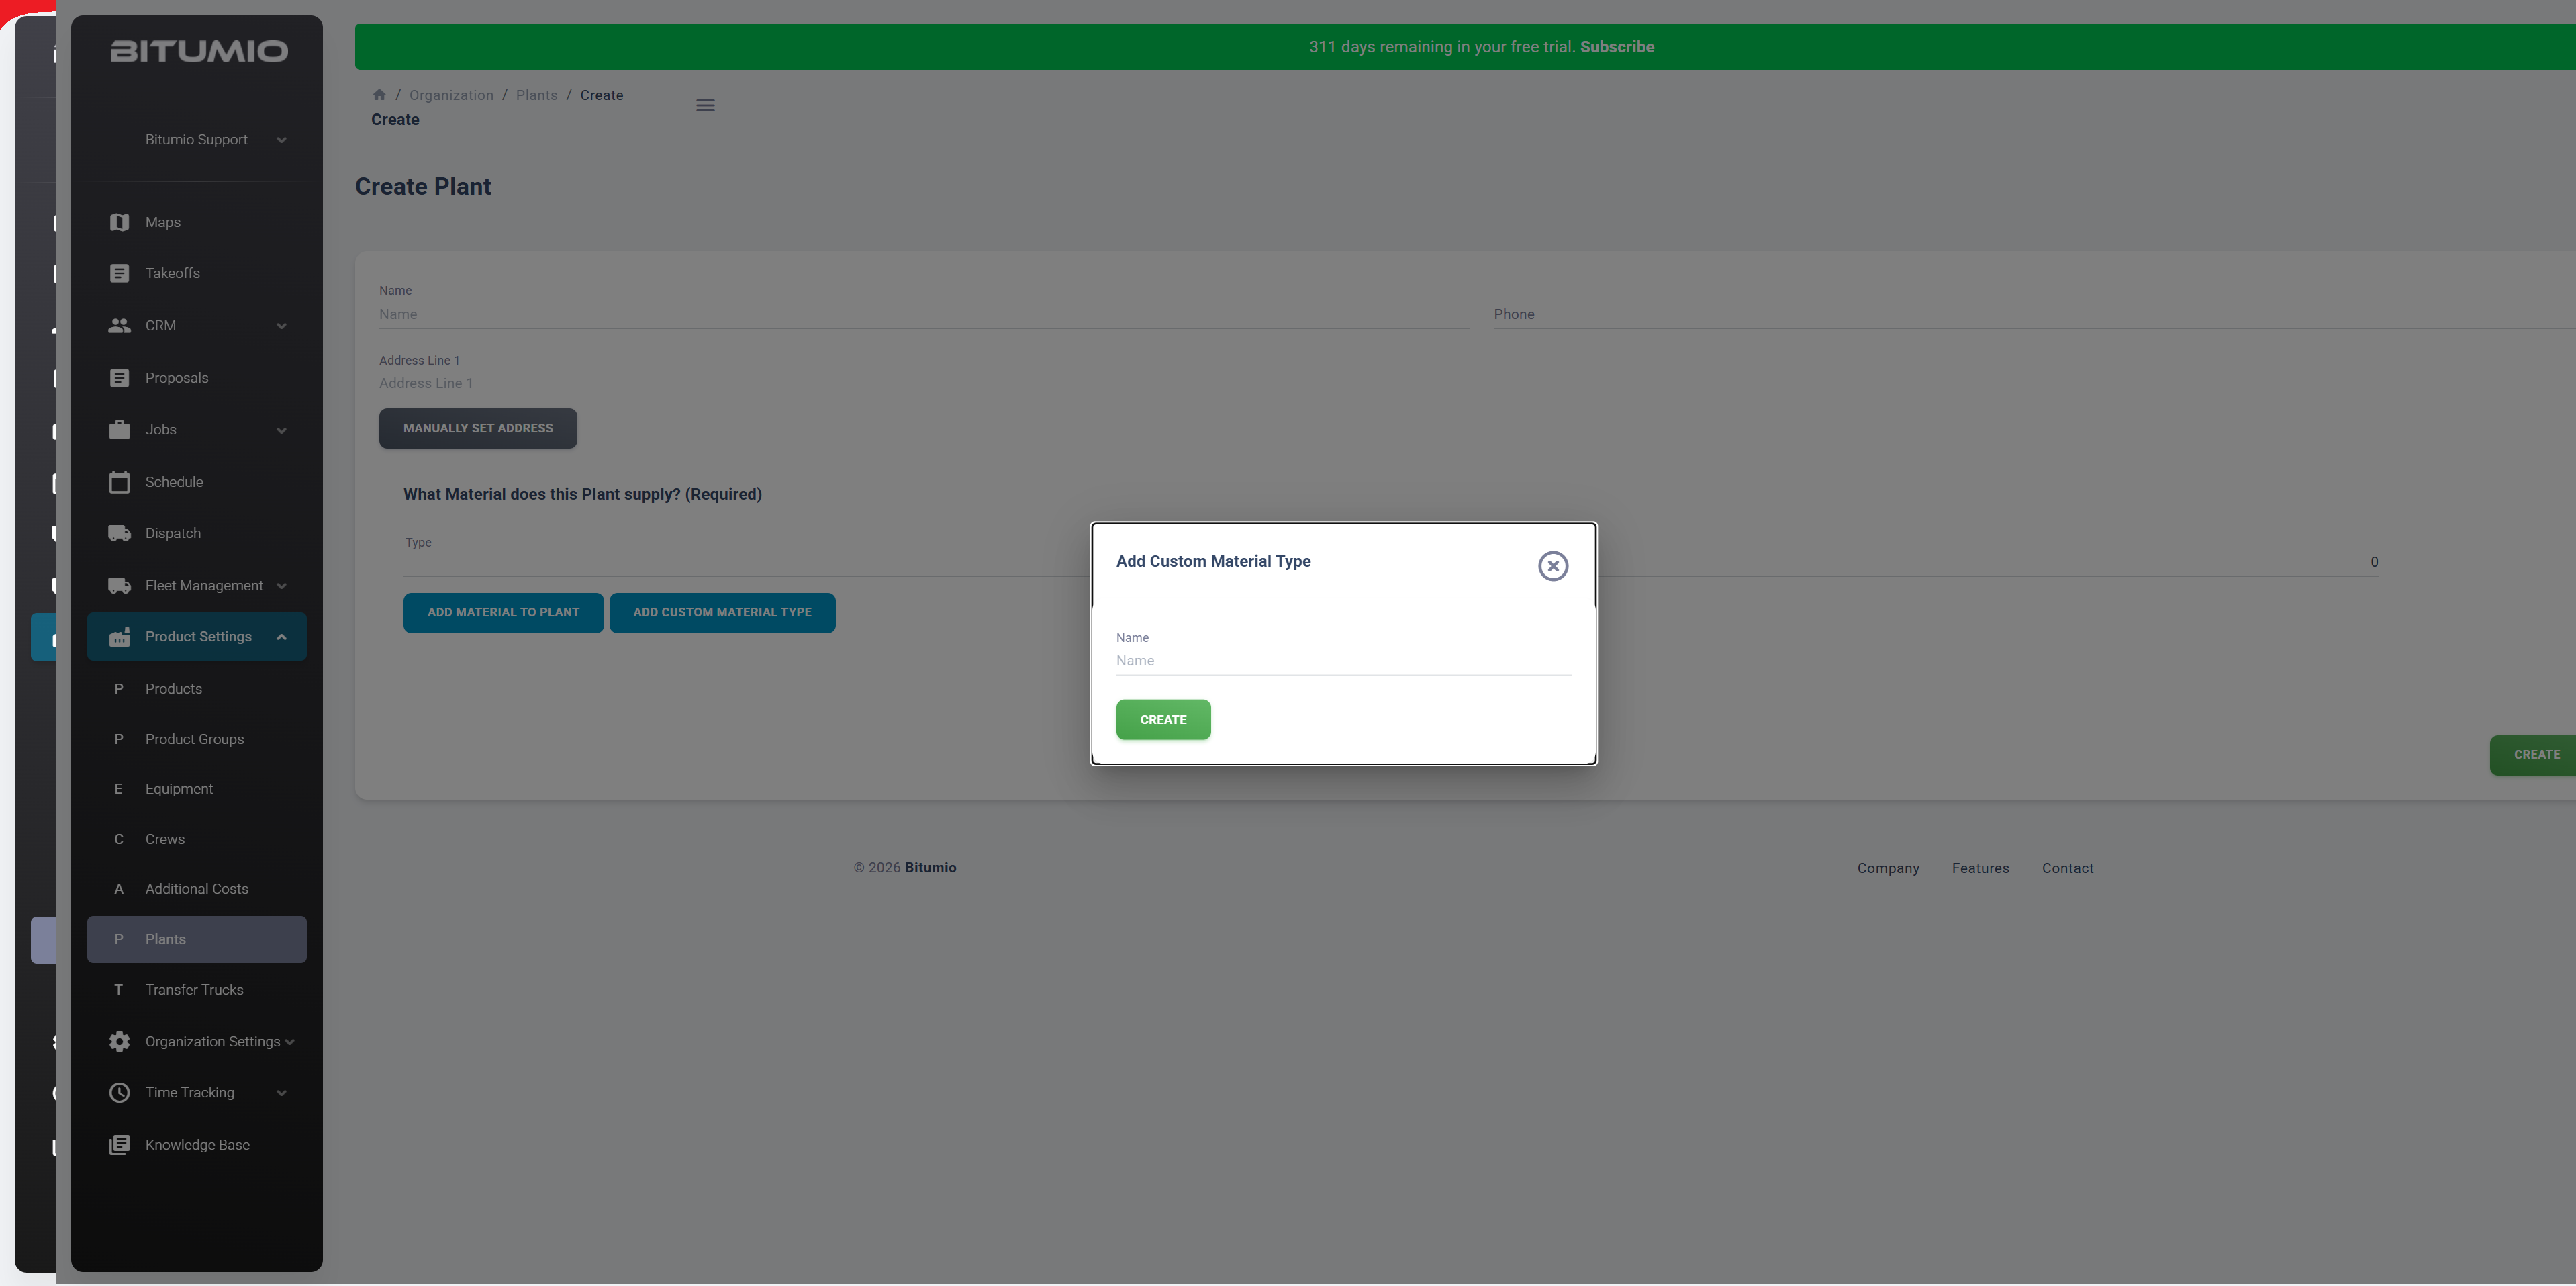
Step 9: Here, use the Name field to enter the custom material type name. Once entered, click the  button.
Step 10: Once the details of the plant are recorded, click the  button.
Updating a Plant
Step 1: To update, click a Plant name or choose 'Update Plant' from the Actions menu  icon. Either takes you to the Update Plant screen where you can edit the details of the selected Plant.

Step 2: Once the required changes are made, click the  button.

Deleting a Plant
Step 1: From the Organization Plants screen, find the Plant you wish to delete and click the  icon under the Actions column. From the options displayed, choose 'Delete.'
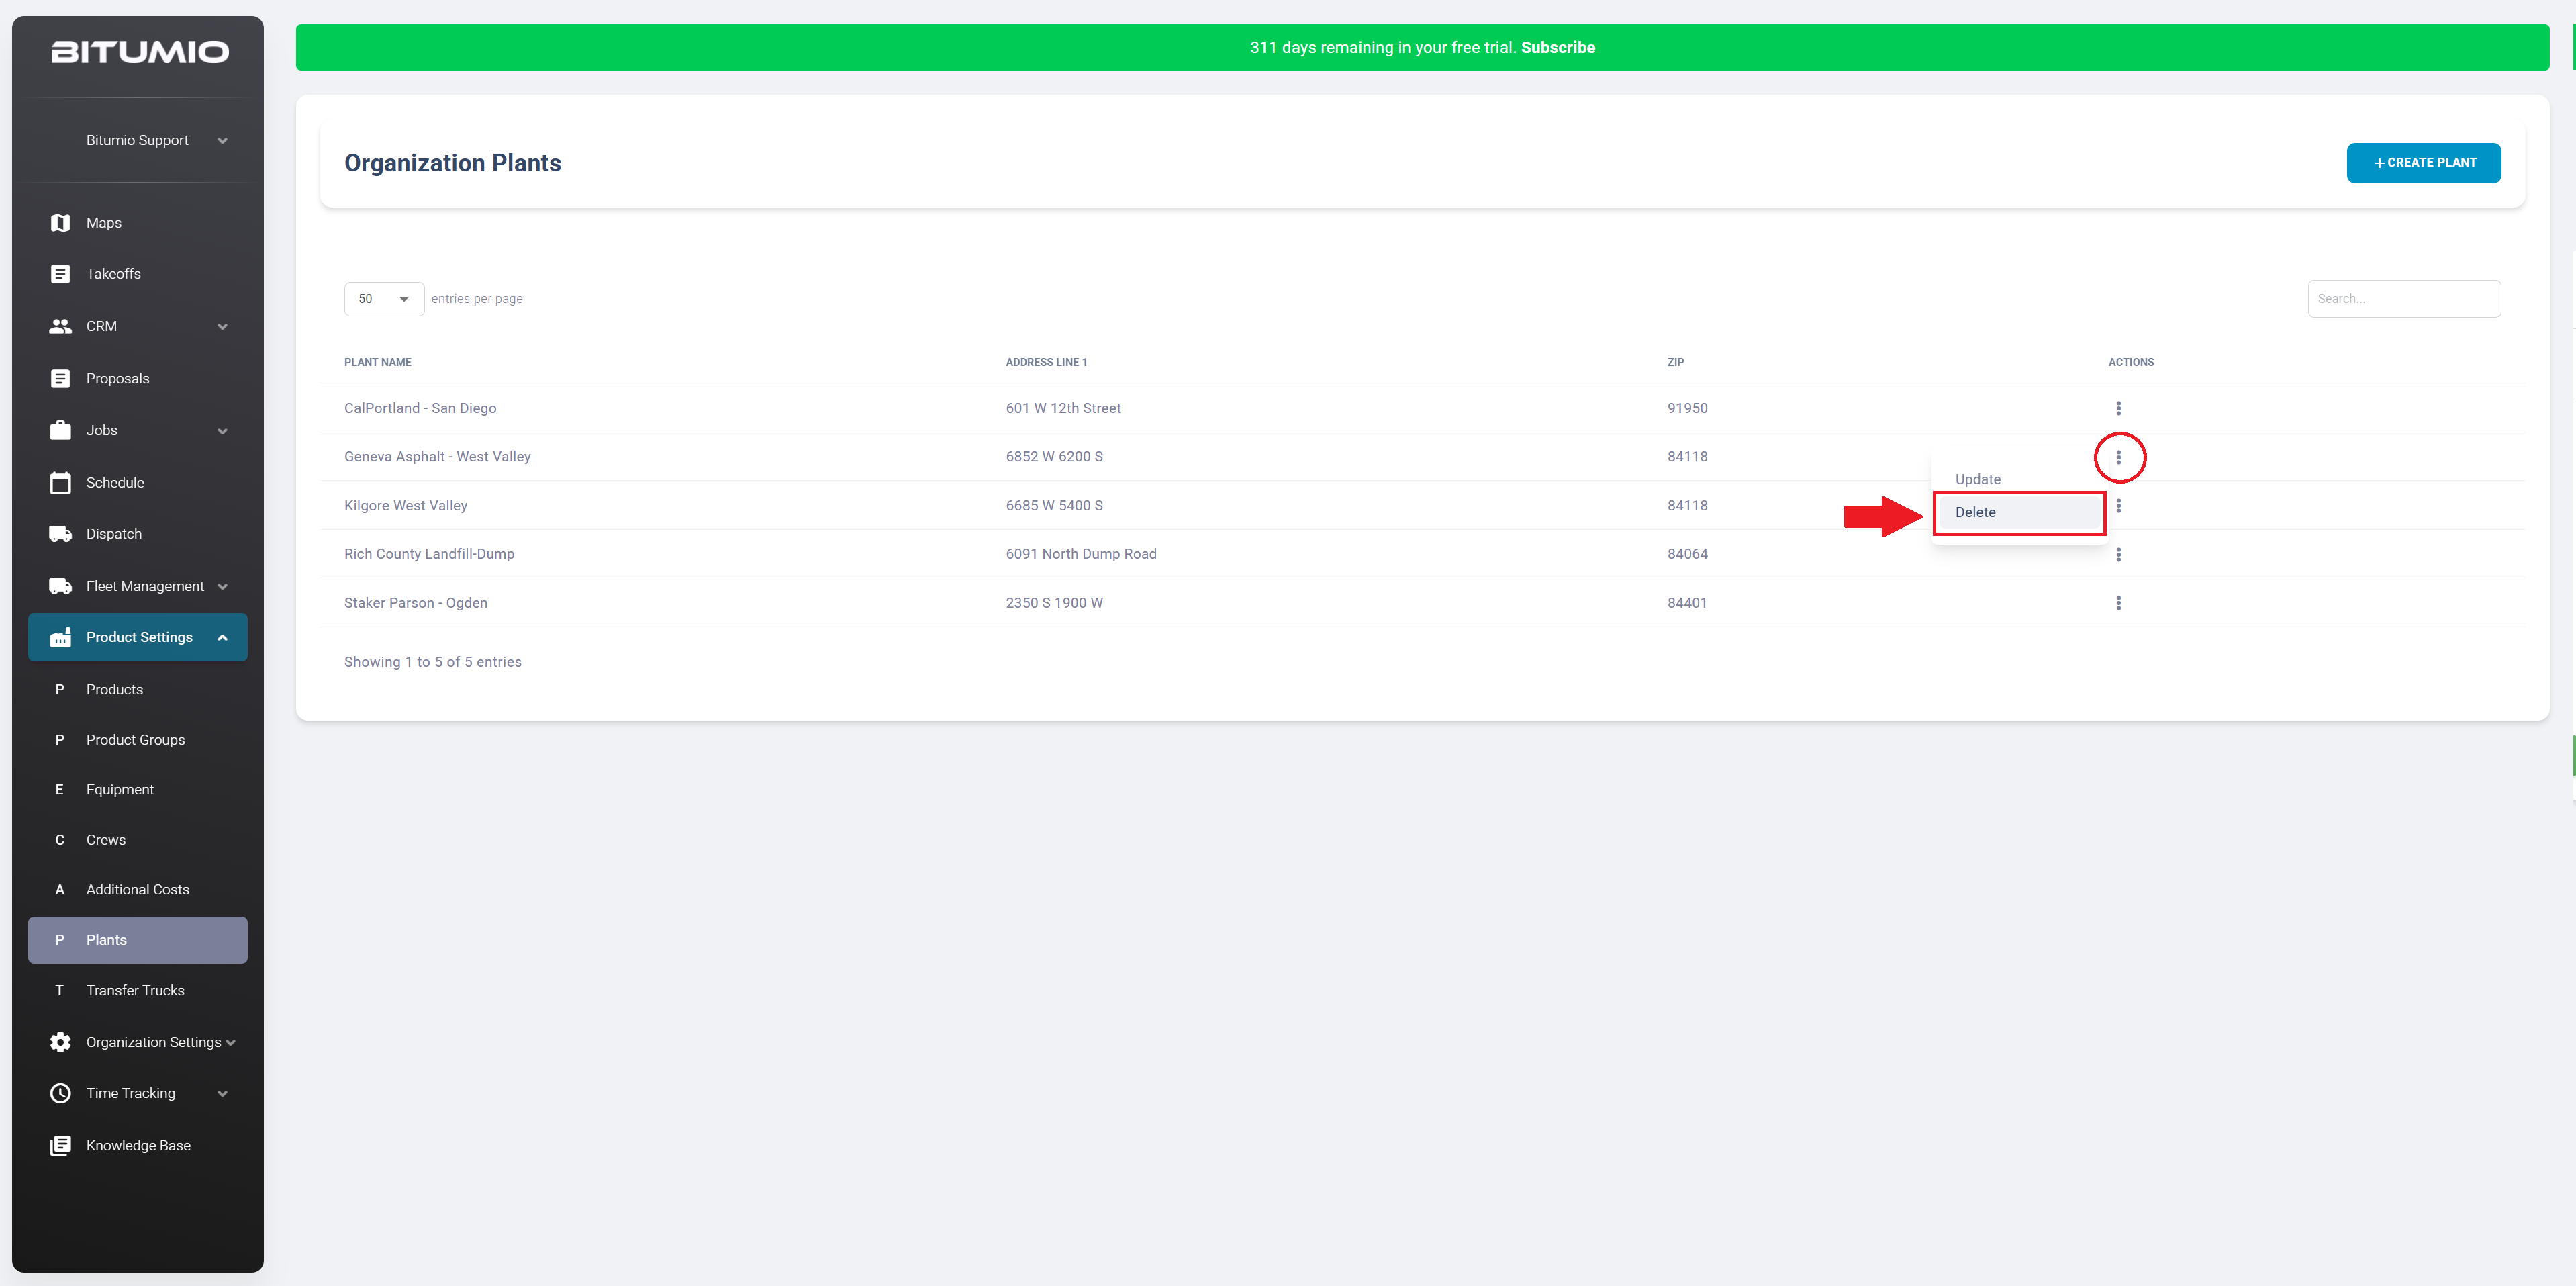
Step 2: Doing so displays a confirmation popup. To confirm, click the  button.

Was this article helpful?
That’s Great!
Thank you for your feedback
Sorry! We couldn't be helpful
Thank you for your feedback
Feedback sent
We appreciate your effort and will try to fix the article